You can grow a surprising number of plants at home without ever buying or planting a seed. The most reliable methods are stem cuttings (rooted in water or soil), dividing an existing plant at the roots, using offsets and suckers that the plant produces on its own, planting bulbs, tubers, corms, or cloves, and in some cases coaxing a single leaf into a brand-new plant. Each method works differently depending on the plant you have access to, but all of them follow the same basic logic: give the plant material a node or a growth point, the right environment, and a little patience, and it will do the rest.
How to Grow Plants at Home Without Seeds: Step-by-Step

Marcus Holloway
24 Apr 2026
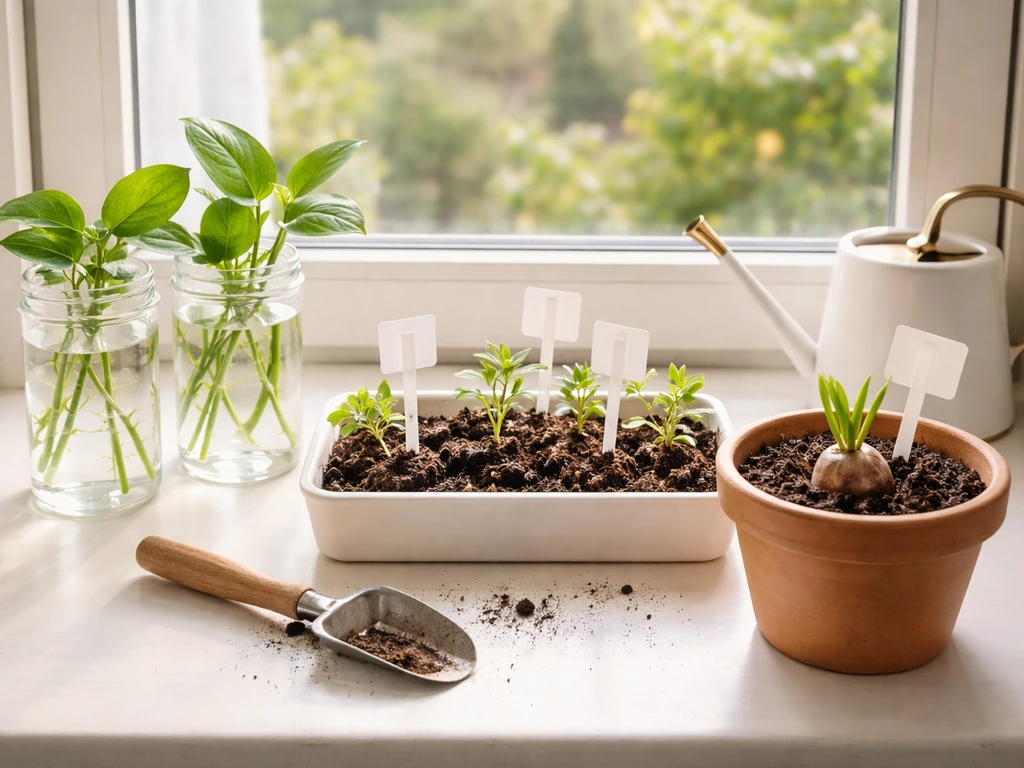
Different no-seed ways to start plants
Before you pick a method, it helps to know what you're working with. Not every technique works for every plant, and the easiest path forward usually depends on what plant material you already have access to, whether that's a cutting from a friend's pothos, a garlic bulb from the kitchen, or a spider plant dangling little babies on long runners.
| Method | Best for | What you need to start | Difficulty |
|---|---|---|---|
| Stem cuttings | Pothos, philodendron, mint, basil, rosemary, begonias | A healthy stem with at least one node | Easy |
| Root division | Peace lily, snake plant, hostas, ferns | An established plant with multiple crowns or clumps | Easy to moderate |
| Offsets, suckers, and runners | Spider plant, aloe, banana, pineapple, bromeliad | A mature parent plant producing offsets | Easy |
| Rhizomes | Ginger, turmeric, iris, some ferns | A fresh rhizome with visible growth buds | Easy |
| Bulbs, tubers, and corms | Garlic, begonia, gladiolus, dahlia | A dormant bulb, tuber, or corm | Easy |
| Leaf propagation | Succulents, snake plant, African violet | A healthy, intact leaf with petiole if needed | Moderate (plant-dependent) |
If you're just getting started and want the highest success rate, stem cuttings and offsets are your best bets. They're fast, forgiving, and work for the most common houseplants. Bulbs and tubers are almost foolproof if you plant them correctly. Leaf propagation is exciting but narrower in application, so don't rely on it unless you've confirmed your specific plant supports it.
Propagating from cuttings: water vs soil
Stem cuttings are the go-to method for most common houseplants, and for good reason. Take a 3 to 6 inch piece of healthy stem that includes at least one leaf node (that's the little bump or joint where a leaf meets the stem, and it's the spot where roots will actually form). Cut just below a node using clean, sharp scissors or a knife. Dull tools crush the stem tissue and make it harder for roots to form, so it's worth taking an extra minute to wipe your blade with rubbing alcohol and make a clean cut.
One thing that trips up beginners: succulents and plants like geraniums and rubber plants should not go straight into water or soil right after cutting. Let the cut end sit out in the open air for a few hours or even overnight so the wound can form a protective callus. Skipping this step is one of the fastest ways to end up with rot instead of roots.
Rooting in water
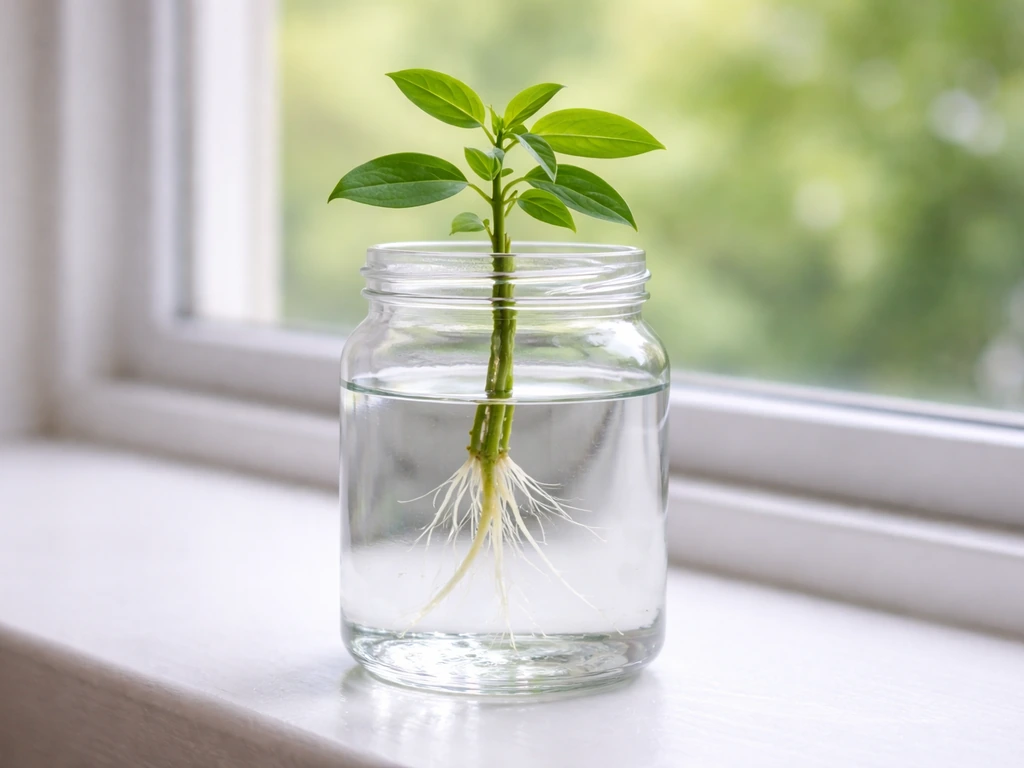
Water propagation is the easiest way to see what's happening, since you can watch roots develop without disturbing the cutting. Place the stem in a clean glass or jar so that at least one node is submerged, then set it somewhere with bright, indirect light. Change the water every few days to keep it fresh and prevent bacterial buildup. Here's a detail many people miss: remove any leaves that would sit below the waterline. Submerged leaves rot quickly and that rot spreads to the stem. Keep the foliage above water and just the node (or nodes) below.
Roots typically start appearing within one to three weeks for fast-rooting plants like pothos, philodendron, and tradescantia. Once they're about an inch or two long, the cutting is ready to move into soil. Don't wait too long in water though. Water roots are structurally different from soil roots, and if you let them get very long before transplanting, the plant takes longer to adjust.
Rooting in soil
Soil propagation skips the transplant shock of moving from water to soil, which is a real advantage for some plants. Use a well-draining mix (a basic potting mix cut with perlite works well) and make sure the container has drainage holes. Poke a hole in the soil with a pencil, insert the cutting so at least one node is buried, and firm the soil gently around it. The medium should be moist but not soggy. Soggy soil is one of the top killers of cuttings.
This is also where rooting hormone earns its place. Dip or dust the cut end with powdered or gel rooting hormone before inserting it into the soil. It won't guarantee success, but research from multiple extension programs confirms it speeds up root formation and improves the percentage of cuttings that root successfully. It's cheap, widely available, and worth using if you want better odds.
Warmth helps a lot here. Cuttings root faster when both the air and the rooting medium are warm, so avoid cold windowsills in winter. A spot above a refrigerator or near (but not directly on) a heating vent works well. A loose plastic bag draped over the pot creates a humidity tent that keeps the cutting from wilting before roots form.
Water vs soil: which is better?
Water propagation is better if you want to monitor progress visually and if you're working with easy-rooting plants. Soil propagation is better for plants that don't like sitting in water, for cuttings you plan to keep in one spot without transplanting twice, and for faster long-term establishment. For most beginners, water is the confidence builder because you can actually see when roots form instead of guessing.
Growing from root division, offsets, suckers, and rhizomes
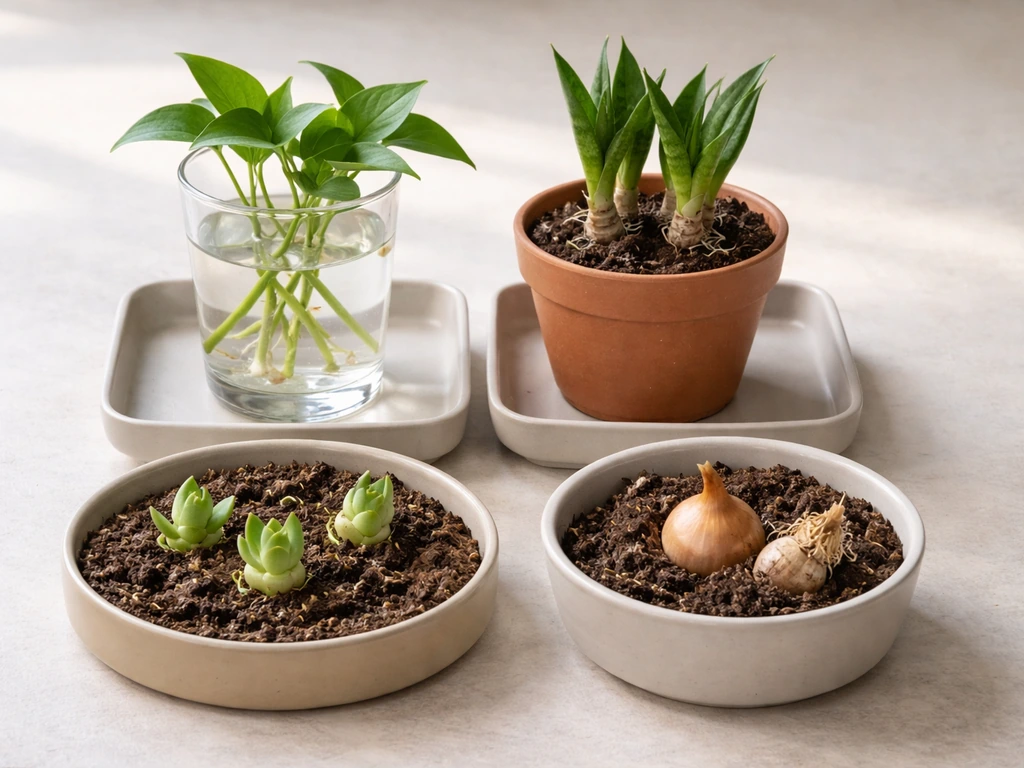
These methods take advantage of structures the plant is already building on its own. Instead of convincing a cutting to grow roots, you're separating a plant part that already has roots (or is close to it). This makes them some of the most reliable no-seed options available.
Root division
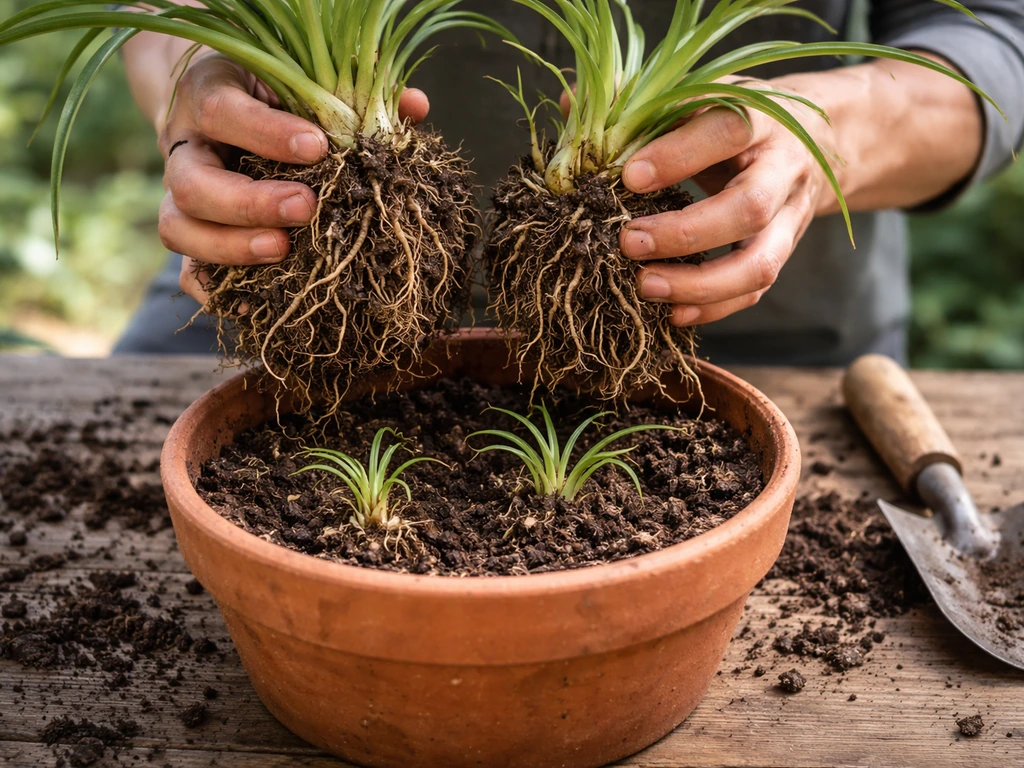
Root division works with plants that naturally grow in clumps, like peace lilies, snake plants, hostas, ferns, and ornamental grasses. Unpot the parent plant, shake off excess soil so you can see the root structure, and gently pull or cut the root mass into two or more sections. Each section needs its own roots and at least a few leaves or shoots. Pot each division into fresh, well-draining soil and water it in. Expect a little drooping for the first week as the plant recovers, then new growth should follow. The best time to divide is when a plant is actively growing, generally spring through early summer. University of Minnesota Extension also recommends dividing or transplanting daylilies in early spring or immediately after flowering The best time to divide is when a plant is actively growing, generally spring through early summer..
Offsets and suckers
Offsets are the baby plants that appear alongside a mature parent. Aloe vera produces offsets (called pups) at the base. Spider plants produce what are sometimes called spiderettes, which form on long runners hanging off the parent plant. Bromeliads send up pups after they flower. University of Georgia Extension also explains that bromeliads can be propagated from pups (offsets) produced alongside a mature plant Grow Bromeliads From ‘Pups’. To separate an offset, wait until it's at least a third the size of the parent, then either gently twist it free or cut it with a clean blade as close to the base as possible. If it already has roots, pot it directly. If it doesn't have roots yet, place it in water until roots reach about 2 inches long, then pot it in a light, well-draining mix. Spider plant spiderettes respond especially well to this water-first approach before moving to soil.
Suckers are similar but tend to appear on plants like bananas, pineapples, and some fruiting trees. They grow from the root zone of the parent and often already have their own small root system. Dig carefully around the base of the sucker, sever the connecting root, and pot it up. Give it shade and consistent moisture for the first few weeks while it establishes.
Rhizomes
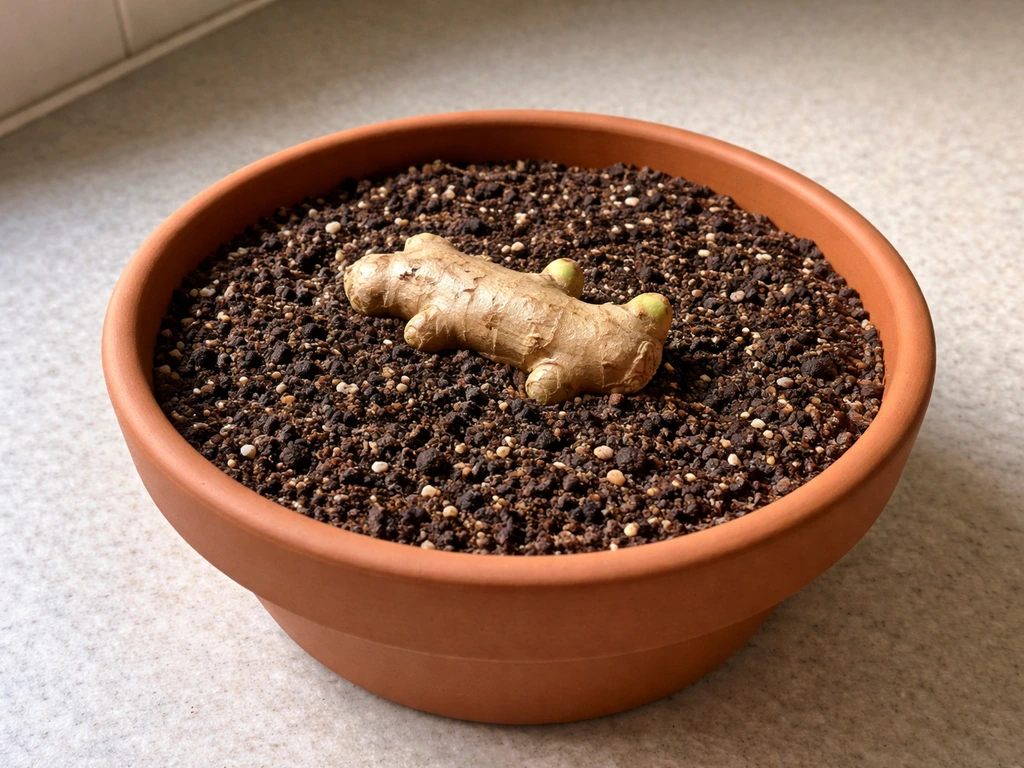
Rhizomes are underground stems that spread horizontally and store energy. Ginger, turmeric, iris, and some tropical foliage plants grow this way. If you've ever bought a knobby piece of ginger from a grocery store, you already have everything you need. Look for a rhizome with visible growth buds (they look like small, pointed nubs or eyes, similar to a potato). Break or cut a section that includes at least one bud, let the cut surface air dry for a day if it's fleshy, then plant it just below the soil surface in a warm spot with indirect light and consistent moisture. Grocery store ginger and turmeric work reliably well for this, making it one of the most accessible no-seed methods available right now.
Starting plants from bulbs, tubers, corms, and cloves
These are some of the most beginner-friendly starts because the plant has already packed everything it needs into a dense, energy-rich structure. You're not waiting for roots to form from nothing. You're waking something up that was just dormant.
Garlic cloves
Garlic is technically propagated from cloves, not true seeds, making it a perfect example of a food plant you can grow without buying any planting material. Separate a fresh bulb into individual cloves and plant each one pointed side up, with the base about 1 to 2 inches below the soil surface in a sunny spot with well-draining soil. In containers, a deeper pot (at least 6 to 8 inches) works better so the developing bulb has room. Water after planting and then keep the soil moderately moist. Shoots will appear within a couple of weeks.
Tuberous begonias and dahlia tubers
Tuberous begonias are started with the concave (hollow) side facing up in a shallow tray of moist compost or potting mix. Keep the mix damp but not wet, and don't bury the tuber deeply. Roots develop from the top and sides, so deep planting actually works against you. Dahlias follow a similar logic: lay the tuber horizontally with the neck (the connection point where the stem was) pointing upward, cover with a couple of inches of soil, and wait for the first shoot to push through before moving to a sunnier spot.
Corms (gladiolus and similar)
Corms look like flattened bulbs and work much the same way. For gladiolus, plant medium-sized corms about 4 to 5 inches deep with the pointed growing tip facing up. Deeper planting gives the stalk more stability once it grows tall. Provide full sun and consistent watering once growth starts, and you'll see shoots in two to four weeks depending on soil temperature.
Growing from leaves and plant odds and ends (when it works, when it doesn't)
Leaf propagation is real, but it only works reliably on a specific group of plants. If you try it on a plant that isn't in that group, you'll just end up with a dead leaf. Knowing the difference saves a lot of frustration.
When leaf propagation actually works
- Succulents (echeveria, sedum, graptopetalum): Gently twist a plump, healthy leaf free from the stem so it comes off cleanly with the base intact. Lay it on top of dry or barely moist cactus mix in bright indirect light. Tiny rosettes and roots will form from the base of the leaf over several weeks.
- Snake plant (Sansevieria): Cut a healthy leaf into sections about 3 to 4 inches long, let the cuts callus overnight, then insert the bottom edge (the end that was closest to the soil) into moist potting mix. Plant it the same way it grew, since it won't root if you insert it upside down.
- African violet: Take a healthy leaf with its full petiole (stem) intact, insert the petiole at an angle into moist propagation mix or into a small glass of water. Small plantlets will form at the base of the petiole in four to eight weeks.
- Begonias (some species): Leaf cuttings with a piece of petiole, or even sections of a large leaf with veins scored and placed flat on moist mix, can produce new plantlets.
When leaf propagation won't work
Most common houseplants, including pothos, philodendron, peace lily, monstera, ficus, and virtually all herbs, cannot be propagated from a leaf alone. Without a node or a piece of stem attached, a detached leaf will stay alive for a while in water or soil but will never produce roots or a new plant. If you've seen a monstera leaf sitting in a vase looking beautiful for months, that's exactly what's happening. It's alive, but it's not growing. For these plants, always go back to stem cuttings.
Care basics for early growth without seeds
Getting a cutting or division to root is only half the battle. The care you give in those first few weeks determines whether it establishes into a real plant or stalls out.
Light
Bright, indirect light is the right environment for almost every propagation method. Direct sun stresses a cutting that has no roots to pull water from yet, causing it to wilt and fail before it even gets started. A spot a few feet back from a south or east-facing window is usually ideal. For bulbs and tubers just starting to sprout, lower light is fine initially, but once shoots appear, move them somewhere bright.
Water and moisture
The single most common watering mistake during propagation is overwatering. If you want to grow rocket at home, keeping the watering consistent but not soggy is one of the biggest keys to fast, healthy growth overwatering. If you want what home remedies help plants grow, focus on consistent moisture and avoid overwatering fast, healthy growth. To keep plants healthy at home, aim for consistent moisture that supports growth without letting the roots sit in water. The medium should feel like a wrung-out sponge: moist enough to support development, but never sitting in water or staying soggy. Check soil cuttings by pressing a finger an inch into the mix. If it still feels damp, wait. If you're rooting in water, change it every two to three days to keep oxygen levels up and bacteria down.
Checking for roots
For water propagation, you can see the roots directly. For soil cuttings, the most reliable signal is new leaf growth, which only happens once roots are established. You can also do a very gentle tug test after three to four weeks: if there's slight resistance, roots have formed. Don't tug hard or repeatedly, just a light check.
Transplanting
When moving a water-rooted cutting into soil, choose a small pot (not a giant one, as excess soil holds too much moisture around underdeveloped roots) and use a light, well-draining mix. Water it in and then hold off on fertilizing for at least four to six weeks. The plant is still fragile, and fertilizer at this stage can burn young roots. Once you see consistent new leaf growth, that's your signal that it's established and ready for regular care.
Troubleshooting slow growth, rot, and failure cases
Plants fail in propagation all the time. Even experienced growers lose cuttings regularly, so don't take it personally. What matters is being able to diagnose what went wrong so the next attempt goes better.
| Problem | Likely cause | What to do |
|---|---|---|
| Stem goes mushy at the base | Rot from overwatering, soggy soil, or submerged leaves | Trim the rotted section back to healthy tissue, let it air dry, and restart in fresh dry mix or clean water |
| No roots after 4+ weeks in water | Too cold, too dark, no node submerged, or bacteria in water | Move to a warmer spot, confirm a node is below the waterline, and change water more frequently |
| Cutting wilts but isn't rotting | Not enough humidity, too much direct sun, or roots not yet formed | Mist lightly, move out of direct sun, and add a loose plastic cover to trap humidity |
| Leaves turn yellow and drop | Overwatering after transplant, or adjustment stress | Reduce watering frequency and give the plant two to three weeks to adjust before worrying |
| Fuzzy white or grey mold on soil surface | Fungal growth from poor airflow and high moisture | Remove the affected top layer of soil, improve airflow, reduce watering, and apply a light dusting of cinnamon (a mild antifungal) |
| Bulb or tuber sitting in soil with no growth after 6 weeks | Too cold, planted upside down, or the bulb was dead/damaged | Check planting orientation, move to a warmer location, and inspect the bulb for soft spots indicating rot |
| Leaf cutting stays alive but never produces a plantlet | Wrong plant species for leaf propagation, or leaf was detached without the petiole base | Confirm your plant is one that supports leaf propagation, and for succulents ensure the leaf came off cleanly with the full base attached |
One scenario worth addressing directly: if you've tried multiple methods on the same plant and nothing is working, it may simply be that the plant you have doesn't propagate easily at home without specialized conditions. Some plants need high humidity chambers, bottom heat mats, or very specific rooting hormones to have a realistic success rate. That's not a failure on your part. It's just useful information that points you toward a plant that's a better fit for your setup right now.
If you're looking to build confidence, start with the easiest possible candidates: pothos or tradescantia cuttings in water, spider plant offsets, or garlic cloves in a pot of soil. Try growing easy houseplants at home by starting with pothos or tradescantia cuttings in water, spider plant offsets, or garlic cloves in soil how to grow easy plants at home. These succeed even in imperfect conditions and give you the hands-on experience that makes every future attempt easier. Once you've got the basics down, you'll find yourself looking at any plant as a potential new start, which is exactly the right way to think about it.
FAQ
Can I grow plants at home without seeds using grocery store produce other than garlic, like potatoes?
Yes. Tubers like potatoes can work similarly to other storage structures, but success depends on having “eyes” (sprouting buds). Cut pieces so each has at least one eye, let the cut surface dry briefly to reduce rot, then plant just below the surface in a warm spot with lightly moist, well-draining soil. Avoid waterlogged soil, because tubers rot easily before they sprout.
How do I know whether my cutting has a node that will root, especially if the stem looks smooth?
Look for the joint where a leaf meets the stem, those small bumps or rings are the nodes. If you can’t clearly identify them, choose a cutting that includes at least one leaf plus the short stem segment attached to it, because roots form from node tissue. A “leaf-only” piece without stem or node tissue typically will not produce a new plant.
What’s the best way to prevent mold or bad smells during water propagation?
Use a clean container, keep leaves off the waterline, and refresh the water every 2 to 3 days. If water looks cloudy or smells sour, rinse the cutting, replace with fresh water, and trim off any mushy tissue. Also avoid placing the jar in hot direct sun, heat lowers dissolved oxygen and speeds up bacterial growth.
Should I use rooting hormone for every type of no-seed propagation?
Not necessarily. Rooting hormone is most helpful for stem cuttings placed in soil because it can speed up rooting. For divisions and offsets that already have some root structure, it usually won’t change outcomes much. If you use hormone, keep the cut end only lightly coated and never fertilize immediately after potting, since young roots can burn.
My cuttings keep wilting, even though I gave them bright indirect light. What’s happening?
Wilting often means the cutting is losing water faster than it can replace it because roots are not formed yet. Common fixes are reducing direct sun, adding a humidity tent (especially in dry rooms), and ensuring the medium is moist but not soggy. For soil cuttings, don’t let the mix dry out completely during the first week.
How long should I wait before assuming a cutting has failed?
For many common houseplant cuttings in the right conditions, you should see early root signs in 1 to 3 weeks. If there is no change and the cutting base turns soft or smells, discard it and restart with fresher material. If it still looks firm and green, give it a bit longer, but do not keep a stagnant cutting in overly wet conditions for weeks.
What’s the right pot size when rooting cuttings or planting bulbs and tubers?
Use a pot that fits the plant closely rather than one that is much larger. Excess soil stays wet longer, which increases rot risk around underdeveloped roots. For cuttings, a small pot with drainage holes is ideal, and for bulbs or tubers give enough room for growth without filling the entire container with extra, unused wet mix.
Can I propagate succulents without seeds using cuttings, and do they need the same callus step?
Succulents are the main group where the callus step matters a lot. Let the cut end dry until it forms a dry, sealed surface (often a few hours to overnight), then root in a lightly moist, well-draining mix rather than keeping it constantly wet. Avoid water-first rooting for many succulents, since their cut tissue can rot in water.
What should I do if my offset or sucker separated but has no roots yet?
If it has no roots, treat it like a new cutting. Many people root these pieces in water first until you have about 2 inches of new roots, then pot into a light, well-draining mix. During the first weeks in soil, provide shade and consistent moisture, then gradually increase light to avoid stress.
Can I propagate plants in low light or during winter?
You can, but you must adjust expectations and environment. Low light slows rooting and increases failure risk because the cutting can’t replace lost water. Use warmth for rooting (avoid cold windowsills), keep light bright but indirect, and consider a gentle humidity tent. If growth is very slow for weeks, it may be seasonal rather than impossible.
Is fertilizer helpful during the first month of no-seed propagation?
Usually no. After moving a water-rooted cutting into soil, hold fertilizer for at least 4 to 6 weeks, because young roots are fragile and salts in fertilizer can cause burn. Once you see consistent new leaf growth, switch to regular care and then resume a light feeding schedule.
How can I troubleshoot overwatering versus poor rooting when nothing seems to happen?
Check the planting mix moisture, if it stays wet or your cutting base is dark and soft, the issue is likely rot from excess water. If the medium dries out too fast, it may look fine but still won’t root because the cutting dehydrates. For soil cuttings, a “wrung-out sponge” consistency is the target, then judge progress mainly by new leaf growth (a rooting sign) rather than just leaf survival.