Nurseries grow plants by controlling every variable that affects growth: how a plant starts (seed, cutting, division, or tissue culture), the light intensity and temperature it lives in, the growing media it roots into, how it gets fed, and how it transitions to the real world before sale. The whole system is a repeatable production cycle, and once you understand the logic behind each step, you can copy it at home with whatever space and budget you have.
How Do Nurseries Grow Plants Step-by-Step Guide

Marcus Holloway
5 May 2026
What nurseries are actually doing when they 'grow plants'
A commercial nursery isn't just putting seeds in dirt and hoping for the best. Every crop follows a production schedule with defined stages: propagation (making new plants), lining-out (moving young plants into small containers called liners), growing-on (building the plant to saleable size), and finally harvesting for retail. When you understand how new plants grow from propagation, you can make better choices about seeds, cuttings, divisions, or tissue culture propagation (making new plants). Some nurseries skip the early stages entirely by buying liners from specialist propagators and just growing them on to market size. That flexibility is exactly what you can borrow at home. You don't have to start from seed if buying a small starter plant and growing it on is a better use of your time.
The timeline is longer than most people expect. A potted hydrangea, for example, can begin its production cycle roughly a year and a half before it hits the shelf. After receiving dormant liners, growers put them through about 1,000 chilling hours, then spend 8 to 11 weeks finishing a plant from a 4.5-inch liner into a 6.5-inch saleable container. Understanding that timeline recalibrates expectations. Slow growth isn't failure; it's the schedule working as intended.
Propagation: the four ways nurseries make new plants
Every plant in a nursery started one of four ways. Knowing which method suits your plant is one of the most valuable pieces of knowledge you can have as a grower.
Seeds
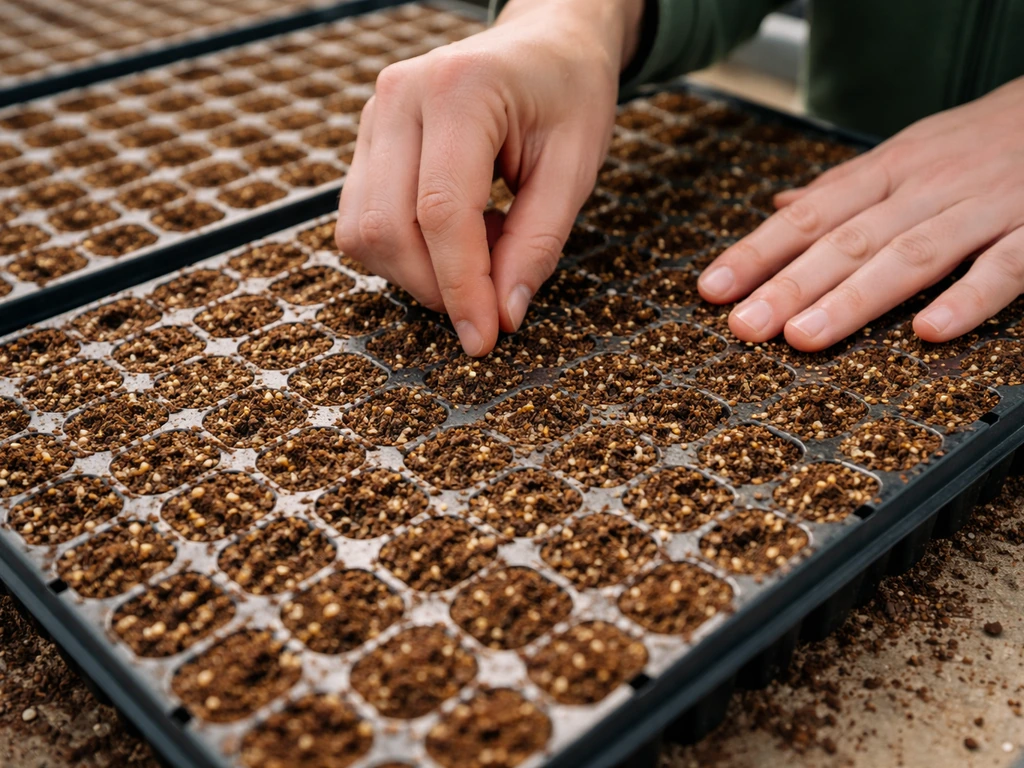
Seeds are cheap to produce at scale and work well for annuals, vegetables, and many herbs. Nurseries sow them into seed trays or plug trays with a fine-textured starting mix, keep moisture and temperature tightly controlled, and pot on as soon as roots fill the cell. The downside is variability: seedlings from the same packet can differ in vigor, color, and timing, which is a problem for a nursery trying to sell uniform batches.
Cuttings
Stem cuttings are the workhorse of commercial propagation for shrubs, perennials, and most houseplants. A healthy shoot tip is cut, treated with rooting hormone, and stuck into a loose, well-aerated medium. Moisture management in the first week is critical. For poinsettias, nursery growers keep mist high for the first four days while the cutting stabilizes, then back off slightly around days five through eight when callus forms and root initiation begins. Too much moisture after that point encourages rot; too little causes wilting before roots exist to absorb water. Cuttings also produce clones of the parent plant, which is why every Pothos or Monstera from a nursery looks identical to the stock plant it came from.
Divisions
Clump-forming perennials like hostas, ornamental grasses, and many ferns are simply divided at the root, potted into individual containers, and grown on. It's fast, reliable, and produces plants that look mature quickly because they already have an established root system. This is one of the easiest propagation methods to replicate at home.
Tissue culture
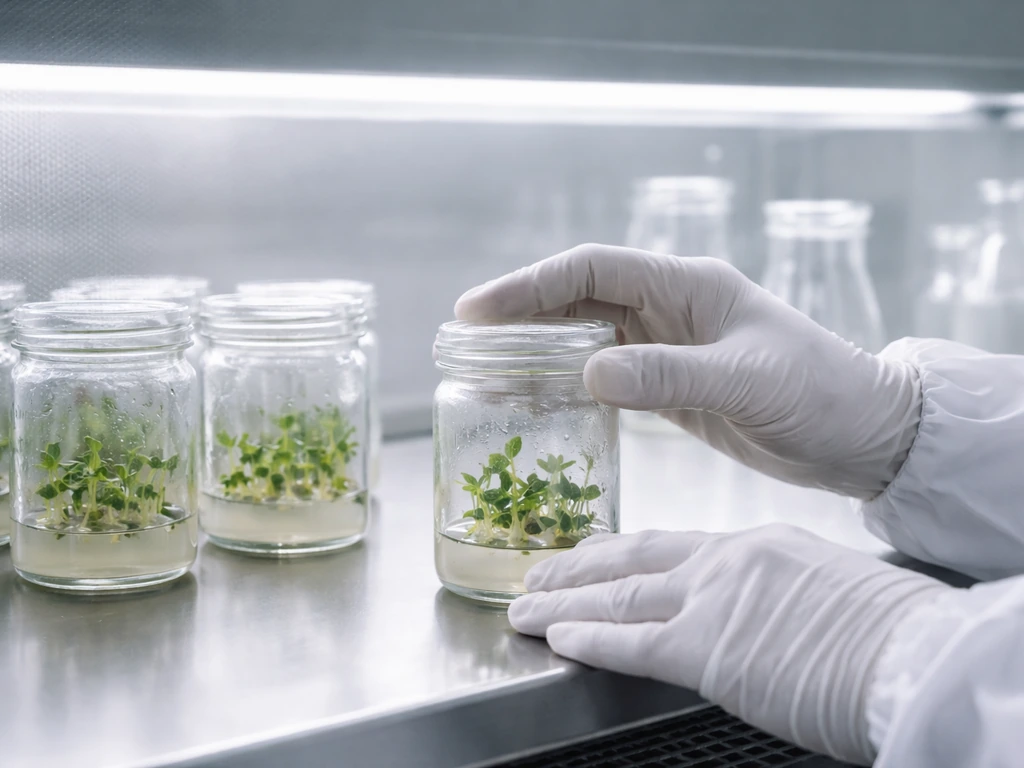
Tissue culture (also called micropropagation) is how nurseries produce huge numbers of disease-free, genetically identical plants from a tiny amount of starting material. A few cells from a growing tip are placed in a sterile nutrient gel inside a lab, multiplied thousands of times over, then rooted and transitioned into regular growing conditions. This is why you can buy banana plants, orchids, and rare aroids at relatively low prices. You won't be doing this at home without a lab setup, but it's worth knowing why tissue-cultured plants sometimes need extra acclimatization time when you first bring them home: they were raised in perfect, humidity-controlled sterile conditions and need a transition period to adapt to normal air.
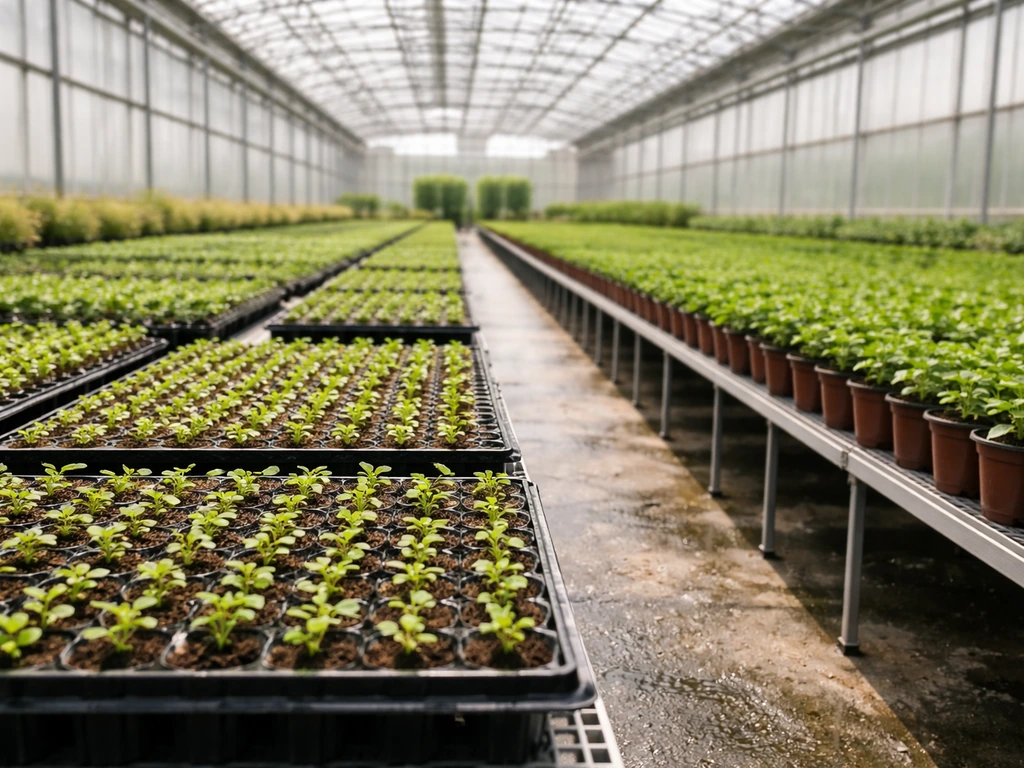
Greenhouse controls: light, temperature, and watering done precisely
The greenhouse is essentially a machine for removing variables. Here's how each major factor is managed and why it matters.
Light
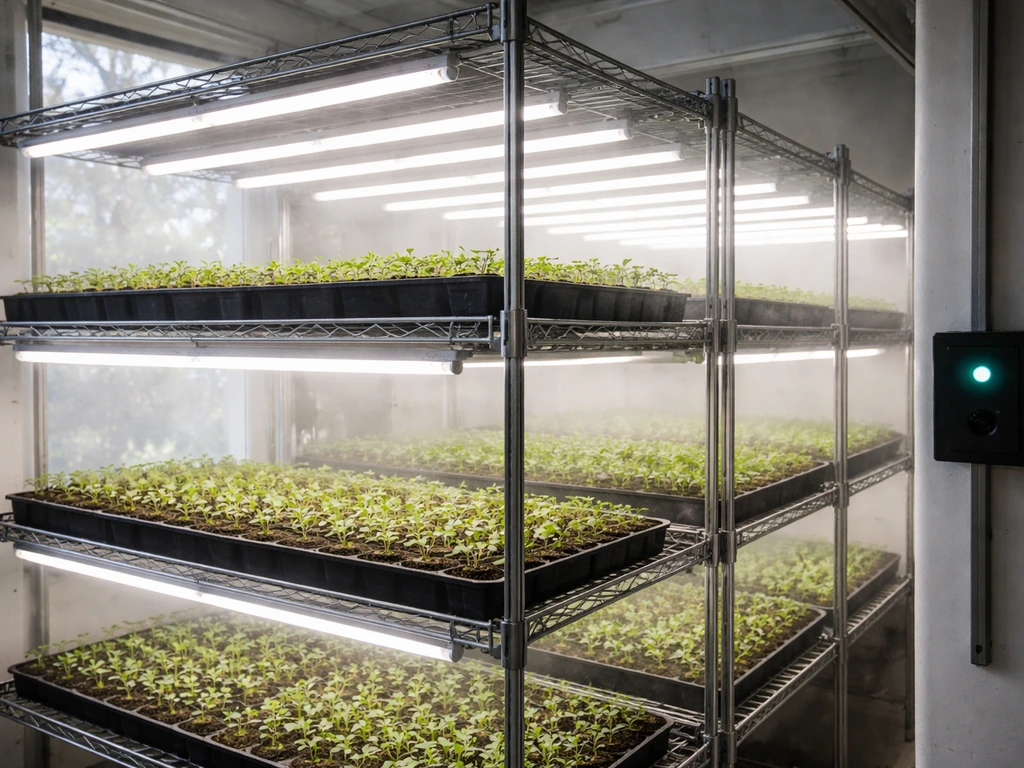
Nurseries measure light in DLI (Daily Light Integral), which is the total amount of photosynthetically useful light a plant receives in a day. During early propagation when cuttings are just callusing, growers target a low DLI of around 5 mol per square meter per day to reduce stress on the cutting. Once roots begin forming, that target rises to 10 to 12 mol per square meter per day to fuel photosynthesis and speed up root development. In practical terms for cuttings, that early stage means roughly 100 to 200 micromoles of light per square meter per second; after root initiation it jumps to 200 to 400. The reason for keeping light low early is that a cutting with no roots can't replace water fast enough to handle high light, so it wilts and fails. Once roots exist, more light means faster, stronger growth. If you want to grow more leaves, focus on giving your plants enough light and nutrients while keeping water and temperature steady so new growth can keep pushing.
Temperature and humidity
Most propagation happens at 65 to 75 degrees Fahrenheit with high relative humidity to reduce transpiration stress on cuttings that don't yet have roots. As plants develop and move into the growing-on phase, temperature ranges are adjusted to match the specific crop. Humidity is gradually lowered during the toning stage (the nursery equivalent of hardening off) so plants aren't shocked when they reach drier retail or home environments. Bottom heat is often used in propagation benches to keep root zone temperature a few degrees warmer than air temperature, which speeds callus formation and rooting.
Watering
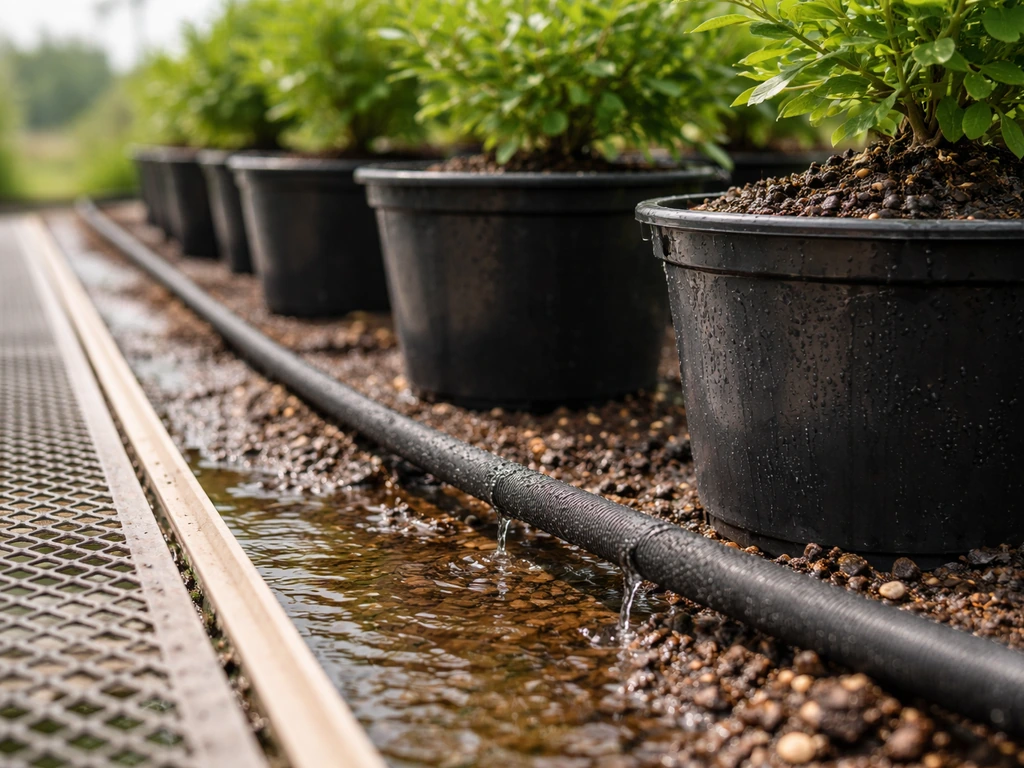
Nurseries don't just water until things look wet. Container crops are irrigated to 'container capacity,' meaning water is applied until the substrate is fully saturated and a controlled amount drains out the bottom. The target is roughly 10 to 20 percent leaching: enough drainage to flush accumulated fertilizer salts without wasting nutrients. Rutgers NJAES recommends applying enough water to produce a leaching fraction in the range of 10% to 30% to help prevent and control salinity buildup in ornamental plant production blank" rel="noopener noreferrer">The target is roughly 10 to 20 percent leaching. The Alabama Cooperative Extension System (ACES) recommends using a leaching fraction around 15% to 20% in container nurseries to leach salts while limiting water loss blank" rel="noopener noreferrer">The target is roughly 10 to 20 percent leaching: enough drainage to flush accumulated fertilizer salts without wasting nutrients.. When irrigation water quality is high and salt levels are low, some operations aim for leaching fractions below 10 percent to avoid losing dissolved nutrients. Too little leaching, though, allows salts to build up in the root zone, which damages roots and locks out nutrients. The key tool for monitoring this is measuring the electrical conductivity (EC) and pH of the leachate that drains from containers. If EC is running high at week's end, the next irrigation cycle gets extended to flush more salts out.
Growing media and containers: what goes in the pot matters enormously
Commercial nurseries almost never use garden soil in their containers. Instead, they use engineered substrates: mixes of peat moss, perlite, coir, pine bark, or vermiculite blended to provide good drainage, aeration, and enough water retention to avoid constant irrigation. For propagation specifically, the medium needs to be even looser. Research on poinsettia propagation found that loose-filled liner trays outperform compacted plug mixes, and stabilized media formats like Ellepots (pre-formed peat plugs) or Oasis foam cubes work well because they hold their structure while allowing air to reach the developing root zone.
Container choice follows the plant's stage. Seedlings start in 128-cell or 72-cell trays, then move to 4-inch or 4.5-inch liners, then get potted up into finishing containers as roots fill the available space. The rule nurseries follow for transplanting is simple: plant the liner so its soil line sits level with the finished pot's soil surface. Never bury the crown. Liner age at transplant also affects finish timing, with plants in well-developed 6 to 8 week old large-cell liners typically showing better shoot and root development at transplant and faster time to a finished, saleable plant.
Feeding plants: how nurseries fertilize without burning or starving
Nurseries use two main fertilizer strategies, often in combination: liquid feed applied with every (or every other) irrigation, and slow-release granular fertilizers mixed into the substrate or top-dressed on the pot. A common liquid feed program uses a balanced formula like 21-5-20 at around 250 ppm of nitrogen, applied consistently through the growing season. Slow-release options like Osmocote (a typical formulation covers 5 to 6 months) are incorporated at rates ranging from 4 to 10 pounds per cubic yard of substrate depending on crop needs and production length.
The most important thing nurseries do that home growers often skip is monitoring. EC (electrical conductivity) of the leachate tells you whether nutrients are accumulating to damaging levels or whether they're running low. pH of the substrate determines whether nutrients are actually available to the plant regardless of how much fertilizer has been applied. Most nutrient 'deficiencies' that look like yellowing or stunted growth are actually pH problems in disguise, with iron, manganese, and other micronutrients becoming chemically unavailable outside a narrow pH range. Nurseries catch this early with routine leachate testing; home growers can use an inexpensive EC and pH meter to do the same.
Hardening off: the step that determines whether a plant survives leaving the nursery
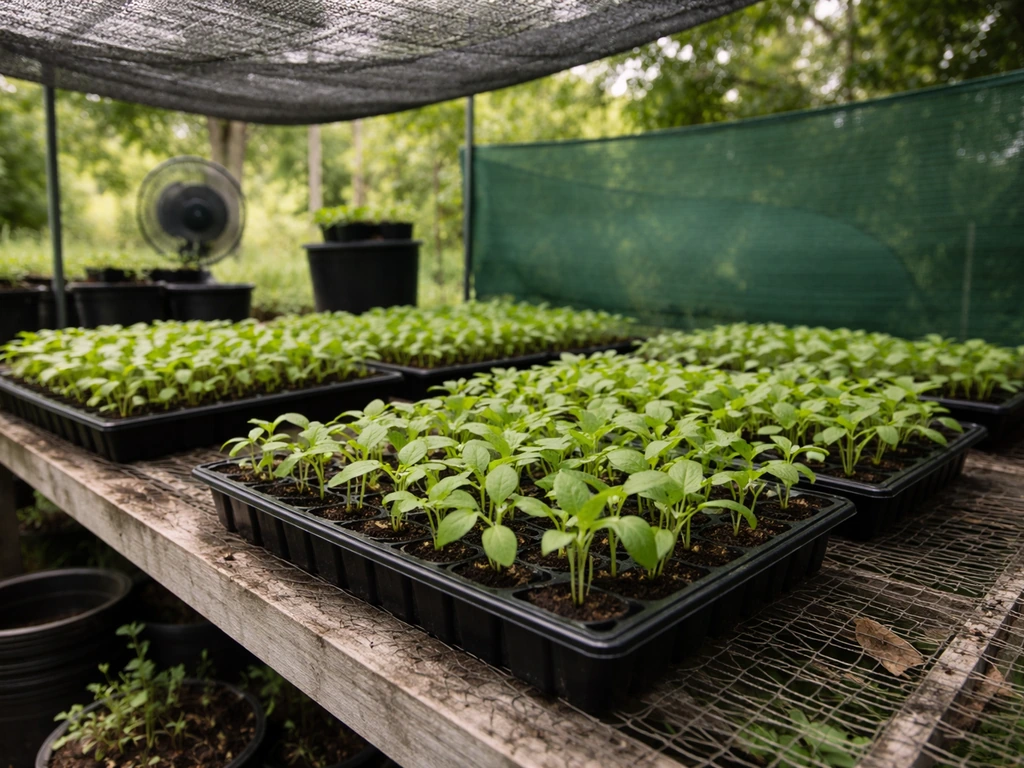
A plant grown in a warm, humid, low-wind greenhouse is physiologically different from a plant that can handle outdoor conditions. The cells in its leaves are thinner, its stomata behave differently, and its root system isn't calibrated for rain-driven water fluctuations. Hardening off is the process of slowly bridging that gap. The RHS recommends a two to three week acclimatization period, gradually exposing plants to cooler temperatures, lower humidity, and increased air movement before full outdoor planting. Timing typically aligns with late spring when frost risk drops.
In a commercial context, this is the 'toning' stage in the nursery production cycle. Growers reduce irrigation frequency slightly, lower greenhouse temperatures, increase ventilation, and may move plants to a shadehouse or outdoor holding area before shipping. In a r/tomatoes discussion on hardening off, gardeners also describe reducing watering during hardening off as part of preparing tomato plants for outdoor conditions reduce irrigation frequency slightly. The goal is a plant that won't go into shock when a customer takes it home and puts it on a windowsill or in a garden bed. Skipping or rushing this step is one of the most common reasons newly purchased nursery plants fail within a week of arriving home.
Pests, disease, and the problems nurseries work hardest to prevent
Damping off
Damping off is the seedling killer that shows up as sudden collapse at the soil line, often overnight. It's caused primarily by Pythium and Rhizoctonia fungi, with Pythium responsible for pre-emergence rot (seeds rot before sprouting) and Rhizoctonia more often causing the classic post-emergence collapse where the stem pinches off at the base. Neither pathogen spreads through the air, which is actually good news for prevention. They spread through contaminated soil, dirty tools, and infected water. Nurseries prevent damping off by using steam-sterilized or commercially prepared sterile media, sanitizing trays and tools between crops, and never reusing old potting mix in propagation areas.
Fungus gnats
The tiny flies hovering around your houseplants are fungus gnats, and the adults are harmless. The larvae are the problem: they feed on roots and organic matter in the top layer of moist potting mix, stunting growth and creating entry points for disease. Nurseries monitor using yellow sticky traps placed at the potting mix surface, catching adults before populations build up. For larval control, Bacillus thuringiensis subspecies israelensis (Bti), sold as Gnatrol and similar products, is applied to the growing medium every three to seven days. It's a biological control option that's safe for plants, people, and beneficial insects, and it's available in formulations home growers can use too.
Root issues from overwatering and pot binding
Overwatering is the most common cultural problem in container production. It's not actually about water volume so much as frequency and drainage: roots need oxygen between waterings, and consistently saturated media suffocates them. Nurseries avoid this by using well-aerated substrates and irrigating on a schedule tied to actual plant water use rather than a fixed calendar. Pot-bound roots are managed by moving plants up one container size before roots begin circling the bottom of the pot. Circling roots become girdling roots over time, eventually strangling the plant from within.
How to copy nursery techniques at home
You don't need a greenhouse to apply these principles. The logic translates directly to a windowsill, a small grow tent, a hydroponic setup, or a terrarium. Here's how to adapt each nursery practice to a home context. If you want a practical roadmap, start with how to grow nursery plants by matching light, temperature, watering, and media to the plant’s stage.
| Nursery practice | Soil/container at home | Hydroponics or water culture | Terrarium |
|---|---|---|---|
| Propagation | Root cuttings in perlite or loose seed mix in a covered tray | Propagate directly in water or a net cup with hydroton; roots form readily in humid air gaps | Take small tip cuttings and press into damp sphagnum; humidity in the enclosure does the work |
| Light management | Aim for a south-facing window or a grow light 12–16 inches above seedlings for 14–16 hrs/day | LEDs are ideal; keep DLI consistent with a timer since there's no buffering from soil | Low to moderate indirect light; avoid direct sun which overheats the enclosure |
| Watering | Water thoroughly until 10–15% drains from the bottom; wait until the top inch of soil dries | Monitor reservoir EC and top off with fresh water to dilute salt buildup | Misting and drainage layer management; condensation on the glass is your feedback loop |
| Fertilizing | Dilute liquid fertilizer at half the label rate every 1–2 weeks during active growth | Use a hydroponic nutrient solution and monitor EC with a meter; adjust weekly | Minimal fertilization; use slow-release at very low doses or rely on the closed ecosystem |
| Hardening off | Move plants outside in shade for 30 mins, increase daily over 2–3 weeks | Transition from high humidity grow tent to open air gradually over 1–2 weeks | Crack the lid incrementally over several days before fully opening the enclosure |
| Pest prevention | Yellow sticky traps near the soil surface; Bti drench for fungus gnats | Keep reservoir covered; clean equipment between crops to prevent algae and root rot | Inspect cuttings before adding to the enclosure; quarantine new plants for 2 weeks |
The single most transferable nursery habit for home growers is monitoring before intervening. Nurseries check EC and pH routinely instead of guessing. At home, that looks like checking your soil moisture before watering (not on a schedule), testing leachate pH if plants look off, and putting up a yellow sticky trap so you know what's flying around before it becomes an infestation. Small, consistent observations prevent the big dramatic failures.
If you're growing plants from the very beginning, understanding how a plant starts its life shapes every decision you make about light, moisture, and nutrients in those first critical weeks. And once you've got plants established, the principles behind growing more foliage or producing a bushier, fuller plant draw directly from the same nursery logic: more light after roots are established, appropriate feeding, and a container size that gives roots room to grow without drowning them in excess media.
Your practical next steps
Start with one propagation method that matches a plant you already have. If you have a pothos or a succulent, try a cutting. If you have a clumping houseplant like a peace lily or a snake plant, try a division. Use a loose, well-draining mix (not garden soil), keep the cutting moist but not soaked, and give it gentle indirect light for the first week before moving it to brighter conditions. Pick up a cheap pH and EC meter if you're serious about growing containers or hydroponics. Set a sticky trap near any plant sitting in moist soil. And the next time you buy a plant from a nursery, give it a week or two near a window with no fertilizer, no repotting, and minimal fuss before changing anything. That window is your version of hardening off, and it gives the plant time to tell you what it needs before you intervene.
FAQ
How do nurseries prevent cuttings from wilting when they are kept in low-root conditions?
Most nurseries grow by stage, not by a single “houseplant recipe.” If your goal is to root a cutting, prioritize humidity and gentle light first, then increase light only after you see strong root development. A common mistake is treating newly cuttings like mature plants, which can lead to wilting even if the media stays moist.
If I do not measure EC and pH, how can I avoid the most common fertilizer mistakes when copying nursery methods?
Nurseries avoid guessing with fertilizers by tracking whether nutrients are actually staying available to the roots. At home, if you do not have EC and pH tools, one practical backup is to use a consistent product at label rate and watch for repeatable symptoms, then adjust based on new growth rather than a one-time yellowing event.
What does “watering to container capacity” look like in practice for home growers?
“Container capacity” does not mean constantly wet, it means saturating and allowing drainage so roots get oxygen between cycles. If water runs out quickly and the pot dries within a day, you likely need a better substrate or a different watering interval. If water never drains or the mix stays swampy, that indicates poor aeration or an oversized pot.
How do nurseries decide when to move a plant into a bigger container?
Nurseries often use liners, then up-pot at the right time based on root progress, because too-large a pot increases the time the mix stays wet and reduces oxygen near roots. A quick rule is to up-pot when roots are filling the liner and you see early circling, not just when the plant looks bigger above ground.
Can I swap in my own potting mix and still copy a nursery’s growth results?
Even if two nurseries use similar schedules, outcomes differ if the substrate’s water retention and drainage are different. If you are substituting home potting mixes, test by feel and drainage, then adjust irrigation frequency so the mix dries slightly on top before fully rewatering, especially for plants prone to rot.
What is the easiest way to mimic the nursery “hardening off” step at home after buying a plant?
Yes. Nurseries do toning by shifting plants toward higher airflow, lower humidity, and often slightly cooler conditions, then reducing water frequency so the plant adapts before it hits retail or home. If you buy a plant, keep it near the same light for several days, then gradually move it to brighter spots while increasing airflow.
Why do tissue-cultured plants sometimes take longer to thrive after you bring them home?
Tissue-cultured plants often look smaller at first because they need time to rebuild their normal “non-sterile” growth environment, especially stomatal behavior and root function. Plan for a longer acclimation period and avoid heavy fertilizing immediately, because the new root system may not use nutrients effectively right away.
What conditions most often cause damping off in home seed-starting trays, and how do I fix them?
Damping off is more likely when media stays cool, wet, and poorly aerated, and when tools or trays are reused without sterilization. If you are having problems, switch to fresh or properly prepared sterile starting mix for propagation, water from the bottom when possible, and increase airflow around seedlings.
How do nurseries control fungus gnats without relying on chemicals that may harm beneficial insects?
If fungus gnats are present, nurseries target the larvae in the top moist layer, not the adults. At home, the quickest win is to let the top inch or two of the mix dry between waterings where plant type allows, combine with yellow sticky traps, and use a biological larvicide according to label timing.
How can I tell whether slow growth is normal schedule delay versus a problem I caused at home?
Most nursery quality issues tied to “slow growth” are really schedule and stage issues, not bad plants. Compare your plant to the expected stage it should be in, then adjust one variable at a time, usually light first, because too little light limits photosynthesis even when watering and feeding seem correct.
Is it worth buying an EC and pH meter for home, and how should I use it correctly?
A cheap EC and pH meter can be useful, but readings only help if samples are consistent. Measure leachate only when the pot is well watered, record the same water source if possible, and treat the goal as trends over time, not a single day’s number.