Growing plants naturally means leaning on what plants actually need, which is the right light, clean water, healthy soil or medium, and a modest supply of nutrients, while skipping the synthetic fertilizers and chemical pesticides that can do more harm than good over time. You don't need a complicated setup or expensive products. You need to match the plant to your conditions, give it a home it can thrive in, and learn to read what it's telling you. Everything else builds from there.
How to Grow Plants Naturally: A Step-by-Step Guide

Marcus Holloway
26 Apr 2026
What 'Growing Naturally' Actually Means
In practice, growing naturally means minimizing synthetic inputs and working with biological processes instead of against them. The USDA's National Organic Program gives a formal definition: most synthetic pesticides and fertilizers are prohibited in organic production, and the focus shifts to building soil health, feeding beneficial biology, and using physical or biological methods to manage pests. You don't have to be a certified organic farmer. But borrowing that mindset, which is feed the soil, not just the plant, and prevent problems rather than nuke them, is exactly what makes natural growing work.
Practically, this looks like: using compost instead of synthetic fertilizer, watering based on what the soil actually needs rather than a fixed schedule, choosing pest controls that target the problem without scorching beneficial insects, and picking plants that are suited to your conditions so they aren't fighting to survive from day one.
Natural Growing Basics: Light, Water, Soil, and Nutrients
Every plant runs on four things. Get these roughly right and most plants will take care of themselves. Get them badly wrong and no amount of organic fertilizer will fix it.
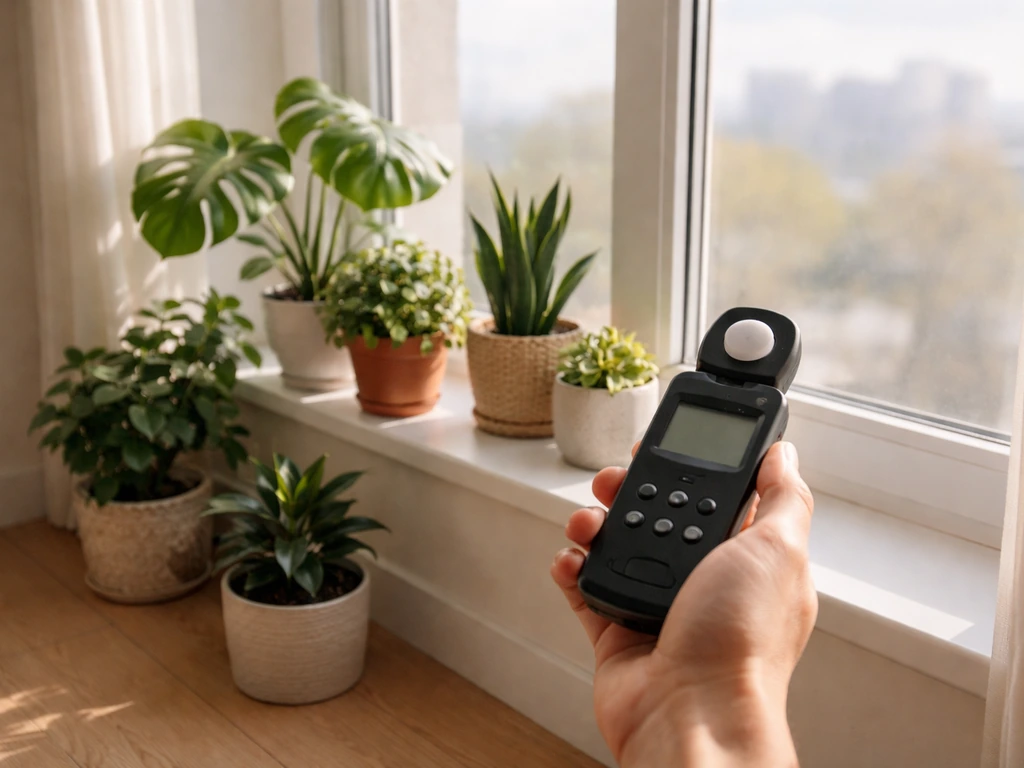
Light
Light is the most common bottleneck for indoor growers. Low-light houseplants generally do okay in the 50 to 250 foot-candle range, while high-light plants like herbs and most vegetables want 500 to 1,000 foot-candles or more. A foot-candle sounds technical but it just describes how bright the light is where your plant is sitting, not how bright it looks to your eyes. Your phone can measure this with a free light meter app.
The more useful thing to know is that light intensity drops fast as you move away from a window. A plant sitting two meters back from a south-facing window can be receiving a fraction of the light of a plant right on the sill. When intensity is low, move the plant closer rather than trying to compensate with more fertilizer.
Natural light also changes throughout the day and across seasons, so don't judge your light situation from one glance at noon in April. Observe it over a few days if you can. Duration matters too: a bright hour isn't the same as a dim all-day exposure, which is the idea behind the concept of daily light integral (how much total light a plant receives over a full day).
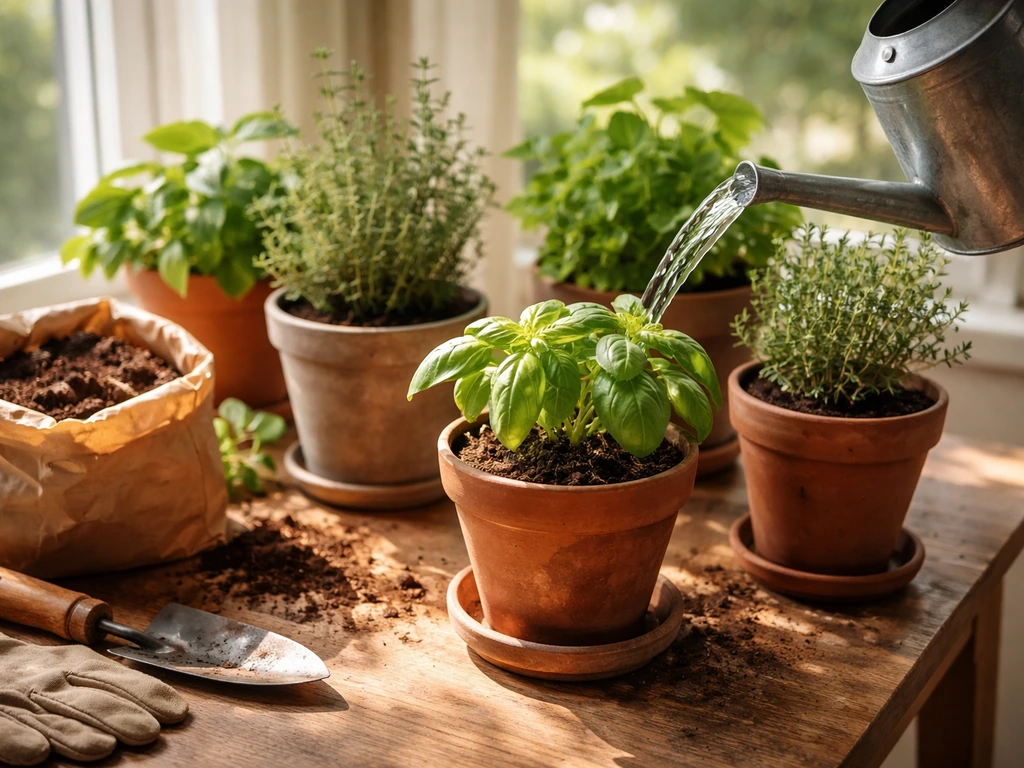
Water
The best watering method costs nothing: stick your finger an inch or two into the soil. If it feels cool and damp, wait. If it feels dry, water. University extension programs including WSU and UMN both recommend this feel-and-appearance approach as a reliable, low-cost way to judge soil moisture in the root zone. Watering on a fixed schedule (every Tuesday, say) is one of the most common beginner mistakes because it ignores what the plant is actually experiencing. Water when the plant needs it, based on what you feel in the soil, not when it's convenient.
Soil and Growing Medium
Healthy soil for most vegetables and edibles sits in a pH range of roughly 6.0 to 7.0. Inside that range, nutrients are chemically available to roots. Outside it, even a well-amended soil can leave plants deficient. A basic soil test kit (available at garden centers for a few dollars) will tell you where you stand and whether you need to adjust. Compost-amended soil generally falls in a pH of 6.0 to 8.0, which means it's usually safe to use without worrying much about pH swings, but testing is still the cleaner habit.
Nutrients
Plants need nutrients in the right amount, at the right time, in the right place, as USDA's nutrient management guidance frames it. More is not better. Over-fertilizing is a real problem, especially with houseplants, and it can burn roots and tip the soil chemistry out of balance. Compost is your safest default: it releases nutrients slowly, feeds soil biology, and is hard to over-apply at reasonable rates. About an inch of compost worked into garden beds per year is a solid starting point, according to University of Minnesota Extension.
Choose the Right Plants for Your Space
Matching the plant to your actual conditions is probably the single most impactful decision you'll make. A sun-loving tomato in a dim north-facing window is going to struggle no matter what you do. A pothos in that same window will thrive with minimal attention. Before you buy anything, assess what you have.
Indoors vs. Outdoors
Outdoors, the USDA Plant Hardiness Zone Map is a starting point for knowing which plants can survive your winters based on average annual minimum temperatures. It doesn't tell you everything (local moisture, wind, and microclimates all matter), but it keeps you from buying a tropical plant destined to die at the first frost. Look up your zone, then check plant labels for their hardiness range.
Indoors, hardiness zones don't apply, but light and humidity do. Most homes sit between 30% and 60% relative humidity according to ASHRAE guidance, and many tropical houseplants prefer the 40% to 60% range. If your home is very dry in winter, a simple humidity tray or grouping plants together can help. Misting helps briefly but doesn't sustain humidity long-term.
Matching Plants to Your Light Reality
- Low light (50–250 foot-candles): pothos, snake plant, ZZ plant, peace lily, cast iron plant
- Medium light (250–500 foot-candles): spider plant, heartleaf philodendron, most ferns, Chinese evergreen
- High light (500–1,000+ foot-candles): most herbs, succulents, vegetable seedlings, fruiting plants like tomatoes and peppers
- Limited space indoors: herbs on a bright windowsill, lettuce in a small container near a window, or trailing plants in hanging pots
If you've killed plants before, the most likely reason is a light or watering mismatch, not a personal failing. Start with something forgiving like pothos or herbs, build your observation habits, and work up to more demanding plants from there.
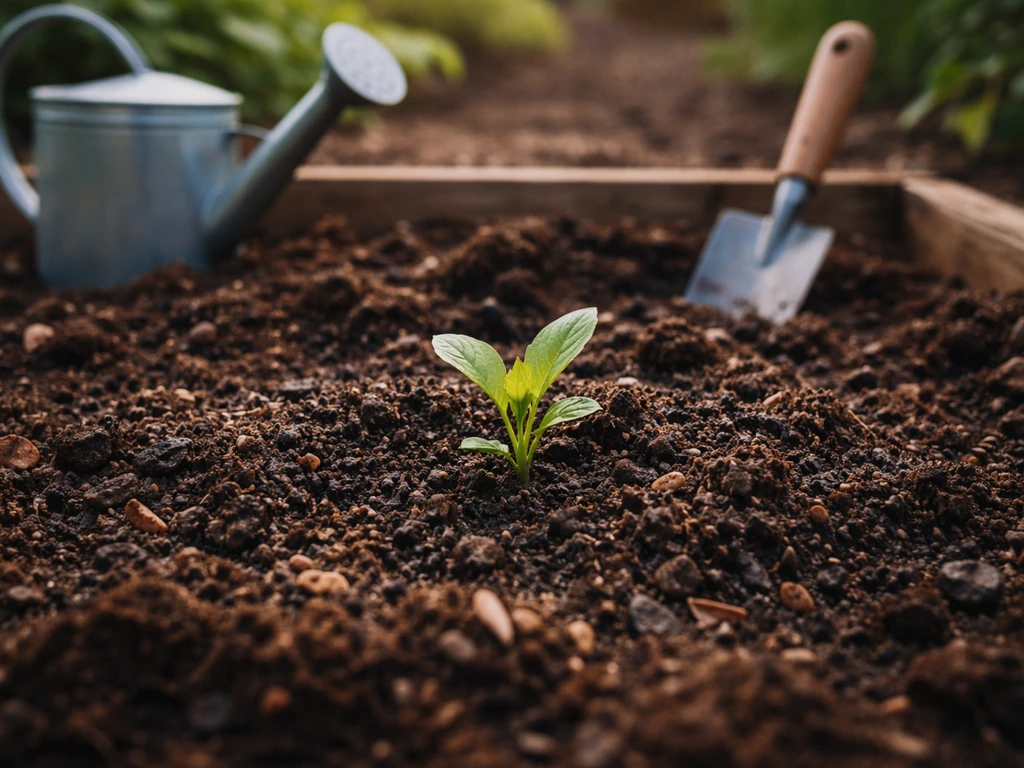
How to Grow Naturally in Soil
Preparing Your Soil or Potting Mix

For raised beds, University of Minnesota Extension recommends a mix of roughly half to two-thirds topsoil combined with one-third to one-half compost as a starting point, then adjusting based on soil test results. For containers, use a quality potting mix rather than garden soil, which compacts badly in pots. Adding a small amount of compost (about a quarter of the mix) improves water retention and feeds soil biology without overwhelming the mix.
Before planting, check your pH. Most edibles want 6.0 to 7.0. If you're acidic, add a little garden lime. If you're alkaline, sulfur or extra compost can help bring it down. Test again after a few weeks to see where you've landed.
Watering in Soil
Focus on the root zone, not just the surface. A light daily sprinkle that only wets the top centimeter isn't doing much. Water deeply and less frequently, which encourages roots to grow down where moisture is more stable. Use the finger test every time. If the top inch or two is dry, water thoroughly until you see drainage from the pot (for containers) or until the soil is moist a few inches down (for beds).
Feeding Naturally in Soil
Compost is your main tool. Apply about an inch to your beds each growing season and work it in lightly. For container plants, top-dress with a thin layer of compost every month or two during the growing season. Compost tea (compost steeped in water, ideally aerated, and applied promptly) can give plants a liquid boost, but apply it the same day you make it: the beneficial microbes die off quickly. Slow-release organic fertilizers like worm castings, fish emulsion, or kelp meal are other good options that are hard to overdo.
Natural Pest Prevention in Soil Gardens
Sanitation and cultural practices are your first line of defense, which is exactly how integrated pest management (IPM) frames it. Remove dead leaves and plant debris, space plants so air can circulate, rotate crops from year to year, and don't overwater (wet conditions invite fungal problems and pests). Check your plants regularly, because catching a pest problem when it's a few insects versus a full infestation makes a huge difference in how hard it is to fix.
How to Grow Naturally Without Soil
Soil-free growing fits perfectly within a natural approach when you're using organic nutrients and passive, low-tech systems. Two options work especially well for beginners: water propagation and simple passive hydroponics.
Water Propagation
Cuttings from many common houseplants (pothos, philodendron, basil, mint, coleus) will root readily in a glass of plain water on a bright windowsill. Change the water every few days to keep it oxygenated and clean. Once roots are an inch or two long, you can transfer to soil or leave the plant in water long-term with occasional diluted organic liquid fertilizer. This is one of the most beginner-friendly ways to propagate plants without spending money.
Passive Hydroponics (the Kratky Method)
The Kratky method is a passive, non-circulating hydroponic approach where plant roots sit above a nutrient solution reservoir. As the plant drinks, the solution level drops and an air gap forms, which oxygenates the roots without pumps or electricity.
The Atlas Scientific blog explains the Kratky method’s passive principle: no pumps or air stones are required because the static nutrient reservoir and the exposed root-zone air gap let plants balance water and oxygen as the reservoir level drops no pumps or electricity. Lettuce is an ideal starting plant for this: UF/IFAS Extension notes that lettuce is well-suited to Kratky-style set-and-forget systems, with each plant using roughly 1 to 1.
5 gallons of solution over its life. Use an organic or naturally derived liquid nutrient solution and a simple opaque container to prevent algae growth, and you have a low-waste, low-effort system that grows food on a windowsill or under a lamp.
If you're interested in pushing plants to grow as fast as possible in these systems, that's a different but related goal that's worth exploring separately as part of a broader look at rapid growth techniques.
Low-Waste Natural Methods
Composting
Compost is decomposed organic material where microorganisms break down materials into forms plants can use, as the USDA defines it. You don't need a fancy bin. A pile of kitchen scraps (no meat or dairy), garden trimmings, and some dry material like cardboard or dried leaves, kept moist and turned occasionally, will produce usable compost in a few months. Finished compost has a dark, earthy smell and a crumbly texture. It's the cheapest, most effective soil amendment you can make.
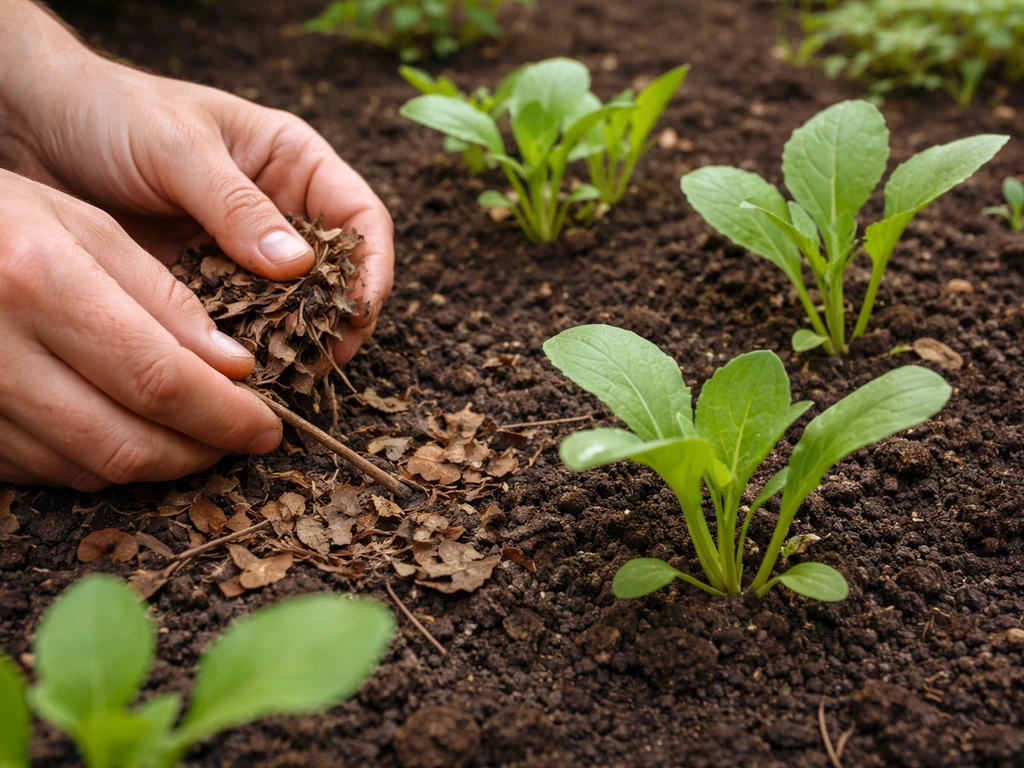
Mulching
A layer of mulch on top of your soil (straw, wood chips, shredded leaves, or a few inches of compost) does several things at once: it slows water evaporation, moderates soil temperature, suppresses weeds, and breaks down over time to feed the soil. Applying two to three inches of mulch around plants (keeping it away from stems) is one of those low-effort, high-return habits that experienced gardeners rely on heavily.
Natural Pest Control
When prevention isn't enough, these are the options that align with a natural approach, in rough order of how and when to use them:
- Physical removal: hand-pick larger pests, knock aphids off with a water spray, use sticky yellow traps to monitor and catch winged insects
- Insecticidal soap or neem oil: both are low-toxicity and effective on soft-bodied insects like aphids, spider mites, and whiteflies. Neem's active compound (azadirachtin) disrupts insect molting rather than killing on contact. Don't mix neem with sulfur-based products
- Bt (Bacillus thuringiensis): a naturally occurring bacterial spray specifically effective against caterpillars and certain larvae, with minimal impact on other insects
- Trichoderma-based products: beneficial fungi applied to soil or roots to suppress fungal root diseases through competition and mycoparasitism, a well-studied biocontrol approach
Troubleshooting Common Problems
Plants communicate through their leaves, stems, and roots. Here's how to read the most common distress signals and what to do about each.
| Symptom | Most Likely Cause | What to Do |
|---|---|---|
| Yellow leaves (lower/older leaves first) | Overwatering or nutrient deficiency | Check soil moisture with finger test; reduce watering frequency; top-dress with compost |
| Yellow leaves (all over, fast) | Overwatering leading to root rot, or sudden low light | Unpot and check roots; trim any black/mushy roots; repot in fresh mix; move to brighter light |
| Leggy, stretched growth | Insufficient light | Move plant significantly closer to the light source or rotate toward the brightest window |
| Wilting with wet soil | Overwatering/root rot | Stop watering; let soil dry; check roots and remove rotten sections; repot if needed |
| Wilting with dry soil | Underwatering or heat stress | Water thoroughly; check pot drainage; water more frequently in warm conditions |
| White fuzzy patches on soil or stems | Fungal growth (mold) | Improve air circulation; reduce surface watering; remove affected material; let topsoil dry between waterings |
| Mushy, brown, or black roots | Root rot from overwatering or poor drainage | Trim affected roots with clean scissors; repot in well-draining mix; correct watering habits |
| Tiny moving dots on undersides of leaves | Spider mites | Spray with water to dislodge; follow with neem oil or insecticidal soap; increase humidity |
Most plant problems come down to water (usually too much) and light (usually too little). Before assuming something exotic is wrong, check those two first. Yellowing leaves cause a lot of anxiety in beginners, but they're almost always fixable once you identify the root cause, literally and figuratively.
Overwatering Is the Biggest Beginner Trap
Plants that are overwatered look stressed, which can look exactly like underwatering: drooping, yellow leaves, poor growth. The difference is in the soil. If the soil is wet and the plant is wilting, you're overwatering. The fix is to stop watering, improve drainage, and let the root zone dry before watering again. If roots are already rotting (black, mushy, with an unpleasant smell), trim them back to healthy tissue and repot in fresh, well-draining mix.
Your Simple Starting Plan
Here's a straightforward plan you can start today, regardless of your space or experience level: Here is how to grow plants easily: start with the fundamentals of light, water, soil, and nutrients, then adjust based on what your plants signal.
- Assess your light: check which window gets the most direct sun, and for roughly how many hours a day. This determines what plants you can realistically grow
- Pick one forgiving plant that matches your light level. Indoors with low light? Start with pothos. Bright windowsill? Try herbs like basil or mint. Outdoor space? Check your USDA hardiness zone and pick a seasonal vegetable suited to it
- Set up your growing medium: potting mix with a small amount of compost for containers, or a topsoil-compost blend for raised beds
- Water by feel, not by calendar: stick your finger in the soil before every watering decision
- Feed lightly once a month during the growing season with compost, worm castings, or diluted fish emulsion
- Check your plant every few days: look at the leaves, the soil, and the stems for early signs of stress or pests
- Keep notes: write down when you watered, what you fed it, and what you observed. After a few weeks you'll start recognizing patterns
From here, you can branch out into faster-growing techniques, soil-free setups, or more specialized plants as you get comfortable. If you specifically want Wisconsin fast plants, start by choosing short-season varieties and match them to your light, water, and soil conditions so they can grow quickly. If you're aiming for speed, check our guide on how to grow a plant in 5 days using the same core light, water, and soil fundamentals. Growing easily and growing quickly are natural next steps once you have the fundamentals dialed in, and the habits you build now will transfer directly to more ambitious projects. The plants will show you what they need. Your job is to learn their language.
FAQ
How do I know if my plant is getting too much or too little water when both can cause droopy leaves?
Use the soil, not the leaves. If the top inch is cool and wet, drooping usually means overwatering, especially if new growth is soft or yellow. If the soil is dry several inches down (or the pot feels much lighter), it is more likely underwatering. If you suspect overwatering, improve drainage and let the root zone dry before restarting watering, and check for a bad smell or mushy roots if the problem persists.
What’s the best “natural” way to improve soil if my garden stays soggy after rain?
Start with drainage and structure before adding compost. Work in compost only to reasonable rates, then consider adding coarse organic matter (like shredded leaves) to improve aeration, and avoid walking on wet beds. For containers, use potting mix (not garden soil) and ensure plenty of drainage holes, because compost alone will not fix chronic saturation.
Should I fertilize naturally every week or just use compost?
Compost covers many plants well if the growth is healthy, but “how often” depends on container size, plant type, and how fast the soil dries. A practical approach is compost as the baseline, then add a gentle slow-release option (like kelp meal or worm castings) only if growth is pale or slow. Avoid frequent liquid feeding on a set schedule, because pH and nutrient levels can swing faster in pots.
Is it safe to use compost tea for indoor plants, and what mistake should I avoid?
It can be safe, but the key mistake is storing or delaying application. Apply compost tea the same day you make it, and keep it diluted for houseplants since they are sensitive to salt buildup. Also, treat it like fertilizer, not a general “plant wash,” and do not drench the foliage if your plants tend to stay humid, which can increase fungal issues.
How do I prevent pests naturally without using chemical pesticides, especially indoors?
Prioritize air flow and plant hygiene, remove heavily infested leaves early, and isolate new plants for about a week before placing them with your collection. For spot treatments, use targeted physical methods (hand removal, rinsing, sticky traps) and choose the least disruptive organic controls for the specific pest, because broad sprays can wipe out beneficial insects and worsen the problem.
What if my plants still struggle even though my watering and light seem “right”?
Check the root zone for the hidden cause. Pots that are root-bound, media that stays too compact, or roots sitting in constantly wet lower soil can keep plants from absorbing nutrients even when the surface looks fine. Lift the plant and inspect roots, and repot into fresh well-draining mix if you see circling roots or a dense, waterlogged mass.
How often should I test soil pH if I’m mostly using compost?
Test at least once before major planting (or after building a new bed) and again after amendments, especially if you changed sources of compost or added soil additives like lime or sulfur. In beds that are stable and only get compost at moderate rates, pH often shifts slowly, but containers can change faster because there is less buffering capacity.
Can I grow plants “naturally” without buying special equipment like pH kits or light meters?
Yes, but you will need substitutes for the decisions those tools support. For pH, you can start with a basic garden test, but if you skip it, choose plants that tolerate your conditions and avoid aggressive pH corrections. For light, move plants closer to the window first and observe changes over several days, because a phone light meter is optional but accurate placement is not. The core rule remains matching plants to your real light and watering behavior.
What’s a common natural-growing mistake people make with compost on containers?
Overloading containers with too much compost. A small percentage mixed into potting mix helps water retention and biology, but topping off too heavily can compact the mix over time, change drainage, and raise the risk of nutrient imbalance. If you top-dress, use a thin layer and refresh the mix periodically rather than building a thick compost layer indefinitely.
How do I pick plants that will actually succeed in my space, not just based on popularity?
Start by listing your realistic conditions: window direction, approximate hours of direct sun, your indoor humidity in winter, and how quickly your pots dry. Then choose from plants whose typical needs match that profile, and upgrade gradually. If you are unsure, begin with species that tolerate lower light or irregular watering (like pothos or many herbs) and let observation guide the next purchase.