Yes, you can grow beautiful, healthy plants at home in Tamil Nadu (or anywhere with a warm, tropical climate), even if you have a small balcony, limited sunlight, or have killed every plant you have ever owned. The secret is not a green thumb. It is matching the right plant to your actual conditions and then learning a handful of basic care habits. This guide walks you through every step: picking plants, setting up your space, watering and feeding correctly, propagating new plants for free, and fixing the most common problems before they kill your plants.
How to Grow Plants in Tamil: Home Setup Guide

Marcus Holloway
16 Apr 2026
Pick the right plant first (this is the most important step)
Most beginners fail not because they cannot care for plants, but because they pick plants that do not match their home. A south-facing balcony that gets six hours of direct sun is completely different from a north-facing flat that barely sees natural light. So before you buy anything, look at your space honestly.
For low-light homes (rooms with small windows, north-facing walls, or heavily shaded balconies), start with snake plant (Sansevieria), ZZ plant (Zamioculcas zamiifolia), peace lily, pothos, or flamingo flower (Anthurium). These are not just "tolerant" of low light. They genuinely thrive in it. ZZ plant in particular is often called the ultimate low-light houseplant because it stores water in its roots and can handle neglect that would destroy most other plants. Peace lily is another excellent choice and adapts well to low-light conditions while still producing flowers indoors.
For bright or outdoor spaces, you have far more options: hibiscus (chembarathi), jasmine (malli), tulsi, curry leaf (karuveppilai), and money plant all do well in warm, sunny Tamil conditions. Curry leaf and tulsi are especially practical because you can actually use them in your kitchen while growing them.
If you are a complete beginner, pick one plant from the low-light list above and get comfortable with its needs before branching out. Pothos and snake plant are forgiving enough that you can make mistakes and still recover.
Set up your growing space before you plant anything
Indoors vs. outdoors
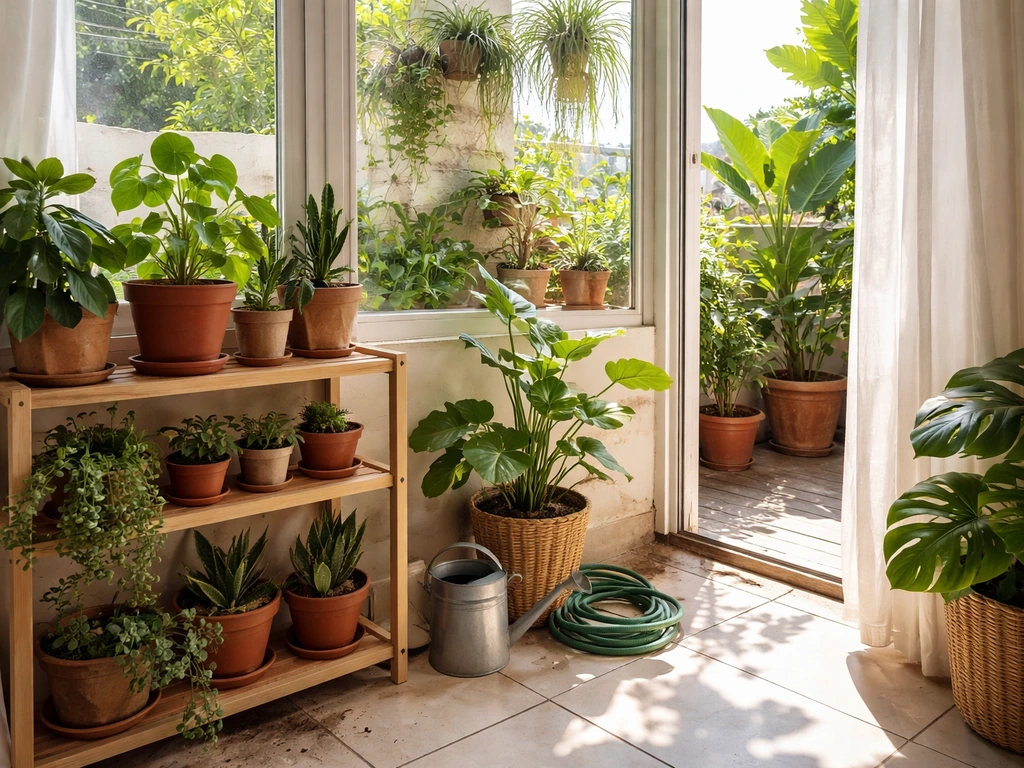
Both work well in Tamil Nadu's climate, but they need slightly different setups. Outdoors, your plants get real sunlight, natural rain, and good airflow, which means faster growth but also faster drying of soil and more exposure to pests. Indoors, you control the environment much more, but light is the limiting factor. Most indoor spaces in Indian apartments get indirect light at best, which is why the low-light plants listed above are your best starting friends.
Pots and drainage: do not skip this
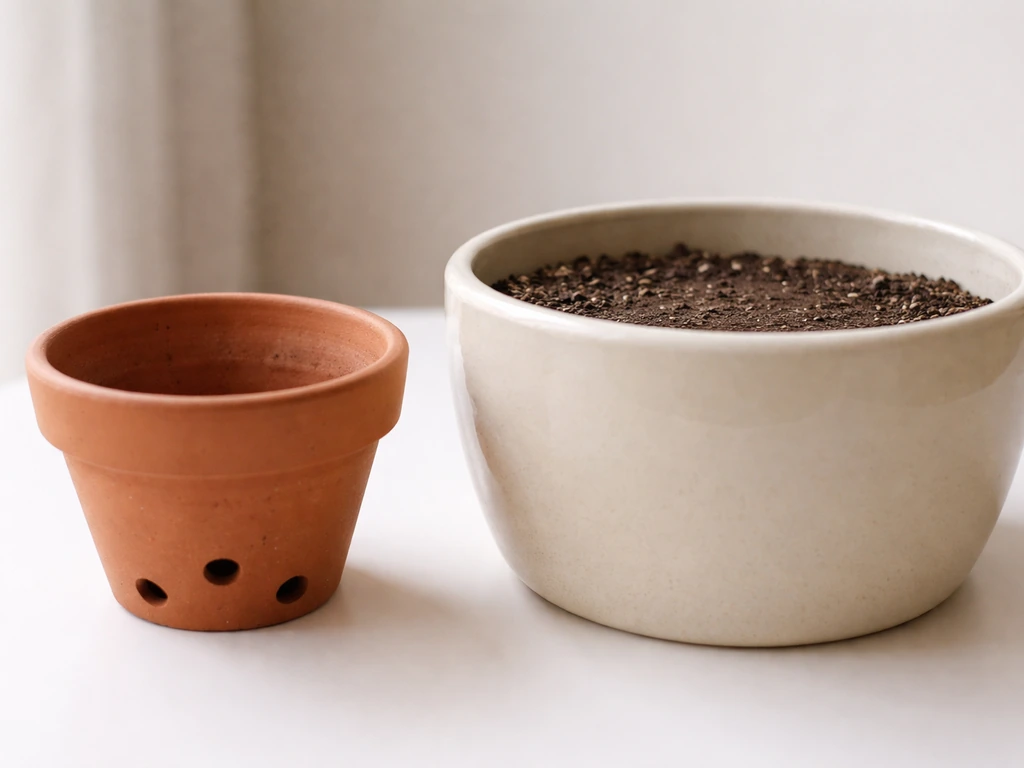
Choose a pot with drainage holes at the bottom. This is non-negotiable. Roots sitting in stagnant water are the number one cause of plant death for beginners. Oklahoma State University Extension also advises never leaving a houseplant standing in water because it leads to root rot, making proper drainage integral to watering Roots sitting in stagnant water are the number one cause of plant death for beginners.. Terracotta pots are great for outdoor use because they breathe and dry out faster. Plastic or glazed ceramic pots retain moisture longer, which can actually be better for indoors if you tend to forget watering. Whatever pot you use, make sure water drains freely out of the bottom every time you water.
Pot size matters too. A pot that is too large for a small plant will hold too much soil and moisture around the roots, encouraging rot. A general rule: choose a pot that is about 1 to 2 inches wider than the plant's root ball. You can always move up to a bigger pot as the plant grows.
Light, watering, and soil: the three things that decide everything
Light
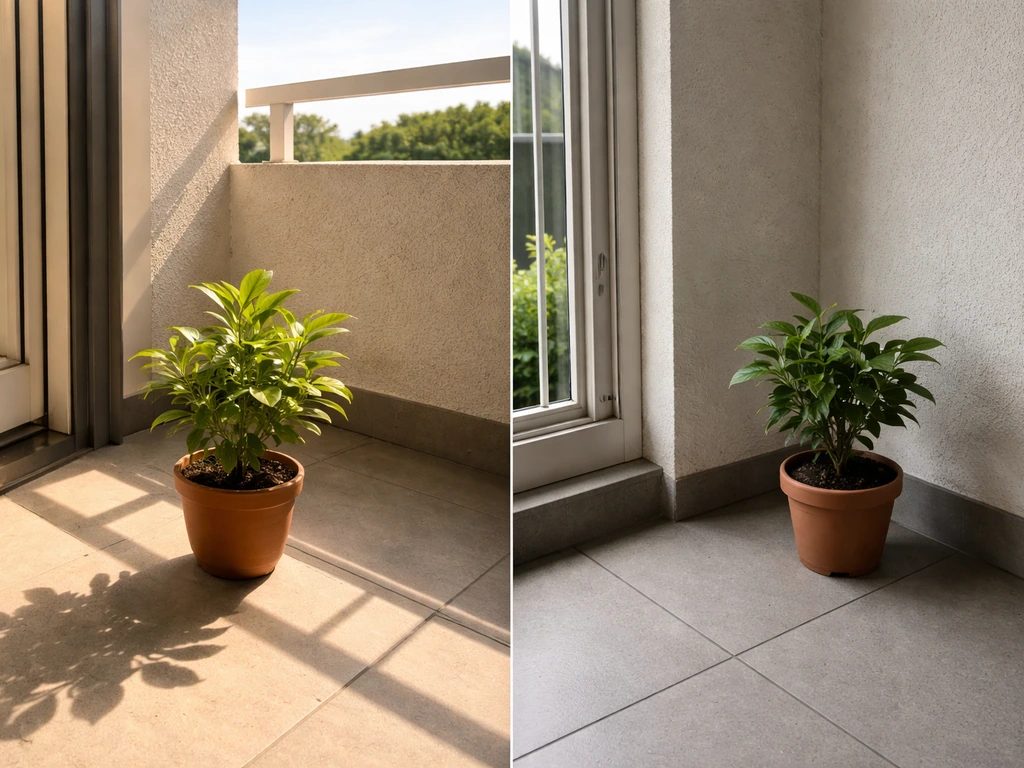
Light is plant food. Without enough of it, a plant cannot photosynthesize, and no amount of watering or fertilizing will fix that. For indoor plants, position them as close to a window as possible. Even "low-light" plants do better with some indirect natural light than none at all. If your room is very dark, consider a simple grow light. For outdoor plants in Tamil Nadu, morning sun (east-facing) is gentler and works for most plants. Harsh afternoon sun (west-facing) can scorch delicate leaves but is perfect for succulents and sun-lovers like hibiscus.
Watering
The most reliable way to know when to water is the finger test: push your finger about 1 to 2 inches into the soil. If it feels dry, water thoroughly until it drains out the bottom. If it still feels moist, wait another day or two and check again. Do not water on a rigid schedule like "every Tuesday." Water based on what the soil actually tells you, because seasonal changes, pot size, and room temperature all affect how quickly soil dries. Overwatering kills far more houseplants than underwatering does.
Soil and potting mix
Regular garden soil is too dense for pots. It compacts, blocks drainage, and suffocates roots. Use a potting mix instead. A good DIY mix for most houseplants combines cocopeat (coconut coir) for moisture retention, compost for nutrients, and perlite or coarse sand for drainage and airflow. A practical starting ratio is roughly 40% cocopeat, 30% compost, and 30% perlite or sand. This gives roots the air, moisture, and nutrients they need without drowning them. You can buy ready-made potting mixes that already include these ingredients if you do not want to mix your own.
How to actually plant: seeds vs. cuttings
Starting from seeds
Seeds are satisfying but slower. Fill a small seed-starting tray or pot with moist potting mix. Press seeds about 2 to 3 times their own diameter deep into the soil. Cover lightly, mist with water, and place in a warm, bright spot (not direct harsh sun). Keep the mix consistently moist (not soggy) until germination. Most vegetable seeds like tomato, spinach, and coriander germinate in 5 to 10 days in Tamil Nadu's warm climate. Flower seeds may take longer.
Starting from cuttings (the faster, easier route)
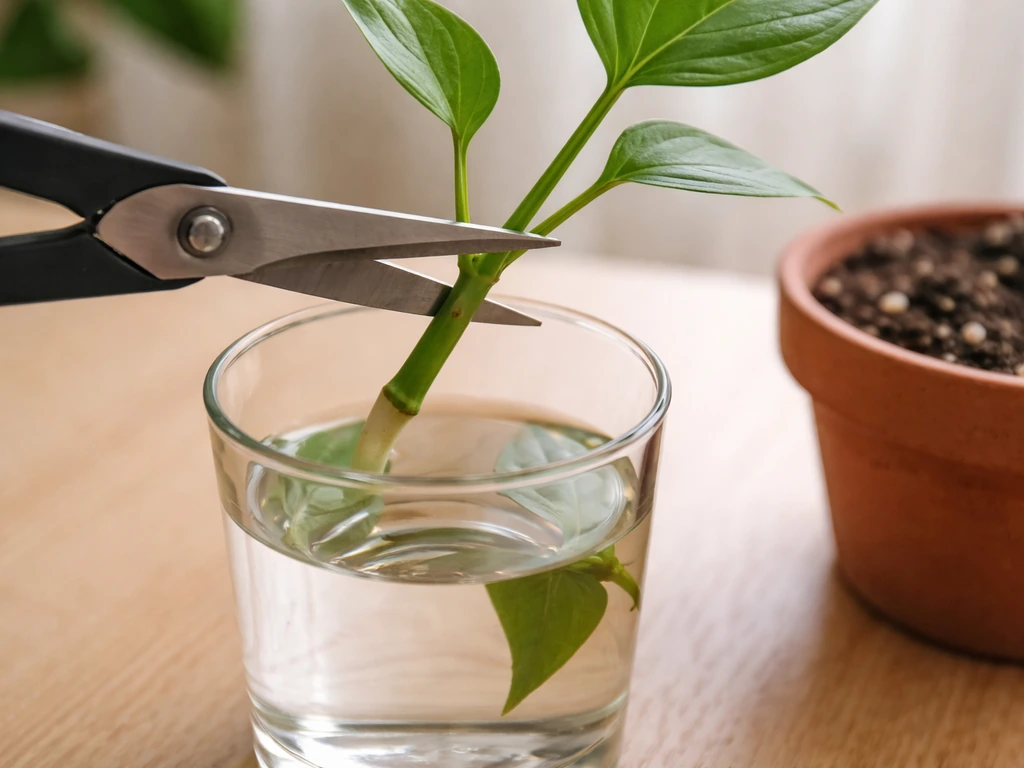
Cuttings are the beginner's best friend. Cut a healthy stem just below a node (the bump where a leaf attaches) using clean scissors. Aim for a cutting that is 10 to 15 cm long and has at least 2 to 3 leaves. Remove any leaves that would sit below the soil or waterline. You can optionally dip the cut end in rooting hormone powder to encourage faster root development, though for easy rooters like pothos this is not strictly necessary.
You can root cuttings in water or directly in moist potting mix. Water rooting is great for beginners because you can actually see the roots developing. Place the cutting in a clean glass of water, keep it in bright indirect light, and change the water every 3 to 4 days to keep it oxygenated and prevent rot. Once roots are about 2 to 3 cm long, transfer them to potting mix.
Do not wait too long to transplant, as roots that develop too long in water can become fragile and struggle to adjust to soil. This step-by-step approach for water propagation is especially well-suited to pothos, which releases natural rooting compounds into the water and roots reliably with very little effort.
Keep your plants healthy with a simple care routine
Fertilizing without overcomplicating it
Fresh potting mix already contains nutrients, but those get used up within about six weeks of potting. After that, your plant needs you to feed it. For most houseplants, a liquid fertilizer applied once every two to four weeks during the active growing season (March to October roughly, in Tamil Nadu) is plenty. Slow-release granular fertilizers are a convenient alternative: apply once in early spring and they feed the plant gradually through the growing season. One caution: do not combine slow-release granules with regular liquid feeds at the same time. Pick one approach and stick with it.
Slow growers like ZZ plant and snake plant need even less: feeding every six to eight weeks is usually enough. Overfeeding causes fertilizer burn (brown leaf tips) and can actually damage roots. When in doubt, feed less and increase gradually.
Other weekly care habits
- Wipe dust off large, flat leaves with a damp cloth once a month. Dusty leaves absorb less light.
- Rotate your pot a quarter turn every week or two so all sides get equal light exposure.
- Check the underside of leaves and stem joints for pests every time you water.
- Remove dead or yellowing leaves promptly to keep the plant healthy and prevent disease spread.
- For outdoor plants in Tamil Nadu's hot season, check soil moisture daily since heat dries pots out fast.
When things go wrong: quick troubleshooting
Plant problems almost always come down to one of five causes: too much or too little water, wrong light, not enough nutrients, low humidity, or pests. Here is how to diagnose the most common ones.
Yellow leaves
Yellow leaves are the most common complaint and the most confusing because multiple things can cause them. Overwatering is the most likely culprit if the soil feels soggy and the yellowing is widespread with soft, mushy stems. Underwatering causes yellowing too, but the soil will be bone dry and leaves may also feel crispy or curl. If the soil moisture seems fine, check light levels (too little light causes slow yellowing from the lower leaves up) and consider whether it has been more than six weeks since you last fertilized.
Drooping or wilting
A drooping plant usually needs water urgently. Water thoroughly and it should perk up within a few hours. If it does not, the problem may actually be overwatering and root rot, in which case the roots are damaged and cannot take up water even though the soil is wet. Check the roots: healthy roots are white or light tan. Rotted roots are brown, mushy, and smell bad. Trim the rot, let the roots dry slightly, and repot in fresh, well-draining mix.
Common pests and how to spot them
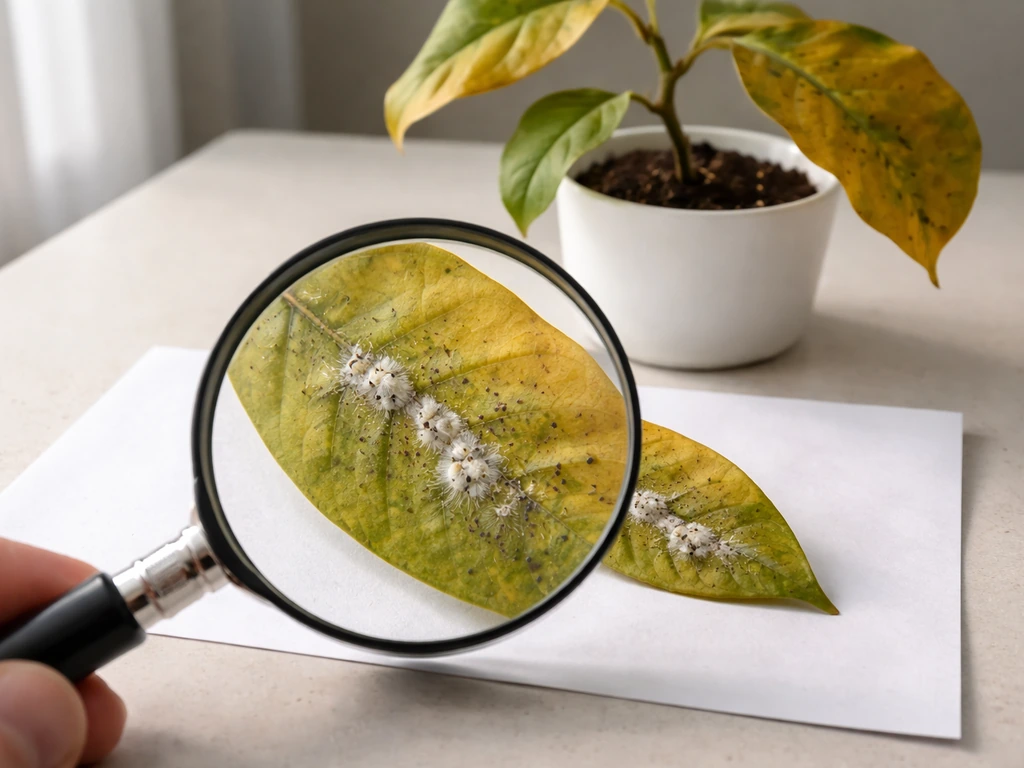
Mealybugs look like small white cottony clusters and hide in leaf and stem joints, in the crown of the plant, and sometimes even near the drainage holes at the bottom of the pot where they can feed on roots unnoticed. If you see white fluffy patches, isolate the plant immediately. Wipe off visible bugs with a cotton swab dipped in rubbing alcohol and treat with a neem oil spray every week for three weeks.
Spider mites are harder to spot because they are tiny. To confirm them, hold a sheet of white paper under a suspicious leaf and tap the leaf firmly. If you see tiny moving specks on the paper, you have spider mites. Other signs are fine webbing on the undersides of leaves and a stippled, faded look on leaf surfaces (leaves may eventually yellow and drop). Treat with neem oil or insecticidal soap spray, and increase humidity around the plant because spider mites hate moist conditions.
| Problem | Most likely cause | What to do today |
|---|---|---|
| Yellow leaves (lower leaves first) | Overwatering or low light | Check soil moisture with finger test; move plant closer to window |
| Yellow leaves with crispy edges | Underwatering or low humidity | Water thoroughly; mist leaves or place near a water tray |
| Drooping despite wet soil | Root rot from overwatering | Check roots, trim rot, repot in fresh well-draining mix |
| White cottony clusters | Mealybugs | Isolate plant; wipe with alcohol-dipped cotton; spray neem oil weekly |
| Stippled faded leaves + webbing | Spider mites | Do the paper tap test to confirm; treat with neem oil or insecticidal soap |
| Slow or no growth | Low light or nutrient deficiency | Move to brighter spot; begin regular fertilizing if more than 6 weeks since last feed |
| Brown leaf tips | Fertilizer burn or fluoride in tap water | Flush soil with water; reduce fertilizer; switch to filtered water |
Ready to go further? Water growing, hydroponics, and terrariums
Once you are comfortable with basic soil growing, there are some genuinely exciting alternatives that work brilliantly in small Tamil homes. Growing plants in water (hydroponics or simple water culture) removes the soil variable entirely and makes overwatering impossible. Pothos, lucky bamboo, and peace lily all grow happily in a vase of water with occasional liquid fertilizer added. The key is changing the water regularly to keep oxygen levels up, since oxygen in standing water depletes over time and can cause stem rot.
Terrariums are another option worth exploring, especially for small spaces. A closed or semi-open glass container creates its own mini-humidity environment, which is perfect for ferns, mosses, and small tropical plants that need consistent moisture. They are nearly self-watering once set up correctly and look stunning on a desk or shelf. If you want a deep dive into growing plants in pon, a popular inorganic growing medium used in semi-hydroponics, that is a fantastic next step after you have mastered basic soil care.
Hydroponics takes this further by growing plants in a nutrient-rich water solution with no soil at all. It produces faster growth, uses less water overall, and is increasingly popular in urban Indian homes. The setup requires a bit more investment in equipment, but the results for herbs like mint, basil, and coriander are impressive. If you enjoy the problem-solving side of gardening, you might also find it fun to explore how plant-growing mechanics work in simulation games: the article on how to grow plants in No Man's Sky is a surprisingly useful way to understand growth cycles and resource management in a low-stakes environment.
Your first week: a simple action plan
- Today: Walk through your home and note where natural light hits. Is it direct sun, bright indirect, or dim? This tells you which plant category to buy.
- Day 1 to 2: Buy one beginner-friendly plant (pothos, snake plant, or ZZ plant for low light; hibiscus or curry leaf for sunny spots). Get a pot with drainage holes and a bag of potting mix.
- Day 2 to 3: Repot your new plant into fresh potting mix if it came in a flimsy nursery pot. Water once thoroughly and let it drain completely.
- Day 3 to 7: Check soil moisture daily using the finger test. Do not water until the top 2 cm feels dry.
- Week 2 onward: Establish your care routine. Check for pests weekly. Start fertilizing after the first six weeks with a diluted liquid fertilizer.
- Month 2: Take your first cutting and try propagating it in water. This is how you get free plants and build confidence fast.
Every experienced gardener started somewhere and killed plants along the way. The difference between people who give up and people who develop a green thumb is simply persistence and curiosity. If a plant dies, treat it as information: what went wrong? Too much water? Not enough light? Fix one variable and try again. You will be surprised how quickly things click. And if you enjoy the growing mindset beyond the garden, it is worth checking out how resource-based survival games approach cultivation, like the guide on how to grow plants in Stranded Deep, which mirrors real prioritization decisions beginners face when deciding what to grow first with limited resources.
Whether you are growing tulsi in a small balcony pot, setting up a hydroponic herb wall in your Chennai apartment, or nurturing a ZZ plant in a dim corner of your Coimbatore office, the fundamentals are the same: right plant, right light, right water, right soil. Get those four things aligned and your plants will tell you the rest.
For those who want to extend their growing knowledge into more unconventional setups, exploring how to grow plants in V Rising offers an interesting angle on managing growth systems under constrained conditions. And if you are curious how space-based growing mechanics compare to real plant biology, the guide on growing plants in a Corvette in No Man's Sky is a fun read that highlights just how universal the principles of light, nutrients, and environment really are.
For something a little more playful while still thinking about plant care logic, the article on how to grow plants in Raise a Floppa 2 rounds out the picture nicely. Start small, stay curious, and you will have a thriving garden before you know it.
FAQ
How do I figure out my balcony’s light level for choosing plants (and not guess)?
Do a simple audit for 2 to 3 days: note how many hours you get direct sun (where leaves would be), and how long the area is bright but not direct. If it is under 3 hours direct sun, start with low-light plants (ZZ, snake plant, pothos) even if the balcony “feels bright” to you. Also watch when the shade arrives, because afternoon shade can matter more than morning shade in Tamil Nadu.
Can I keep indoor plants outside during summer and bring them back later?
Yes, but acclimate them. Move plants to outdoors for 1 to 2 hours on the first day, then increase gradually over 7 to 10 days so leaves do not scorch. Bring them back before heavy rain or strong wind days if the balcony has splash exposure, since sudden soaking plus direct sun can trigger rot or leaf burn.
What water quality issues should I watch for in Tamil Nadu (hard water, chlorine, etc.)?
If your tap water is hard, you may see salt buildup on pot edges or slow decline over time. Use filtered or boiled-and-cooled water if possible, and occasionally flush the pot with plain water so excess salts drain out. For water propagation, always use clean containers and change water on schedule, since dissolved minerals and low oxygen can worsen stem rot.
How often should I rotate indoor plants?
Rotate every 1 to 2 weeks so growth stays even. Without rotation, plants like pothos often grow toward the window, becoming lopsided and weaker. Rotation is especially important when you rely on indirect light from one side.
My plant is growing, but leaves look pale, is it light or fertilizer?
Pale or yellow-green new growth usually points to low light or nitrogen deficiency, while older leaves yellowing often points to overwatering or depleted roots. Check soil first, if it stays wet for days, reduce watering. If soil is drying normally and drainage is good, then feed lightly during the active season rather than immediately increasing light by moving it to harsh direct sun.
Should I prune or pinch plants, and when is the best time?
Yes, pruning helps many beginner plants branch. Pinch or cut back leggy tips (like pothos) when you notice long, sparse growth. Do it during active growing months (roughly March to October) so plants recover faster. Always use clean scissors, and remove only small sections at a time to avoid shock.
What’s the safest way to repot if my plant looks unhealthy or root-bound?
Repot only when soil drains poorly, roots are circling the pot, or growth has stalled for weeks. Move up just 1 to 2 inches in pot diameter, use a fresh well-draining mix, and water lightly after repotting (not heavily). If you suspect root rot, trim only dark mushy roots, let cuts dry briefly, then repot into dry-ish fresh mix so you can restart watering with the finger test.
Can I grow multiple plants in one pot to save space?
You can, but match plants by watering needs. Avoid pairing a thirsty plant with a drought-tolerant one, because one will suffer. Also ensure each plant can get enough light, crowded roots dry slowly and increase rot risk. For beginners, it is usually better to keep one plant per pot until you are confident with the watering rhythm.
What are the most common mistakes when starting from seeds in Tamil Nadu’s weather?
The biggest mistakes are planting too deep and keeping the mix either bone dry or waterlogged. Keep the seed mix consistently moist, not soggy, and use a warm bright spot without harsh midday sun. Germination also slows at low temperatures, so if your home is cool, use warmth near a window rather than direct sun.
How do I prevent gnats and mold in indoor pots?
Most gnats come from consistently wet topsoil. Water only when the top 1 to 2 inches are dry by finger test, and avoid leaving water in the saucer. If gnats appear, let the surface dry a bit between waterings and consider a thin layer of coarse sand on top to reduce egg laying. Mold usually means airflow is low and moisture stays high, so increase light and ventilation if possible.
When should I treat pests like mealybugs or spider mites, and do I need to isolate?
Isolate immediately when you first see clusters or webbing, because these spread quickly to nearby plants. For mealybugs, wipe visible ones first, then repeat neem oil or treatment weekly for multiple cycles, since eggs hatch over time. For spider mites, check with the paper-tap test and increase humidity, misting lightly around the plant but not saturating the soil.
Can I use kitchen plants like curry leaf or tulsi, and how do I keep them healthy in pots?
Yes, they do well in warm conditions, but they still need good drainage and enough light to avoid weak growth. Curry leaf prefers brighter light, and tulsi can handle sun well but dislikes waterlogged roots. Use pots with holes, avoid oversized containers, and feed gently during the growing season, because these plants can suffer from both drought stress and overwatering in the same pot.