You can grow a healthy plant at home by following four steps: choose a plant that actually matches your light and lifestyle, set up the right container and growing medium, plant or propagate it correctly, then water and feed on a schedule that fits your conditions. That's it. Everything else is just adjusting those four things when something goes wrong.
4 Steps to Grow a Plant: Beginner Guide That Works

Marcus Holloway
24 Apr 2026
Pick the right plant and do a light/water reality check first
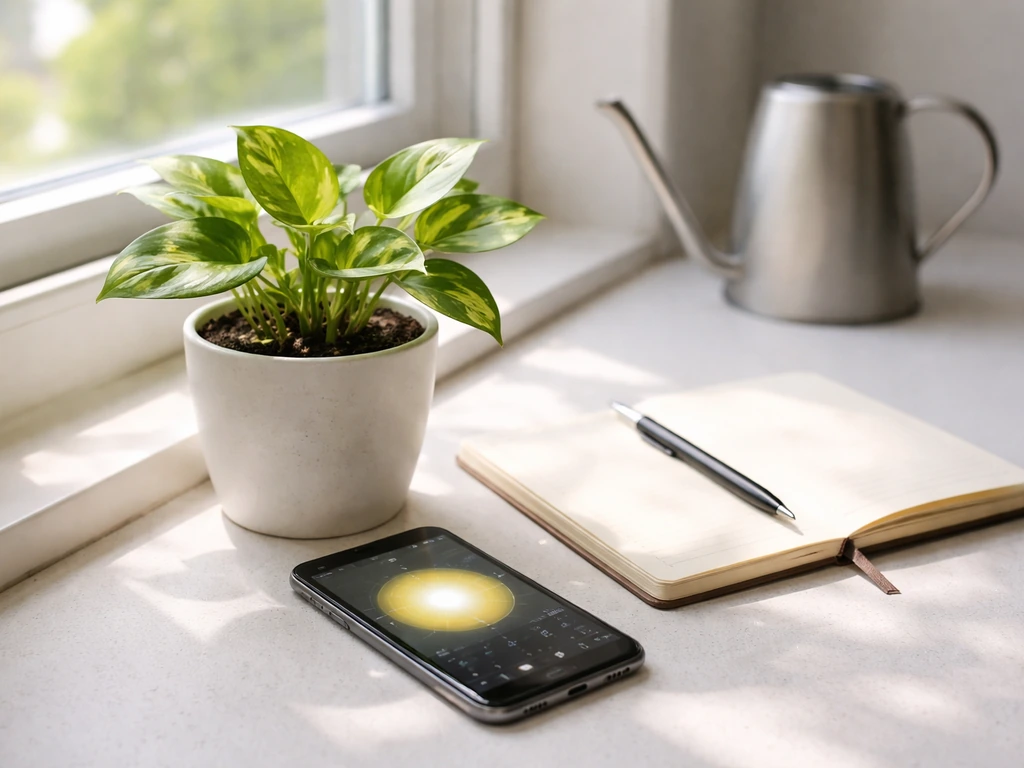
Before you buy anything, spend five minutes being honest about two things: how much light your space actually gets, and how often you'll realistically remember to water. Most plant failures start here, not during watering or fertilizing.
Light is the most limited resource in almost any indoor space, and it drops off faster than you'd expect. A spot that feels bright to you might only be delivering around 100 foot-candles of intensity (roughly what you'd get from a north-facing window), while a plant sitting 4 to 8 feet back from a bright south-facing window is already in medium-light territory. If your room feels dim, go with plants that have darker green leaves.
Snake plants, pothos, and ZZ plants are the go-to low-light survivors, and the snake plant especially earns its reputation because it genuinely needs very little water. If you have a bright south or west window, you can push into herbs, succulents, or even small fruiting plants.
For water, be realistic. If you travel often or tend to forget, pick a drought-tolerant plant and size up the pot a bit so the soil holds moisture longer. If you love the ritual of checking on plants daily, something thirstier is fine. Matching the plant to your habits is just as important as matching it to your light.
- Stand in your space at midday and look at the light source. Is it a sunny window, a bright but indirect room, or mostly artificial light?
- Darker green, waxy, or succulent-looking leaves usually signal a plant adapted to lower light or dry spells.
- If you're a forgetful waterer, start with a snake plant, pothos, or succulent. If you water obsessively, try a fern or peace lily.
- If natural light is genuinely scarce, a basic grow light (full-spectrum LED) can make almost any spot workable.
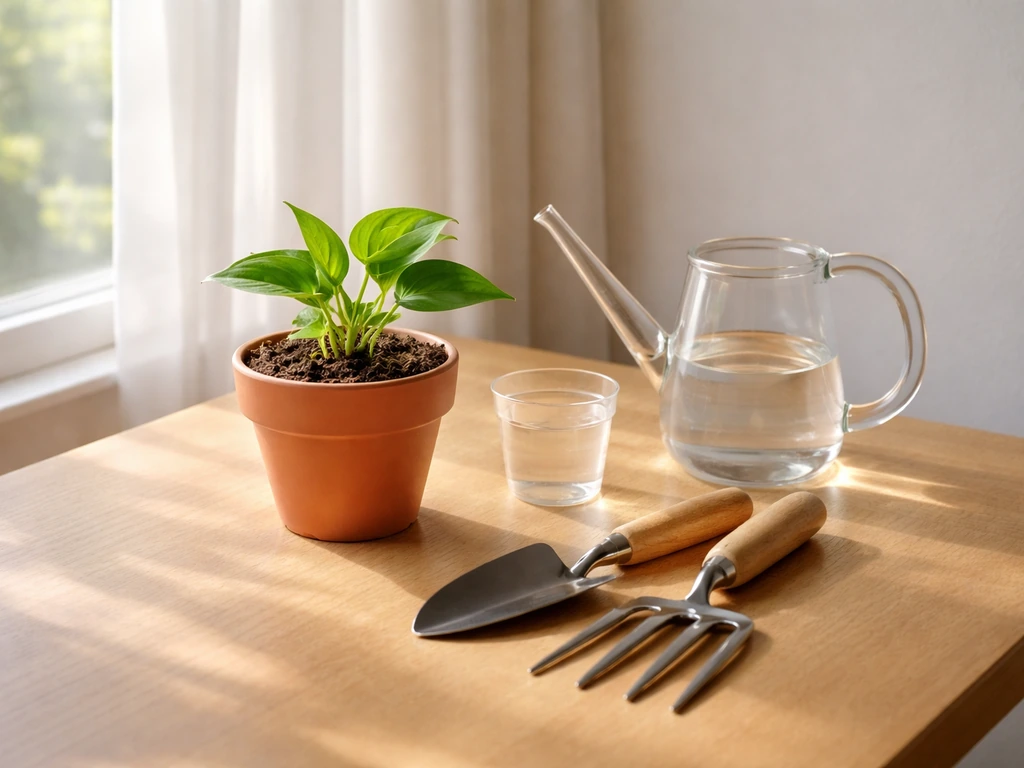
Step 1: Get the right container and growing medium
The pot and the soil are your plant's home and its life support system, so getting these right sets up everything that follows. The single most important feature of any container is drainage. If water sits in the bottom of a pot with no way out, roots rot, and the plant dies slowly from the bottom up. Every pot should have at least one drainage hole. If you love a decorative pot without holes, use it as a sleeve and grow the plant in a plain nursery pot inside it, then tip the water out after watering.
You've probably heard the advice to put a layer of gravel at the bottom of a pot to improve drainage. It doesn't work that way. It actually raises the water table inside the pot and can make drainage worse. Just use a well-draining potting mix suited to your plant and let the drainage hole do its job.
For most houseplants, a standard peat or coco-coir based potting mix works well. Succulents and cacti need a grittier mix with added perlite or coarse sand (roughly a 50/50 split). Herbs and vegetables generally do fine in a quality all-purpose potting mix. If you're curious about alternatives, water propagation and simple hydroponic setups are valid options for certain plants like pothos and herbs, and terrariums work beautifully for humidity-loving tropicals. Those are worth exploring as you get more comfortable, but soil in a container is the most forgiving starting point.
On pot size: avoid going too big too soon. A pot that's much larger than the root ball holds excess moisture the roots can't use, which invites rot. Start with a pot that's roughly 1 to 2 inches wider in diameter than the plant's current root system, then size up as it grows.
- Always choose a pot with drainage holes, or use a nursery pot inside a decorative one.
- Skip the gravel layer at the bottom. It creates more problems than it solves.
- Match the potting mix to the plant: cactus mix for succulents, standard potting mix for most tropicals and herbs.
- Start with a pot 1 to 2 inches wider than the root ball. Bigger is not always better.
- Small pots dry out faster and need more frequent monitoring, so factor that into your schedule.
Step 2: Plant or propagate correctly
How you get the plant into the ground (or water, or medium) matters more than most beginners realize. There are three main starting points: seeds, cuttings, and transplanting an established seedling or nursery plant. Each has a slightly different setup.
Starting from seed
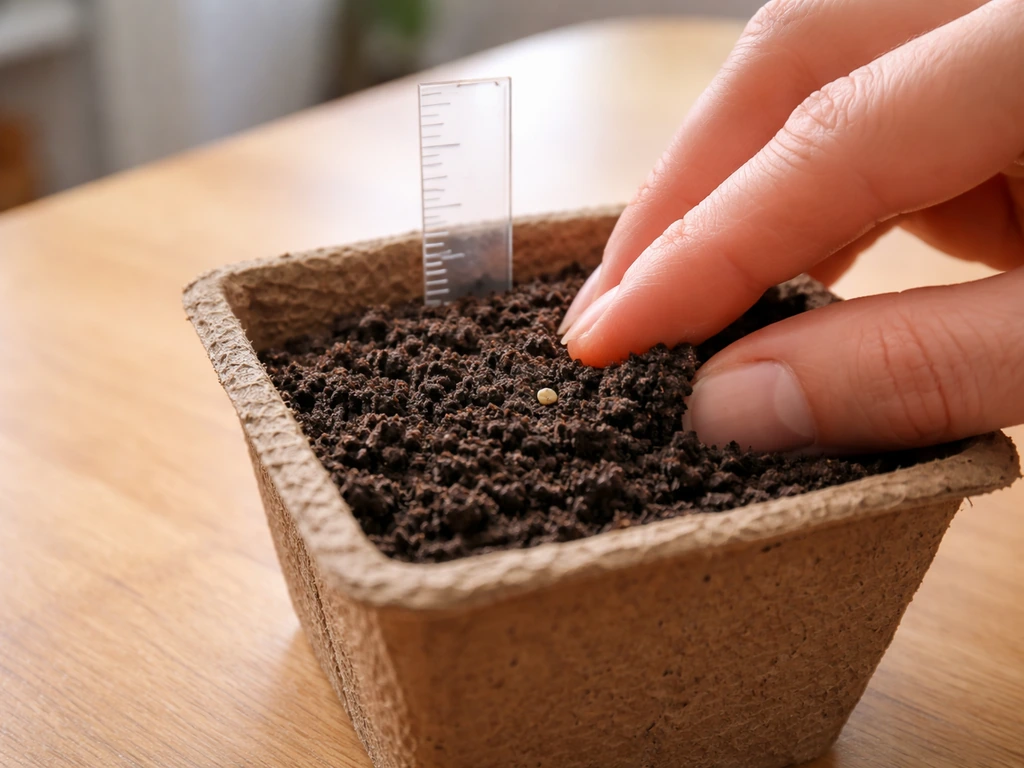
The rule of thumb for seeding depth is to plant a seed about twice as deep as it is wide. So a tiny basil seed barely gets covered, while a bean seed goes in an inch or so. After sowing, cover with a thin layer of fine vermiculite if you have it. Vermiculite is porous enough to let light through while keeping the surface moist, which helps germination without causing damping off (that frustrating condition where seedlings rot at soil level). Keep the medium consistently moist but not waterlogged, and provide warmth, ideally around 70 to 75°F for most common plants.
Starting from cuttings
Cuttings are often the easiest entry point for beginners because you're working with a plant that's already alive and recognizable. Take a stem cutting just below a node (the bump where leaves attach), remove the lower leaves, and place it in either water or a moist rooting medium like perlite or a mix of perlite and peat. For the best rooting results, the medium temperature should be around 75 to 80°F, so a warm windowsill or a seedling heat mat helps. Humidity is your friend here because it stops the cutting from drying out before roots form. Covering the cutting loosely with a clear plastic bag or a plastic dome creates a mini greenhouse effect.
Transplanting a nursery plant or seedling
If you're starting with a plant you bought from a nursery or received as a seedling, gently loosen the root ball before planting, especially if the roots are circling around the bottom. Place the plant at the same depth it was sitting in its previous container, fill in with fresh potting mix around the sides, press lightly to remove air pockets, and water thoroughly right away. Give it a few days in a stable, lower-light spot to recover from transplant shock before moving it to its permanent home.
- Seeds: plant at twice the seed's width in depth, cover lightly with vermiculite, and keep warm and moist.
- Cuttings: cut just below a node, keep medium at 75 to 80°F, and use a humidity dome to prevent drying.
- Nursery plants: loosen the root ball, plant at the same depth, water in thoroughly, and let it settle for a few days.
- Whichever method you choose, label what you planted and the date. You'll be glad you did.
Step 3: Set up a watering and feeding schedule that fits your conditions
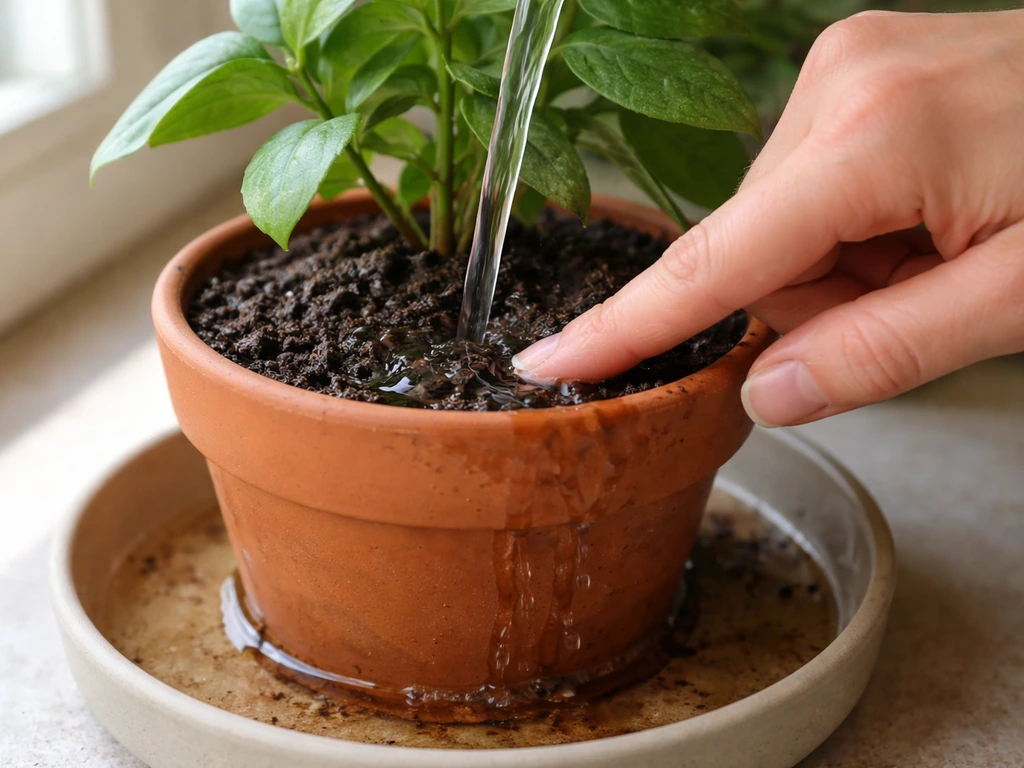
Watering is where most beginners either under-think (water on a rigid schedule regardless of conditions) or over-think (panic every time a leaf droops). The truth is that watering frequency depends on a combination of factors: the plant species, the pot size, the light level, the temperature, and the humidity in your home. There is no universal answer, but there is a reliable method.
When you do water, do it thoroughly. Water until it runs freely out of the drainage hole, then stop. This ensures the whole root ball gets wet, not just the top inch of soil. Then wait. For most tropical houseplants, you're waiting until the top inch or two of soil is dry before watering again. For succulents and cacti, wait until the top half of the soil is dry. For moisture-loving plants like ferns, keep the top inch consistently moist but never soggy. Stick your finger into the soil. That one-second check tells you more than any schedule.
Higher light, higher temperatures, and lower humidity all increase how quickly a plant uses water, so your watering frequency will naturally shift with the seasons. You'll water more in summer and less in winter without even trying.
For feeding, most houseplants only need fertilizing during their active growing season, which is typically spring and summer. A balanced, complete fertilizer (something like a 10-10-10 or similar NPK ratio) applied at half or quarter strength every two to four weeks during the growing season is a solid starting point. Applying at reduced strength more frequently is actually better than a big hit every few months because nutrients in potting mix get flushed out over time. Hold off on fertilizing in fall and winter when growth slows, and never fertilize a plant that's stressed, newly repotted, or visibly sick. Salts from fertilizer can burn already-struggling roots.
| Plant type | Watering frequency (general) | Fertilizing season | Fertilizer strength |
|---|---|---|---|
| Tropical houseplants (pothos, peace lily) | When top 1–2 inches are dry | Spring and summer | Half strength, every 2–4 weeks |
| Succulents and cacti | When top half of soil is dry | Spring and summer only | Quarter strength, once a month |
| Herbs (basil, mint) | Keep evenly moist, not wet | Spring through fall | Half strength, every 2 weeks |
| Ferns and humidity lovers | Keep top inch consistently moist | Spring and summer | Half strength, every 2–4 weeks |
| Seedlings (first 4–6 weeks) | Keep surface moist, never waterlogged | Hold off until established | No fertilizer yet |
Step 4: Ongoing care, monitoring, and keeping things on track
Growing a plant is a relationship, not a one-time event. Once it's in the pot and watered, your job shifts to observing and adjusting. This doesn't need to be complicated. A quick once-a-week check covers most of what you need.
Light rotation and positioning
Plants grow toward their light source, and if you leave them in the same position too long they'll start leaning dramatically to one side. Give the pot a quarter turn every week or two to encourage even, upright growth. If you notice leaves getting smaller, stems getting leggy and stretched between nodes, or the plant reaching desperately toward a window, it needs more light. Move it closer to the window or add a grow light. If leaves are bleaching out, getting crispy tips, or showing sunburn patches, pull it back from direct sun.
Pruning and tidying
Pruning feels intimidating but it's mostly just removing dead, damaged, or overly long stems. For most houseplants, you can pinch off the growing tip to encourage bushier growth rather than a single leggy stem. Use clean scissors or pruning shears and cut just above a node. Remove yellowing or dead leaves as they appear rather than leaving them to drain resources or harbor pests. For flowering plants, blank" rel="noopener noreferrer">deadheading (removing spent flowers) keeps energy directed toward new blooms. For flowering plants, deadheading (removing spent flowers) keeps energy directed toward new blooms, and there are tips to grow flowering plants you can use next to boost bud formation.
What to watch each week
- Check the soil moisture with your finger before watering.
- Look under leaves for early signs of pests: tiny dots, webbing, sticky residue, or visible insects.
- Note any new growth (a good sign) or stalled growth (a signal to investigate light or nutrition).
- Give the pot a quarter turn.
- Remove any dead or yellowing leaves.
- Check the drainage saucer and empty any standing water that's been there more than an hour.
Troubleshooting quick fixes tied to each step
Most plant problems trace back to one of the four steps. When something looks wrong, run through this quick diagnostic before panicking or reaching for a product.
Yellow leaves
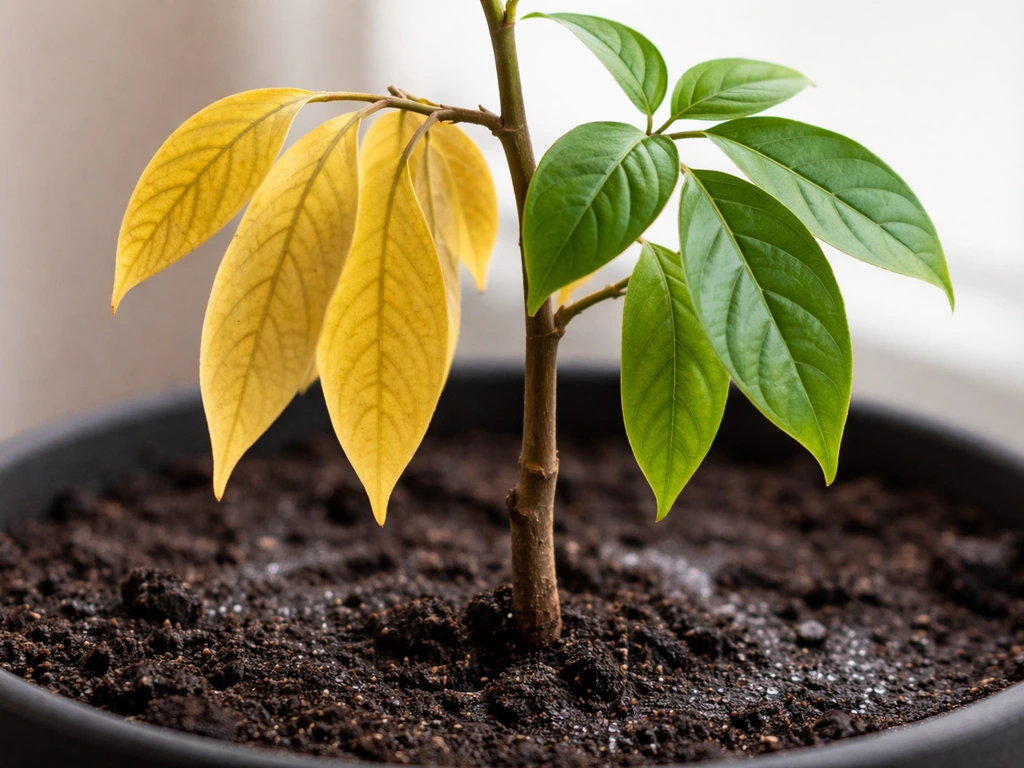
Yellow leaves are the most common complaint and the most misdiagnosed. Older lower leaves yellowing occasionally is normal, but widespread yellowing usually comes from one of three places. If the soil has been wet for a long time, you're overwatering (Step 3 issue). If the pot has no drainage or the potting mix is dense and compacted, that's a Step 1 setup problem. If the yellowing is happening alongside weak, small new leaves, the plant probably isn't getting enough light (a Step 1 plant selection or positioning issue). Go back to the step that caused it and fix it there.
Wilting
Wilting can mean two completely opposite things. If the soil is bone dry, the plant is thirsty. Water it thoroughly and it should perk up within a few hours. If the soil is wet and the plant is wilting, that's a root rot situation, which comes from overwatering and poor drainage (Step 1 and Step 3). Let it dry out completely, check the roots (healthy roots are white or tan, rotted roots are brown and mushy), and if rot has set in, trim the damaged roots, repot into fresh dry mix, and scale back watering dramatically.
Slow or no growth
If a plant just sits there doing nothing for weeks, check light first. Insufficient light is far more common indoors than most people expect, and it's the number one silent killer of houseplant growth. Moving a plant from a dim corner to within a few feet of a bright window can restart growth within days. If light seems adequate, check whether you're fertilizing during the growing season (Step 3). If neither of those is the issue and it's winter, the plant is probably just resting, which is completely normal.
Fungus gnats and pests
Tiny flies hovering around the soil almost always mean the top layer of the potting mix is staying consistently wet, which is an overwatering or drainage problem from Step 1 and Step 3. Let the top inch or two dry out completely between waterings and the population drops fast. For other pests like spider mites, mealybugs, or scale, catching them early is Step 4's job. A weekly check under leaves makes a huge difference, and most infestations can be handled with insecticidal soap or neem oil when caught early.
Your beginner checklist to start today
If you want to put everything above into motion right now, here's the sequence to follow. If you want a simple roadmap, follow these 5 steps on how to grow plants from start to finish. This works whether you're starting with a seed, a cutting, or a plant from the store.
- Assess your light: stand at your intended growing spot midday and honestly rate it as low, medium, or bright.
- Choose a plant that matches that light level and your watering habits (forgetful? go drought-tolerant).
- Get a pot with drainage holes and a potting mix suited to your plant type.
- Plant your seed (twice its width deep), take a cutting (below a node, with humidity), or transplant your nursery plant (same depth, loosen the roots first).
- Water thoroughly on day one, then wait and check the soil with your finger before every subsequent watering.
- Set a reminder to fertilize at half strength starting in spring, every two to four weeks through summer.
- Do a weekly five-minute check: soil moisture, leaf color, new growth, pests, and a quarter turn of the pot.
- When something goes wrong, match the symptom to the step it came from and fix it there.
If you want to go deeper on any part of this, there's a lot more to explore. Related guides cover everything from more detailed general growing steps, flowering plant care, and growing in specific environments. These tips on how to grow plants will help you apply the same basics to different species as you learn Related guides cover everything from more detailed general growing steps.
For a quick overview, these general growing steps will help you plan what to do first and how to keep plants healthy as they grow. But for right now, those eight actions above are enough to get almost any plant off to a genuinely good start. These gardening documentation guides show exactly how to grow plants from seed, cuttings, or nursery starts gardening documentation of how to grow plants.
FAQ
When should I start fertilizing a new plant, seedling, or cutting?
Yes, but only if you match the fertilizer to the plant’s life stage. For example, seedlings and newly rooted cuttings should not be fed until they have active new growth, otherwise fertilizer salts can stress tender roots. If you are propagating in perlite or a soilless mix, wait until roots are established and then start with quarter strength during warm, bright weeks.
What should I do if my plant keeps getting root rot even though I water carefully?
Use a potting mix that stays airy and drains fast, and confirm the container actually has a drainage hole. If the plant has been overwatered and you suspect rot, don’t just “water less,” repot into fresh dry mix and inspect roots first (trim brown, mushy roots). Also, remove any decorative outer pot sleeve water after watering so the nursery pot does not sit in runoff.
How do I tell the difference between not enough light and too much direct sun?
If leaves turn pale and look bleached or crispy, move the plant away from direct sun and increase light gradually. Rotate to keep growth even, but avoid sudden changes in both intensity and distance at the same time. A practical rule is to adjust light over 1 to 2 weeks, especially for plants you recently moved from shade to a bright window.
Is there a better way than a watering schedule to know when to water?
A weekly “finger check” is more reliable than a calendar, but you can still use timing as a backup. Many growers also track weight, lift the pot after watering, then compare it later so you learn how fast your specific pot and mix dry in your home. If you travel often, combine a drought-tolerant plant choice with a slightly larger pot and be consistent about thorough watering.
Why does my soil look moist on top but the plant still struggles?
Most indoor plants prefer to be watered until runoff, then allowed to drain fully. If you water with a small amount that never reaches the bottom, salts can accumulate and roots may not expand downward. When you do water, aim to wet the entire root ball (drainage hole runoff), then wait for the top layer to dry based on the plant type.
Can I use a grow light to solve low-light problems, and how should I ramp it up?
Yes, but “more light” should be approached carefully. Increase intensity gradually and watch for symptoms like leaf bleaching, crispy tips, or sudden color loss. Also, keep the light source at an appropriate distance and ensure airflow, because high light plus stale, humid air can increase stress.
What’s the safest way to grow plants in decorative pots that have no drainage holes?
If a plant is in a decorative pot without drainage, treat it as a sleeve and always drain the inner nursery pot after watering. When you forget and water accumulates in the outer pot, oxygen to the roots drops quickly and rot can start from the bottom. For best results, use a nursery pot sized to the plant and slide it into the decorative cover only temporarily.
How do I choose the right soil for my plant when “all-purpose mix” isn’t working?
General-purpose potting mix is often fine for most houseplants, but the key is structure and drainage, not brand. If water stays wet for days, the mix may be too dense for that plant or container size. For succulents and cacti, switch to a grittier blend with added perlite or coarse sand, and for moisture-loving plants, avoid gritty mixes that dry too fast.
How do I know when to repot, and how big should the next pot be?
It depends on the plant’s root system and how it’s currently growing. A pot that is only 1 to 2 inches wider than the root ball usually reduces excess wetness risk. If you suspect rot or compacted roots, repot into fresh mix even if it is not “time,” but keep the next pot size close to the current root volume.
When is the best time to prune indoors, and should I prune during winter?
Pruning is best when you can see healthy growth points, and you should avoid heavy cutting when the plant is under stress (cold drafts, disease, or newly repotted shock). For leggy houseplants, pinch or trim above a node to encourage branching, and remove only dead or damaged tissue promptly. If growth is slow in winter, do light pruning, then do bigger shaping during active growth.
My plant looks wilted. How can I avoid making the wrong diagnosis?
Yes, and the most common mistake is relying on only the top inch of soil or only the color of the surface. A symptom-based approach helps: wilting with dry soil usually means thirsty, wilting with wet soil often means root problems. If pests appear, check under leaves weekly, because early infestations are much easier to control than widespread ones.
What actually works for fungus gnats, and how do I prevent them from coming back?
If you see tiny flies hovering near moist soil, let the top inch or two dry out and reduce watering frequency accordingly. Sticky traps can reduce adults, but they won’t fix the cause. The long-term solution is adjusting Step 3 conditions by improving drainage, ensuring you are not keeping the surface constantly wet, and emptying any standing water after watering.