The most effective home remedies for plant growth are not exotic concoctions, they are small, targeted fixes to the four things plants actually need: enough light, correct watering, good soil oxygen, and a steady supply of nutrients. Move a struggling plant closer to a bright window, let the soil dry out between waterings, loosen compacted soil so roots can breathe, and add a diluted compost tea or a sprinkle of worm castings every few weeks. Those four steps alone will turn around most slow or sad-looking plants faster than any magic potion.
What Home Remedies Help Plants Grow: Fixes That Work

Marcus Holloway
11 May 2026
Why plants grow (or stop growing) at home
Before you reach for any remedy, it helps to understand what is actually happening inside the plant. Growth is driven by photosynthesis, the process where leaves use light energy to turn water and carbon dioxide into sugars. Those sugars fuel everything: new leaves, root expansion, flowering. Roots absorb water and dissolved minerals from the soil and anchor the plant.
When any one of those inputs, light, water balance, soil oxygen, or nutrients, is out of range, growth slows or stops, and the plant starts sending distress signals like yellowing leaves, leggy stems, or wilting.
UMN Extension explains that insufficient light can reduce chlorophyll, leading to pale green to yellow or white coloration, and can also cause stretched growth with long spaces between leaf nodes low light can reduce chlorophyll and cause pale green to yellow/white coloration, and can also cause stretched growth with long spaces between leaf nodes.
Indoors, the most common culprits are light that is too dim and watering that is off (usually too much rather than too little). University of Maine Extension research confirms that low light intensity and insufficient light duration both cause spindly, leggy growth where stems stretch toward any available light source. The University of Maryland Extension flags overwatering as one of the top reasons indoor plants develop yellow leaves. And UC IPM puts improper watering and improper fertilization at the top of the list of reasons indoor plants decline. So when you are looking for a 'remedy,' you are really looking for the one input that is furthest out of balance.
The four controllables at home
- Light: intensity (how bright), duration (how many hours), and direction (which window or grow light).
- Water: how much, how often, and whether the pot drains freely so roots get air between waterings.
- Nutrients: nitrogen, phosphorus, potassium, and trace minerals that fuel leaf, root, and flower growth.
- Root environment: soil texture, aeration, drainage, and whether the pot is the right size.
Light, water, and temperature tweaks that work today
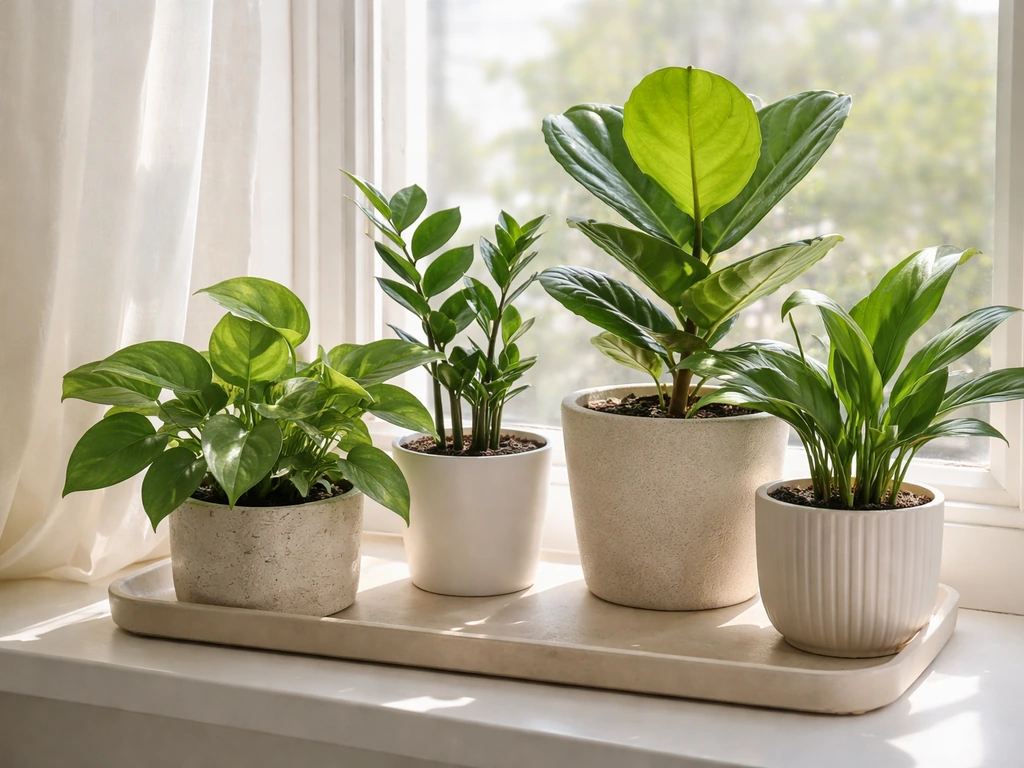
The fastest free fix for most struggling indoor plants is moving them closer to a window. A south-facing window typically delivers the most light year-round in the northern hemisphere. East-facing windows give gentler morning light, good for ferns, pothos, and peace lilies. West-facing works for medium-light plants. North-facing is genuinely low light and only suits plants specifically adapted to it. If stems are stretching and leaning, that is your clearest sign the plant wants more light. Try moving it within 1 to 3 feet of the brightest window you have and watch for new, compact growth within two to four weeks.
If your space genuinely cannot provide enough natural light, an affordable full-spectrum LED grow light set on a 12 to 16 hour timer is a practical home remedy that costs very little to run. This is especially useful in winter or in apartments with small or north-facing windows.
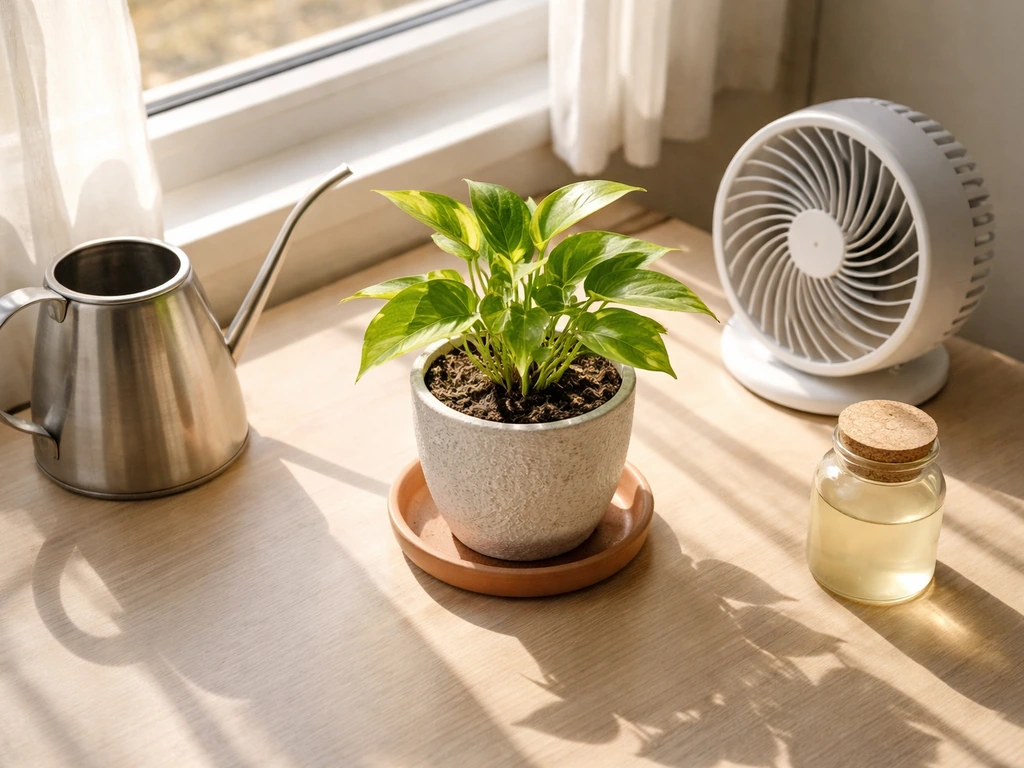
For watering, the single best home remedy is changing your routine rather than adding something. Stick your finger about an inch into the soil. If it feels damp, wait. Most common houseplants want the top inch or two of soil to dry out between waterings. When you do water, water deeply until it drains from the bottom of the pot, then empty the saucer so roots are never sitting in standing water. Waterlogged soil pushes out oxygen from the pore spaces in the soil, essentially suffocating roots, this is the direct mechanism behind root rot and yellow leaves described by RHS research.
Temperature is something most people overlook. Most popular houseplants prefer temperatures between 60 and 75 degrees Fahrenheit. Keep plants away from heating vents, air conditioner drafts, and cold windowsills in winter. Consistent temperatures reduce stress and let the plant put energy into growth instead of survival. If you notice sudden leaf drop or slow growth that started in winter, a cold draft from a nearby window may be the cause.
Humidity: a low-cost remedy for tropical plants
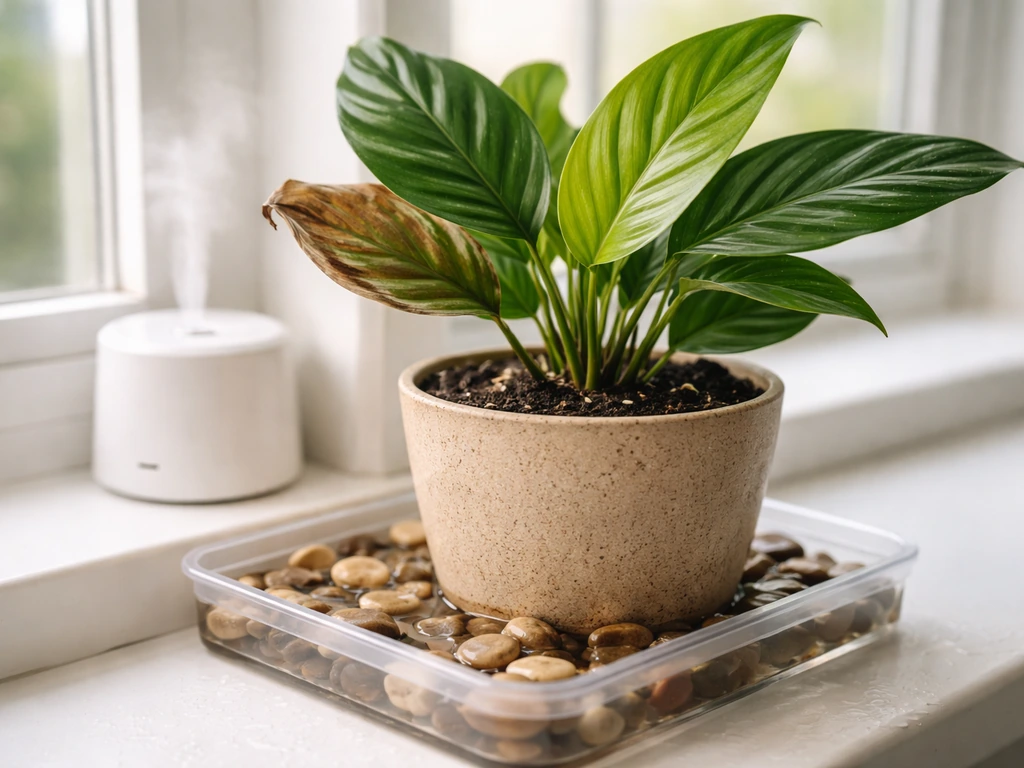
If you grow tropical houseplants like calatheas, monsteras, or orchids, low indoor humidity (common in heated or air-conditioned rooms) can stunt growth and cause brown leaf edges. Group plants together so they share moisture, or set pots on a tray of pebbles with a little water below the pot's base. Misting leaves occasionally helps too, though it is not a substitute for genuinely humid air.
DIY nutrient options that are safe to use
Nutrients are where a lot of home remedy advice goes sideways. The good news is there are a handful of kitchen and garden inputs that genuinely work. The key is dosage: organic materials are forgiving, but anything applied in excess can burn roots or shift soil chemistry in ways that hurt more than help.
Compost tea
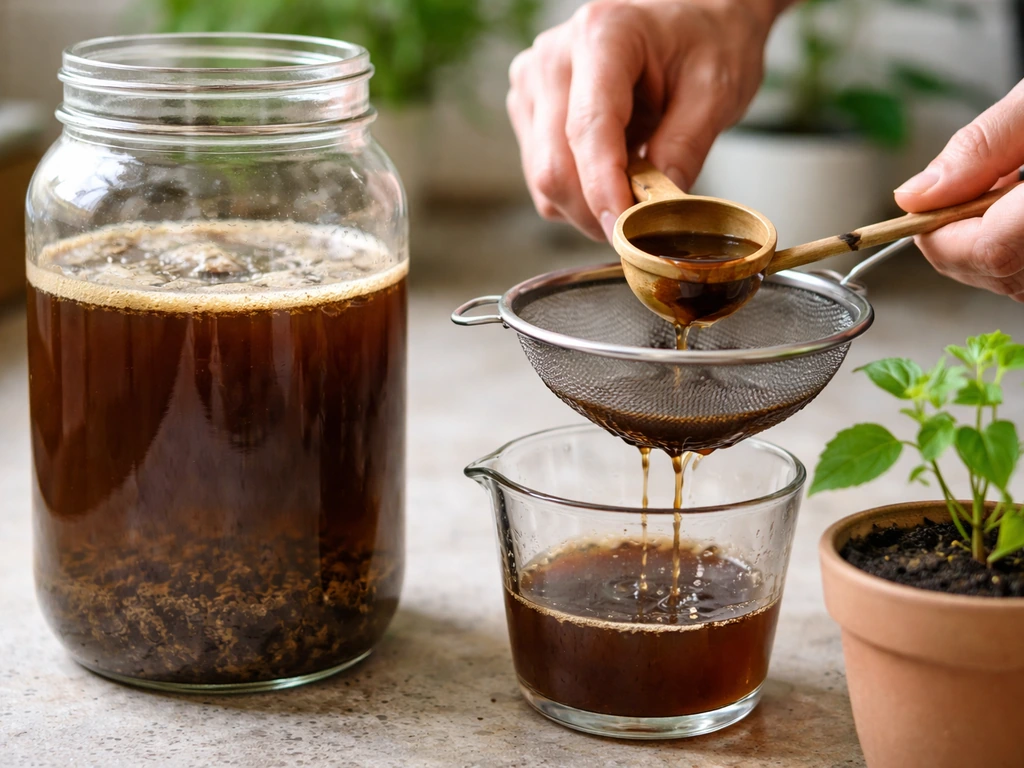
Compost tea is one of the most effective and safest DIY nutrient remedies you can make at home. Soak a handful of finished compost (or a compost tea bag) in a bucket of water for 24 to 48 hours, then water your plants with the strained liquid. It delivers a mild, balanced dose of nitrogen, beneficial microbes, and trace minerals directly to the root zone. Use it every two to four weeks during the growing season. It will not burn roots the way synthetic fertilizers can if you accidentally over-apply.
Worm castings
Worm castings are essentially the gold standard of gentle organic fertilizers. Mix a small amount into the top inch of soil or steep a tablespoon in water to make a casting tea. They improve soil structure and deliver slow-release nutrients without any salt buildup. If you can only keep one organic amendment on hand, make it worm castings.
Banana peel and eggshell-based add-ins
Banana peels are a reasonable potassium source, but they need to be composted or steeped in water first, do not bury whole peels in a pot, as they will rot, smell, and attract pests. Soak a chopped peel in water for 24 hours, strain it, and use the water on plants that are flowering or fruiting (those are the ones that benefit most from potassium). Eggshells are often touted as a calcium source.
Crushed very finely and worked into soil, they do slowly release calcium, but they break down extremely slowly. Rinse them before use to remove residual egg, which can mold. Do not expect fast results from eggshells, think of them as a long-term soil conditioner rather than a quick fix.
What not to add
- Undiluted coffee grounds in large quantities: acidic and can compact the soil surface, blocking water and air. A light sprinkle mixed into compost is fine; piling it on top is not.
- Raw kitchen scraps (meat, dairy, cooked food): these rot, smell bad, and attract pests and pathogens in a pot or indoor garden.
- Undiluted liquid fertilizers: always dilute to half-strength or less, especially for houseplants, to avoid salt buildup at roots.
- Vinegar-based solutions: regularly acidifying soil with vinegar disrupts microbial life and can damage roots.
- Cooking water with salt: pasta or vegetable water is fine only if it was cooked without salt. Saltwater will damage roots.
Soil and root-care remedies
Soil health is the foundation everything else sits on. If the soil is compacted, waterlogged, or exhausted, even perfect light and watering will not produce strong growth. Here are the most useful hands-on fixes.
Aeration and drainage
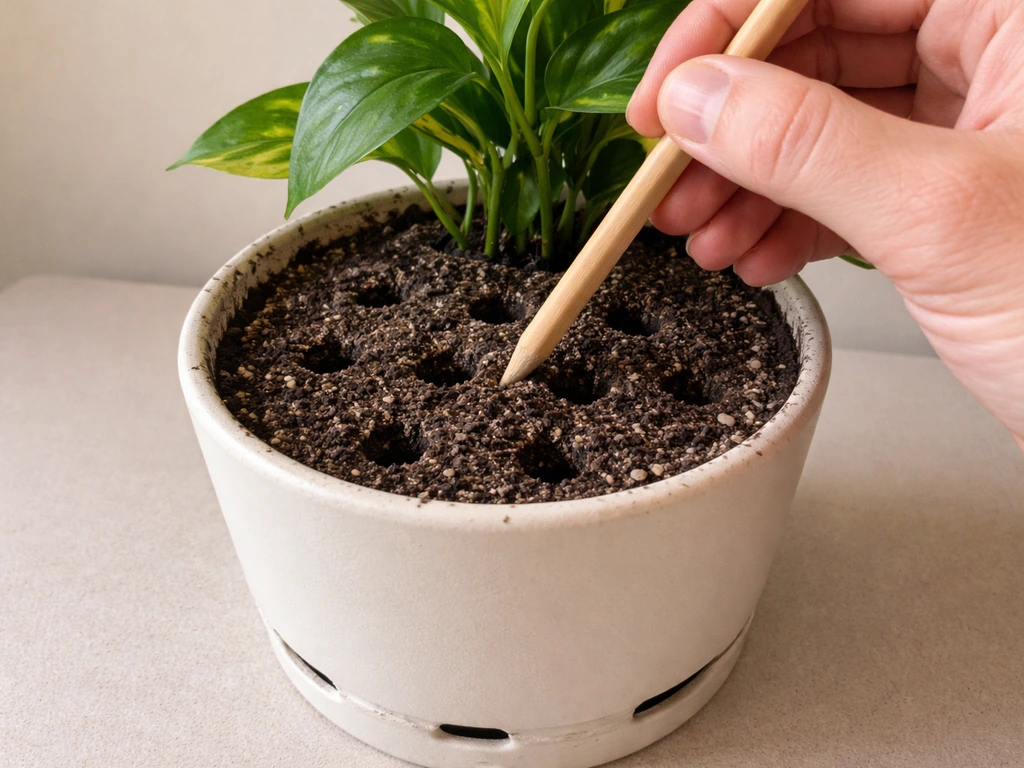
If your potting mix has become dense and water pools on the surface before soaking in, the soil needs aeration. Use a chopstick or pencil to gently poke holes 2 to 3 inches deep around the pot, avoiding the main root mass. This reopens air channels so roots can breathe. For a longer-term fix, mix perlite (the small white granules in most potting mix) into the soil at about 20 to 30 percent by volume. Perlite is cheap, inorganic, and genuinely improves drainage without adding nutrients that could burn.
Always make sure your pot has drainage holes. If yours does not, either drill holes, repot into one that does, or use the pot as a decorative outer sleeve while keeping the plant in a plain nursery pot with holes. No drainage is the most common structural cause of root rot.
Mulching in pots and beds
A thin layer of mulch on the soil surface (dried leaves, bark chips, or even a thin layer of compost) slows moisture evaporation, moderates soil temperature, and suppresses weeds outdoors. Indoors, a light layer of worm castings or compost on top of the soil acts as a gentle slow-release mulch that waters nutrients down into the root zone with each watering. Keep it thin, about half an inch, so the soil surface can still breathe.
Repotting basics
If roots are circling the bottom of the pot, poking out of drainage holes, or the plant dries out within a day of watering, it is root-bound and growth will stall no matter what you add to the soil. Repot into a container one size up (roughly 2 inches larger in diameter), not much bigger, oversized pots hold excess moisture and increase the risk of root rot. Spring and early summer are the best times to repot because the plant is in active growth and will recover quickly. Use fresh potting mix, which replenishes depleted nutrients and improves soil structure.
Home fixes for common growth problems
Yellow leaves
Yellow leaves are one of the most common plant distress signals and also one of the most over-diagnosed. The most frequent cause is overwatering, not under-watering or nutrient deficiency as many people assume. Before adding any fertilizer, check the soil moisture and the roots. If the lower leaves are yellowing and the soil is consistently wet, reduce watering frequency and improve drainage first. If the soil is dry and multiple leaves are yellowing at once, the plant may genuinely need a nutrient boost, a diluted compost tea or half-strength balanced fertilizer applied once a week for a month often resolves this.
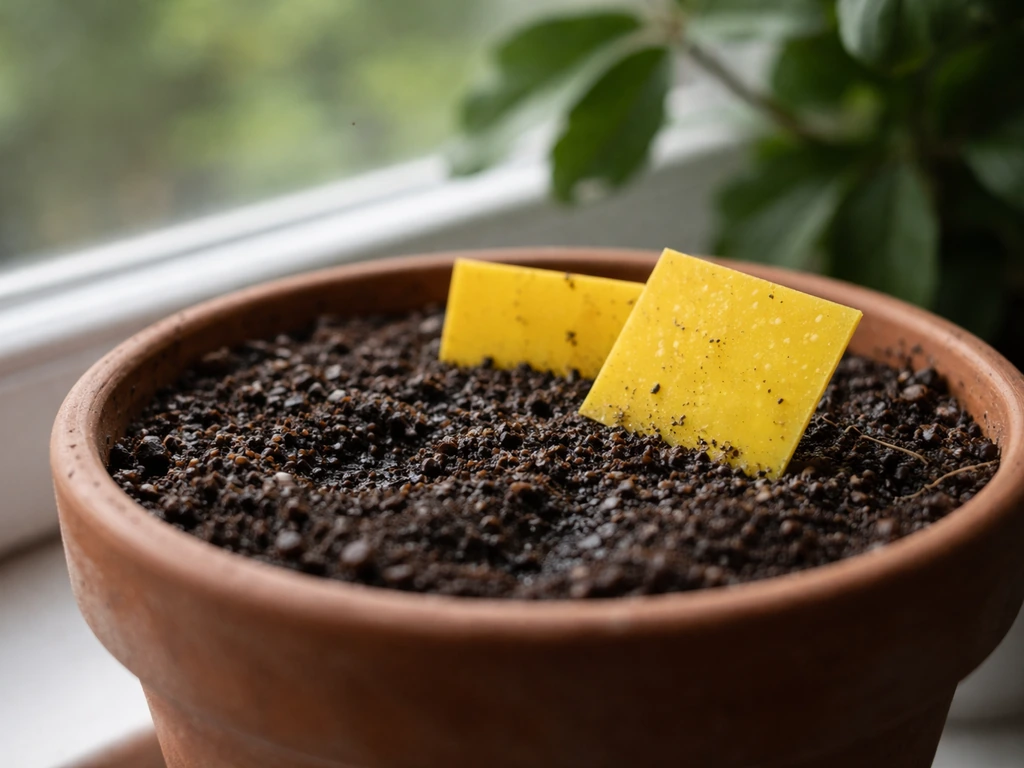
Fungus gnats
Fungus gnats are tiny flies whose larvae live in moist soil and feed on roots and organic matter. They appear when the top layer of soil stays wet for extended periods. The best home remedy is to let the top 2 inches of soil dry out completely between waterings, this breaks the larvae's life cycle within one to two generations. You can also sprinkle a thin layer of coarse sand or fine perlite on the soil surface, which creates a dry barrier that deters egg-laying adult gnats. A yellow sticky trap placed near the plant catches adults and helps you monitor how bad the infestation is.
Mold and mildew
White surface mold on potting soil is usually harmless saprophytic mold feeding on organic matter, but it signals poor airflow and excess moisture. Scrape off the top layer of soil, let the surface dry out, and improve air circulation around the plant. If you see powdery white coating on leaves (powdery mildew), that is a different fungal issue. A very diluted neem oil spray (a few drops of neem oil with a drop of dish soap in a spray bottle of water) applied to the leaf surfaces in the evening can suppress it without harming the plant. Reapply every five to seven days for two to three weeks.
Slow or stalled growth
If a plant looks healthy but just is not growing, run through the basics in order: light first, then watering, then nutrients. Many plants also go through a natural dormancy or slow period in winter when light levels drop, and no amount of fertilizer will force growth during those months. If it is growing season and growth is still stalled after correcting light and water, try a single dose of compost tea or worm casting water and wait three to four weeks before drawing any conclusions.
Adapting remedies for different growing setups
The remedies above are mostly written for soil-based growing, but if you are growing in water, hydroponics, or a terrarium, some adjustments apply. Here is a quick breakdown of what transfers and what does not.
| Remedy | Soil pots | Water/hydroponics | Terrariums |
|---|---|---|---|
| Light adjustment | Yes — move to brighter window or add grow light | Yes — same principles apply | Yes — avoid direct sun on glass to prevent overheating |
| Compost tea | Yes — diluted, every 2 to 4 weeks | Use cautiously — can cloud water and promote algae; use sparingly | Not recommended — can disrupt the closed ecosystem |
| Worm castings | Yes — mix into soil or steep as tea | Steep as tea and dilute heavily; monitor water clarity | Small amounts mixed into substrate only |
| Perlite for drainage | Yes — mix into potting mix | Not applicable | Use sparingly in substrate layer for drainage |
| Letting soil dry out (fungus gnats) | Yes — most effective fix | Not applicable — medium is water-based | Reduce misting frequency instead |
| Neem oil spray for mildew/pests | Yes — on leaves and soil surface | On leaves only — keep out of the water reservoir | Use very sparingly and with caution; sealed environments trap fumes |
| Repotting | Yes — go one size up | Not applicable — transfer to larger vessel if roots are crowded | Repot into a larger terrarium if roots fill the container |
If you are growing plants in water or a simple hydroponic setup, the most useful home remedies are light optimization and keeping water clean and oxygenated. Change the water every one to two weeks to prevent stagnant conditions, keep the water level consistent, and ensure roots have exposure to some air above the waterline. For terrariums, the main home remedy tools are controlling moisture (opening the lid if condensation is heavy) and adjusting light so the glass does not overheat the plants inside.
A simple troubleshooting plan to work through
When your plant is struggling and you are not sure where to start, run through this sequence. It takes about five minutes and will point you to the right remedy more reliably than guessing.
- Observe: Look at the whole plant. Note where the symptoms are (old lower leaves vs. new growth at the top, all leaves vs. one branch) and what they look like (yellow, brown, wilted, spotty, leggy stems).
- Check the basics first: Measure light by holding your hand about a foot above the plant — if you can barely see a shadow, light is too low. Check soil moisture by sticking a finger an inch in. Check drainage by looking at the pot and saucer.
- Diagnose the most likely cause: Leggy growth = not enough light. Yellow lower leaves + wet soil = overwatering. Dry soil pulling away from the pot edges = underwatering. Tiny flies near soil = fungus gnats from overwatering. Pale leaves across the whole plant during growing season = possible nutrient deficiency.
- Apply one remedy at a time: Change one variable, wait two to three weeks, and reassess. Changing multiple things at once makes it impossible to know what worked.
- Reassess with realistic expectations: New healthy leaves or firming up of stems is a good sign. Existing damaged leaves will not recover — look for improvement in new growth.
- Escalate if needed: If two rounds of home remedies (four to six weeks) show no improvement, move to a properly balanced fertilizer, consider whether the plant is suited to your conditions, or consult a local nursery.
When home remedies are not enough
Home remedies work well for maintenance and mild deficiencies, but they have real limits. If a plant has been severely root-rotted, a compost tea is not going to save it, you need to unpot, trim dead roots, let them air dry briefly, and repot into fresh dry mix. If your space genuinely cannot provide enough light, no amount of nutrient work will produce healthy growth, a grow light is the only real fix.
If you want to grow a rocket plant at home, the right light setup, watering routine, and a nutrient schedule will matter just as much as the pot and soil grow light. And if a plant is just not suited to your home environment (a full-sun cactus in a dim apartment, for example), the kindest thing is to swap it for a plant that fits your actual conditions.
Signs that it is time to move beyond home remedies and reach for proper fertilizer or professional products: the plant has been in the same soil for more than two years with no amendment, new leaves are consistently smaller and paler than older ones (a clear sign of nutrient depletion), or growth has been fully stalled for more than two growing months despite correct light and watering. In those cases, a balanced slow-release granular fertilizer or a liquid fertilizer at the label's recommended dilution is the right next step, not more kitchen scraps.
If you are just starting out and want to build a track record with easier wins first, it is worth exploring genuinely low-maintenance plants that are forgiving of beginner mistakes, or trying propagation methods that skip seeds entirely to get established plants faster. Once you have the core four inputs, light, water, soil oxygen, and nutrients, dialed in for one plant, the same framework applies to everything else you grow.
FAQ
Do home remedies work if my plant is already yellowing or wilting?
Not always. Home remedies are most useful for correcting the “four inputs” your plant needs (light, watering balance, soil oxygen, nutrients). Before adding compost tea or castings, confirm the basics by checking soil moisture (finger test), looking for leggy stretching (light), and verifying the pot drains well (oxygen). If roots are already black/mushy or the soil stays wet for days, first fix drainage and root condition, fertilizer cannot compensate.
Can I still use compost tea or worm castings if I have fungus gnats?
Usually, yes if you use them in a targeted way. The key is to prevent soggy soil, since fungus gnats thrive in consistently moist media. Let the top 2 inches dry between waterings, and if you add a nutrient remedy like compost tea, reduce frequency (for example every 4 to 6 weeks instead of every 2 to 4) until the gnats are controlled.
How often can I make and use compost tea before it becomes harmful?
Compost tea can be overdone, even though it is “gentler.” A common mistake is applying too often or using overly concentrated tea. Stick to the growing season schedule, and if you see slow growth plus a sour smell or persistently wet soil, pause feeding and reassess watering and drainage first.
Is misting really enough to help plants that need higher humidity?
Misting helps leaves temporarily but it usually does not raise humidity enough for real growth changes, especially in dry indoor air. If you need better humidity for tropicals, prioritize grouping plants or using a pebble tray with water under the pot. Also mist in the morning or early day so leaves dry out and reduce the risk of leaf-spotting.
What if my soil is already fluffy, should I still poke holes or add perlite?
Yes, but only if the soil is actually oxygen-starved or draining poorly. If the soil is already airy and drains well, extra poke-holing can disturb roots and stress the plant. Poke holes only when water pools on the surface or soaking takes a long time, and avoid the central root mass.
How do I tell whether yellow leaves mean I need fertilizer or just better watering?
It depends on what symptom you’re seeing. Stems stretching, leaning, or new growth that looks thin usually means not enough light. Yellow leaves are most often watering-related indoors. If the soil is consistently damp, fix watering and drainage before adding nutrients.
Are kitchen scraps safe substitutes for worm castings?
For most soil-based houseplants, yes, but do it by “how much your plant can use,” not by throwing in lots of scraps. Banana peel and eggshell methods should be prepared properly (soaked, strained, or finely processed) and used sparingly. If you want a reliable kitchen-based option, compost tea or worm castings usually beat ad hoc scraps for consistent results.
When should I stop trying window-light remedies and switch to a grow light?
A grow light can be the only practical fix if your space is genuinely low-light, but setup matters. Use a timer (for example 12 to 16 hours), position the light to avoid excessive heat close to the foliage, and watch for a gradual change toward compact growth. If the plant looks bleached or scorched, move the light farther away and shorten exposure time.
What’s the most common potting mistake that causes root rot?
Too much water from the saucer is a common mistake, even when you water correctly. After watering deeply until it drains, empty the saucer right away. If you use a decorative outer pot, keep the plant inside a true nursery pot with drainage holes so water cannot collect around the roots.
How long should I wait to see growth after using compost tea or castings?
You should expect nutrient remedies to show results slowly. After correcting light and watering, wait about 3 to 4 weeks before judging a fertilizer-like DIY treatment, because new roots and new leaves take time to respond. If growth is stalled for longer than two growing months despite correct light and watering, it is time to consider a proper fertilizer rather than adding more kitchen inputs.
What if my plant isn’t growing but the soil seems fine, could it be root-bound?
Root-bound plants often stall because roots have nowhere new to grow and water runs through too fast. Signs include circling roots at the bottom and drying within a day. In that case, nutrients will not solve the problem. Repot into a slightly larger container (about 2 inches wider in diameter) with fresh mix, ideally in spring or early summer.
When should I stop DIY remedies and switch to more serious treatment?
Some issues are “home remedy limits.” Severe root rot requires unpotting, trimming dead roots, letting them dry briefly, and repotting into fresh dry mix. Also, powdery mildew on leaves is different from soil mold, and leaf surface treatments should not be the same as soil moisture fixes.