No confirmed extraterrestrial plant seeds exist yet, so growing a plant 'from another planet' right now means one of two things: running Earth plants under off-world-like conditions (think sealed terrariums, artificial light, altered atmosphere, and sterile growing media), or preparing a rigorous, contamination-controlled cultivation protocol ready for the day viable extraterrestrial biological material becomes available. Both are genuinely worth doing, and the practical steps overlap almost entirely. Here is how to approach it seriously, starting from scratch.
How to Grow a Plant From Another Planet Step by Step

Marcus Holloway
15 May 2026
What's actually possible right now (a reality check)
Let's be honest about where we stand. As of 2026, no confirmed living plant material originating from another planet has been returned to Earth. What does exist are meteorite fragments, some of which contain organic compounds and amino acids, but nothing that functions as a seed or spore ready to germinate. NASA's Planetary Protection program, which governs what biological material can move between planets in either direction, is explicit about this: any material brought back from a potentially life-bearing environment is subject to strict containment and analysis long before anyone could attempt cultivation.
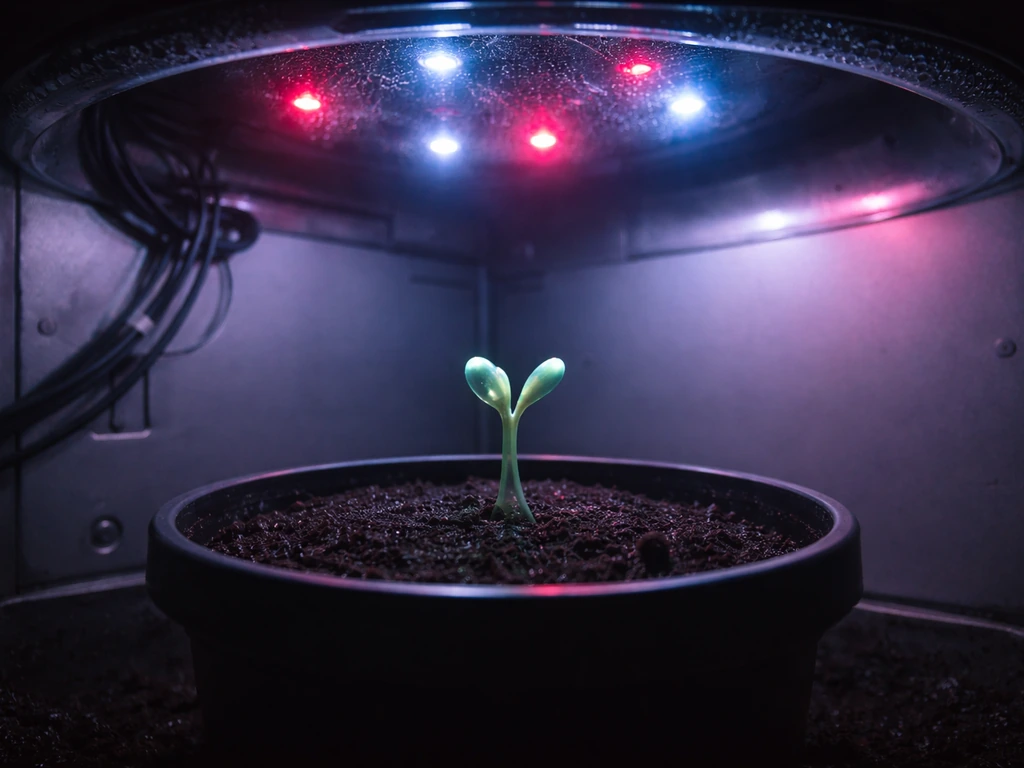
That said, growing plants under 'another planet' conditions is very real science. Researchers and hobbyists regularly simulate Martian regolith, low-pressure environments, reduced gravity analogs, and altered light spectra to understand how plants adapt. If you are approaching this as a thought experiment made practical, you are in good company. The contamination-control habits, growing protocols, and environment-engineering skills you build here are exactly what future astrobotanists will need. And honestly, the discipline required is useful for any specialized growing challenge, whether you are working in a sealed terrarium, a basement hydroponic setup, or a windowless apartment.
How to source viable starting material from another world
If you are working with hypothetical extraterrestrial biological material, the first rule is: assume it carries unknown microbes until proven otherwise. NASA's planetary protection framework uses a tiered mission-category system (Category I through V, as defined by COSPAR policy) where the strictest requirements apply to missions returning samples from potentially life-bearing environments. NASA’s Planetary Protection framework uses a tiered mission-category system (Category I through V) to set increasing strictness for missions that could return samples from potentially life-bearing environments. You would want to mirror that discipline at your scale.
For the practical hobbyist version today, your 'starting material from another world' might be seeds grown in simulated alien-soil substrates, spores from extremophile organisms like mosses or ferns that tolerate harsh conditions, or seeds specifically tested in low-nutrient, altered-pH growing media. Source them from reputable botanical suppliers or university seed banks. Choose species with published tolerance data for stress conditions: radiation, drought, and nutrient-poor soil. Mosses, certain succulents, tardigrade-adjacent extremophile-hosting plants, and duckweed are good candidates.
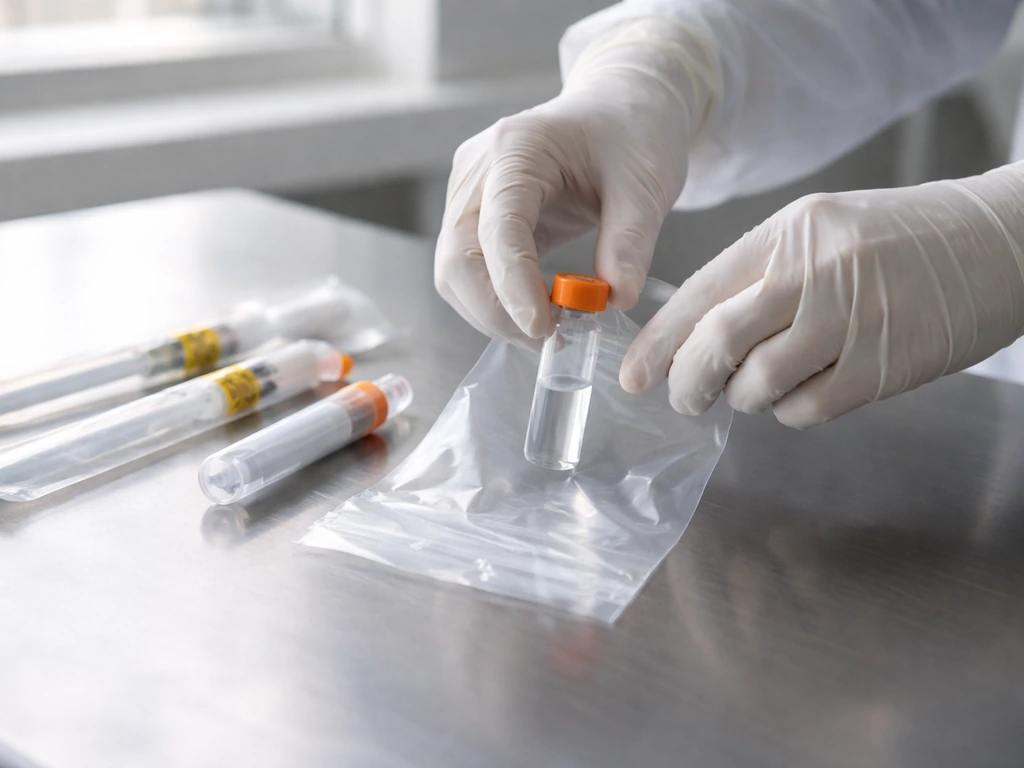
Before you touch any starting material, run a viability and contamination-intake process. Inspect seeds or spores under a magnifying lens for visible mold or discoloration. Soak seeds briefly in a 1-3% hydrogen peroxide solution (about 5 minutes) to surface-sterilize, then rinse with distilled water. This mirrors the bioburden reduction approach NASA uses on spacecraft hardware, just scaled down to seed prep. Log everything: source, date, batch number, pre-treatment method, and any visual observations. If the day ever comes when real extraterrestrial samples exist, this documentation habit will matter enormously.
What plants need off-planet: light, water, nutrients, and atmosphere
Light
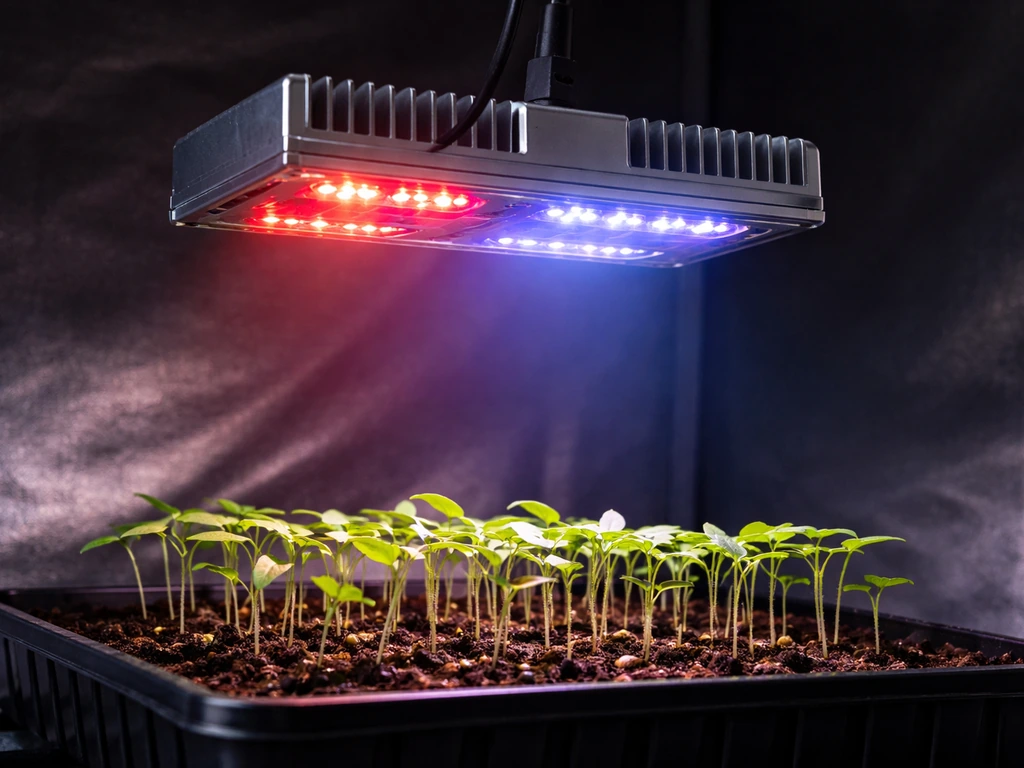
Plants evolved for Earth's solar spectrum, which peaks in the red (around 660 nm) and blue (around 450 nm) ranges. If you are simulating another planet's lighting environment, Mars receives roughly 43% of Earth's sunlight intensity, filtered through a CO2-heavy, dusty atmosphere that shifts the spectrum reddish.
To replicate this, use a full-spectrum LED grow light at reduced intensity, around 200 to 400 PPFD (micromoles of photons per square meter per second) rather than the 600-plus you would use for a vigorous indoor crop. For seedlings, start at 16 hours of light and 8 hours of dark unless you are simulating a specific planetary day length. Europa or Titan would be far darker; for those analogs, drop to 50-100 PPFD and supplement with low-wavelength red LEDs.
Water
Use distilled or reverse-osmosis water to eliminate Earth-native microbes and mineral unknowns. Keep water oxygenated in hydroponic systems with a small aquarium air pump and airstone. Change reservoir water every 7 to 10 days to prevent algae and mold from establishing. Water temperature matters: keep it between 18 and 22 degrees Celsius. Cold water slows root uptake; warm water encourages pathogen growth. If your setup is sealed (terrarium-style), misting with distilled water and monitoring humidity with a digital hygrometer gives you the most control.
Nutrients
Unless you know the nutrient profile that a hypothetical extraterrestrial plant evolved for, start with a minimal, balanced mineral solution. A diluted general hydroponic nutrient formula at half the recommended strength is a safe starting point, giving you roughly: nitrogen (N) for leaf growth, phosphorus (P) for root and germination energy, and potassium (K) for overall cellular function. Avoid organic nutrient mixes at first since they introduce additional microbial complexity. EC (electrical conductivity) around 0.8 to 1.2 mS/cm is gentle enough for seedlings and unusual substrates. Adjust based on what you observe: yellowing leaves often signal nitrogen deficiency, purple tints can indicate phosphorus lockout.
Atmosphere
Earth's atmosphere is about 21% oxygen, 0.04% CO2, and 78% nitrogen at roughly 101 kPa of pressure. Mars, by contrast, is about 95% CO2 at just 0.6 kPa, which is lethal to plants as we know them. For a survivable 'alien atmosphere' experiment, keep pressure at Earth normal but you can raise CO2 slightly (to 1,000-1,500 ppm) in a sealed grow space to accelerate growth, a technique commercial greenhouse growers already use. Humidity between 50 and 70% suits most seedlings. If you are simulating a drier planetary environment, drop to 30-40% but monitor closely for stress. A small USB CO2 and humidity monitor inside your enclosure costs under $30 and is worth every cent.
Choosing your growth system
You have four realistic options, each with different strengths for an off-world growing scenario. Here is a quick comparison to help you choose.
| System | Best for | Contamination risk | Control level | Beginner-friendly |
|---|---|---|---|---|
| Soil or inert media (e.g., perlite, Martian regolith simulant) | Simulating planetary surface conditions | Moderate (natural microbes) | Low to medium | Yes |
| Hydroponics (nutrient solution, inert net pots) | Maximum nutrient control, fast growth | Low if sterile | High | Moderate |
| Terrarium (sealed glass enclosure) | Atmosphere control, contamination isolation | Very low if sealed | Very high | Yes, once set up |
| Aeroponics (misted roots in air) | Simulating low-gravity root environments | Low | Very high | No, complex setup |
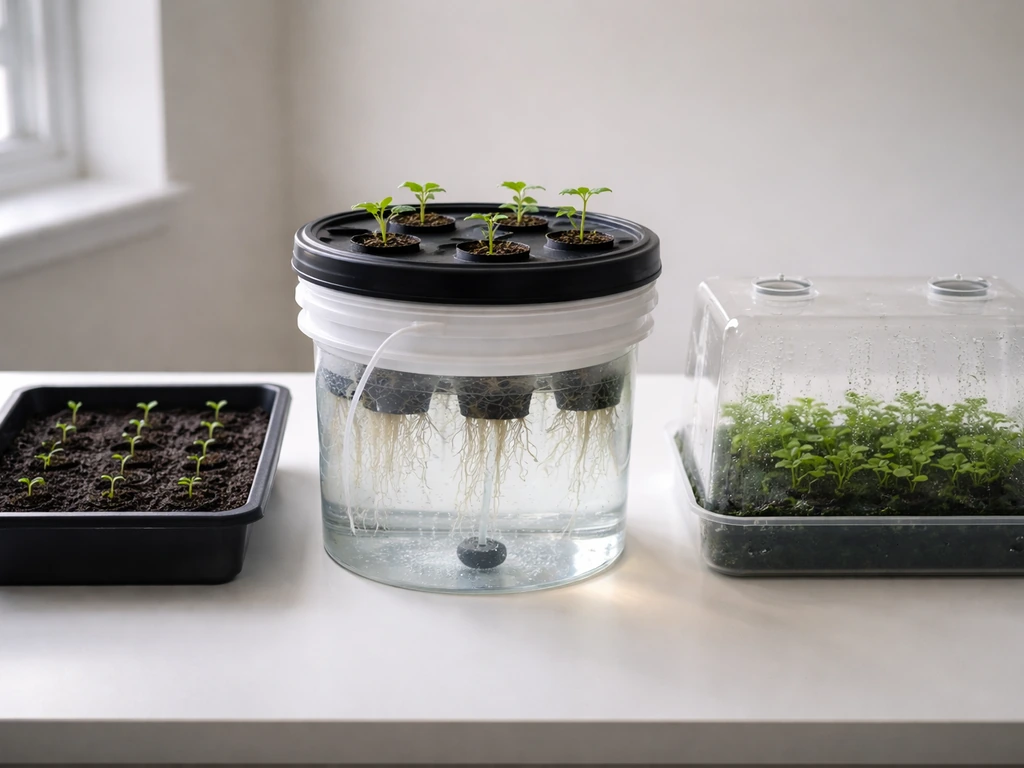
For most readers starting out, a sealed terrarium or a simple deep-water-culture hydroponic bucket gives the best balance of control and simplicity. Soil is intuitive but introduces microbial variables that are hard to sterilize out completely. If you want to use a Mars regolith simulant (available commercially from suppliers like The Martian Garden), sterilize it first by baking at 180 degrees Celsius for 30 minutes, similar in principle to the dry heat microbial reduction methods NASA applies to spacecraft hardware. Then re-inoculate with only what you intend to add, whether that is mycorrhizal fungi, a mineral solution, or nothing at all.
Step-by-step germination and early growth plan
- Sterilize your container. Wipe down all interior surfaces with 70% isopropyl alcohol and allow to dry fully before adding any media or seeds. Do this even if the container is brand new.
- Prepare your growing medium. For inert media or soil simulant, pre-moisten with distilled water to about 60% field capacity (squeeze a handful and only a few drops should come out). For hydroponics, fill the reservoir with your diluted nutrient solution and confirm EC and pH (target pH 5.8 to 6.5 for most seedlings).
- Pre-treat seeds. Soak in 1-3% hydrogen peroxide for 5 minutes, rinse twice with distilled water. For hard-coated seeds, scarify gently with fine sandpaper before soaking.
- Plant at correct depth. General rule: plant seeds at a depth equal to twice their diameter. For tiny seeds like lettuce or moss spores, just press them onto the surface without covering.
- Set your light cycle. Start at 16 hours on, 8 hours off. Hang your LED grow light so PPFD at seedling level is 150 to 200 micromoles per square meter per second. A cheap lux meter with a PPFD conversion is accurate enough at this stage.
- Maintain temperature. Keep your growing space between 20 and 25 degrees Celsius for germination. Most seeds will not germinate reliably below 15 or above 30 degrees Celsius.
- Wait and observe. Check daily but resist overwatering. The soil or media surface should feel barely damp, not wet. In a sealed terrarium, condensation on the glass walls is normal and indicates adequate humidity.
- Look for germination signs. Expect visible radicle (root tip) emergence within 3 to 10 days for most species. A green shoot breaking the surface within 7 to 21 days is a strong sign of success. Mark 'day 1' when you see the first emergence and log it.
- Transition lighting. Once seedlings have their first true leaves (not the initial seed leaves), gradually increase PPFD to 250 to 400 over one to two weeks to avoid light stress.
- Begin feeding. Start diluted nutrient solution (half strength) only after the first true leaves appear. Before that, the seed's own energy reserves handle nutrition.
Monitoring, troubleshooting, and keeping plants healthy
The most common problems in a controlled, off-world-style growing setup are predictable, and most are recoverable if you catch them early. Check your plants every day at the same time. You are looking for: color consistency (uniform green without yellowing, browning, or purple edges), stem firmness (not limp or mushy at the base), root color if visible (white or cream, not brown or slimy), and normal growth rate (new leaves or root extension visible every few days in healthy seedlings).
| Symptom | Likely cause | Fix |
|---|---|---|
| No germination after 21 days | Non-viable seeds, wrong temperature, or too dry | Check seed age and storage conditions; adjust temp; increase surface moisture |
| Seedling collapses at soil line (damping-off) | Fungal infection, overwatering | Improve air circulation, reduce watering, apply diluted hydrogen peroxide to media surface |
| Yellow lower leaves | Nitrogen deficiency | Increase nutrient concentration slightly; check pH is not locking out N uptake |
| Purple tint on leaves | Phosphorus deficiency or cold stress | Warm growing space; check pH (below 6.0 can block P); increase P in solution |
| Brown crispy leaf edges | Nutrient toxicity or low humidity | Flush media with plain distilled water; raise humidity |
| White fuzzy growth on soil or media | Mold (often harmless saprophytic mold early on) | Remove affected material, improve air flow, reduce humidity slightly |
| Brown, slimy roots in hydroponics | Root rot (Pythium or similar) | Change reservoir, clean with diluted hydrogen peroxide, lower water temperature, increase oxygenation |
| Stretchy, pale stems reaching toward light | Insufficient light intensity | Lower the grow light or increase PPFD; extend light hours if needed |
A small, consistent monitoring log is your best diagnostic tool. Even just a phone photo and a two-line note each day lets you spot trends before they become crises. If a plant is in decline and you can not pinpoint why, change one variable at a time: adjust light first (easiest), then watering, then nutrients, then atmosphere. Changing everything at once means you will never know what actually worked.
Scaling up, preventing failure, and growing better over time
Contamination control as a long-term habit
Sterility is not a one-time event. It is a habit. Before reaching into your growing space, wipe your hands with 70% isopropyl alcohol or wear gloves. Use separate tools for each container if running multiple plants.
Clean reservoir walls with diluted hydrogen peroxide between cycles. NASA's Planetary Protection program lists hydrogen peroxide sterilization among biological contamination load reduction techniques used in spacecraft contexts, which is why it is a useful surface-sterilization step for seed prep too.
These steps are not paranoia; they are what separate a single lucky sprout from a repeatable cultivation system. NASA documents every sterilization step, sampling point, and verification check in formal reports across a mission's lifecycle. You can do something similar with a simple spreadsheet: date, action taken, observation, and outcome. It sounds like overkill until you lose a batch to mold and have no idea how it got in.
Acclimating plants to their environment
If you are gradually shifting your plant's conditions to simulate a different planetary environment (lower light, altered gas mix, higher CO2, lower humidity), do it incrementally. A 10% change in light intensity or a 5-point humidity drop per week gives plants time to adjust metabolically. Sudden changes cause stress responses, which look like wilting, leaf drop, or growth stalls. Think of it like acclimating a diver to depth: slow and steady prevents shock. Keep your records updated during this phase so you know which conditions triggered which responses.
Record-keeping and iteration
Once you have one successful sprout, your job is to understand exactly why it worked so you can replicate it. Write down the conditions that were present at germination: temperature, humidity, light intensity, pH, EC, media type, and seed source. Then, when you run a second batch, try changing one parameter and compare results.
This is basic experimental discipline, and it is the same iterative logic that makes any specialized growing method, whether hydroponics, terrariums, or soil, improve over generations of plants. If you enjoy the challenge of propagating new plants from existing ones, the core principles here connect directly to topics like growing new plants from old plants or getting more plants from a single parent, since the contamination-control and environment-management skills transfer across methods.
If you want more plants from one plant, focus on propagation methods and careful, repeatable conditions so each new cutting or seedling thrives. For example, when learning how to grow new plants from old plants, you will still rely on careful contamination control and consistent environmental adjustments growing new plants from old plants.
You can also apply these same contamination-control and environment-tuning steps if you are wondering, can you grow new plants from eyes propagating new plants from existing ones.
Realistic next steps
- Start with one hardy, stress-tolerant species (radishes, moss, or lettuce are good test subjects) in a sealed terrarium or small hydroponic bucket before committing to exotic substrates.
- Get a basic sensor kit: a digital thermometer and hygrometer combo, a pH meter, an EC meter, and a lux or PPFD meter. You can find all four for under $60 total.
- Run your first grow cycle under 'normal' Earth conditions to establish your baseline, then introduce one off-world variable at a time (reduced light intensity, altered humidity, regolith simulant substrate).
- Document every batch with dates, photos, and measurements. Name each batch and keep notes separate from each other.
- Join citizen science or space agriculture communities (universities like Cornell, Purdue, and the University of Florida have public-facing space crop research programs) to stay updated on actual extraterrestrial plant research as it develops.
- If commercial Mars regolith simulant is outside your budget, a 1: 1 mix of sterilized fine sand and vermiculite with minimal added nutrients mimics low-fertility alien soil conditions well enough for early experiments.
The gap between 'no confirmed alien plant material exists' and 'I have a working off-world cultivation protocol ready' is exactly the kind of gap that serious preparation closes. Every grower who has figured out how to keep a plant alive under genuinely unusual conditions, whether that is a sealed terrarium, a completely artificial light setup, or a sterile hydroponic system, has already done most of the intellectual and practical work. You do not need a spaceship. You need good documentation, consistent habits, and enough curiosity to keep adjusting until something grows.
FAQ
How can I tell if my setup is actually preventing contamination, not just hiding it?
Don’t scale up immediately. Use one small “test lane” (for example, one container and one substrate) to verify sterilization, germination timing, and mold control for 2 to 3 weeks, then expand. This prevents losing an entire batch when the weakest link is your media, water quality, or enclosure seals rather than the plant choice.
If I want to simulate a different planetary day length, should I change photoperiod right away?
Yes, but treat it like changing multiple variables at once. If you’re aiming for an “alien day,” keep total daily light hours fixed first (such as 16/8), then adjust spectrum or intensity later. Rapidly changing both photoperiod and PPFD often causes leaf drop that looks like nutrient problems.
What should I do if I see mold on seeds, media, or inside the terrarium?
Separate “sterile” from “clean.” You can reduce surface microbes with the peroxide step, but you still need a low-bioburden workflow, consistent humidity control, and quick removal of any rotting material. If you see fuzzy growth, discard that batch and sanitize the enclosure, tools, and any tools that touched water or media, because spores can persist.
How do I troubleshoot yellowing, purple tinges, or stalled growth without overcorrecting nutrients?
Aim for stable EC and pH targets instead of adjusting every day. If leaves yellow, check first whether the EC is dropping (underfeeding) or the pH is drifting out of range (lockout). For seedlings, increase nutrients gradually, for example in small increments, rather than jumping from half-strength to full strength.
What’s the best way to run tests so I can learn which change caused success?
Use the “one-variable-per-run” method. If you change light, keep water temperature, water source, EC, and atmosphere constant. A helpful trick is to photograph the same plant angle daily under the same lighting, so you can compare color shifts that occur within 48 to 72 hours of a change.
If my grow space is sealed, how do I manage airflow and gas exchange without ruining the “alien atmosphere” idea?
Yes. Many growers forget that the enclosure can become the growth system. If you’re using an airtight or semi-sealed setup, exchange gases carefully, or micro-ventilate on a schedule. Otherwise, CO2 and humidity can swing hard, causing either stalling from oxygen limitation or condensation-driven mold.
Is misting enough for seedlings in a sealed terrarium, or do I need a different watering approach?
For terrariums, misting alone can lead to uneven nutrient delivery. Once seedlings establish, consider switching to a controlled-feeding method (for example, small measured nutrient additions to the root zone) while keeping foliar surfaces minimal. This also reduces the chance of water sitting on leaves where fungi prefer to grow.
Can I use cuttings or propagation from a successful plant to speed up my alien-condition experiments?
Propagating from existing plants can be done more safely if you keep the parent plant under the same cleanliness standards and isolate cuttings in a separate, cleaned container. If the parent already has resident microbes, “sterilizing the cutting” may not be possible beyond surface treatment, so your contamination control becomes about isolation and monitoring.
How often should I change water and how do I prevent biofilm from forming in my reservoir?
Prefer RO or distilled water for consistency, but also watch storage. Water left in unclean containers can accumulate biofilm. If you store water, label containers with date, keep them sealed, and sanitize before refilling, then treat reservoirs like equipment between cycles, not like permanent parts of the system.
When using very low PPFD (for dark worlds), what common mistake causes disease instead of slow growth?
If you’re simulating darker moons or far-off planets, dimmer light plus longer days can backfire by extending the humidity and condensation period. Start with the PPFD reduction first, maintain a stable photoperiod, and only then test longer light durations. Monitor for slow growth versus disease, slow growth alone is normal in low PPFD setups.
Can I reuse media or tools between batches, or do I need a fully fresh setup every time?
Yes, and it’s one of the fastest ways to ruin a sterile-feeling setup. If you reuse substrates, tools, or pots between runs, sterilize containers and treat reusable tools as if they were contaminated. Label batches and keep separate “clean” and “dirty” tool sets so one accidental dip doesn’t contaminate everything.
What should I look for in a species to make my alien-condition experiment more likely to succeed?
Don’t use random species. Choose plants with documented tolerance to at least one stress your simulation introduces, like low nutrients, drought, or cool temperatures. Also check whether the plant needs special dormancy cues, because some species fail in controlled “alien” conditions simply because they never get the dormancy cycle they evolved for.