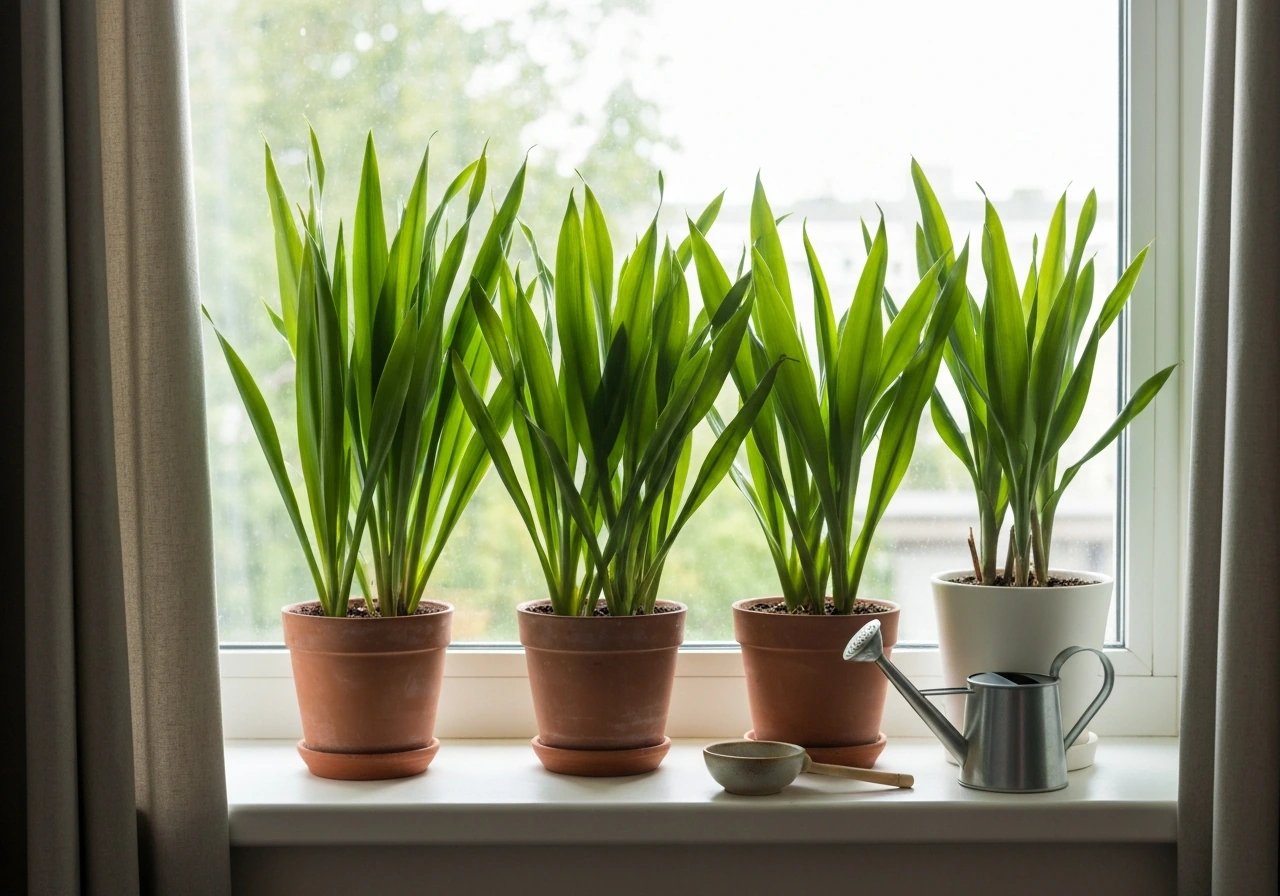
Healthy plants at home come down to five things done consistently well: the right amount of light, temperatures that stay stable, a growing medium that drains properly, watering only when the plant actually needs it, and occasional feeding during active growth. These simple home remedies for plants to grow focus on getting consistent light, watering only when needed, and using the right growing medium and feeding. Get those five right and most plants will thrive regardless of whether you're growing in a pot on a windowsill, a glass of water, a hydroponic setup, or a closed terrarium. Every problem covered below, from yellowing leaves to root rot to leggy growth, traces back to one or more of these fundamentals being off.
How to Grow Plants Healthy at Home: Step by Step Guide

Marcus Holloway
19 May 2026
What 'healthy' actually looks like (and what stress looks like)
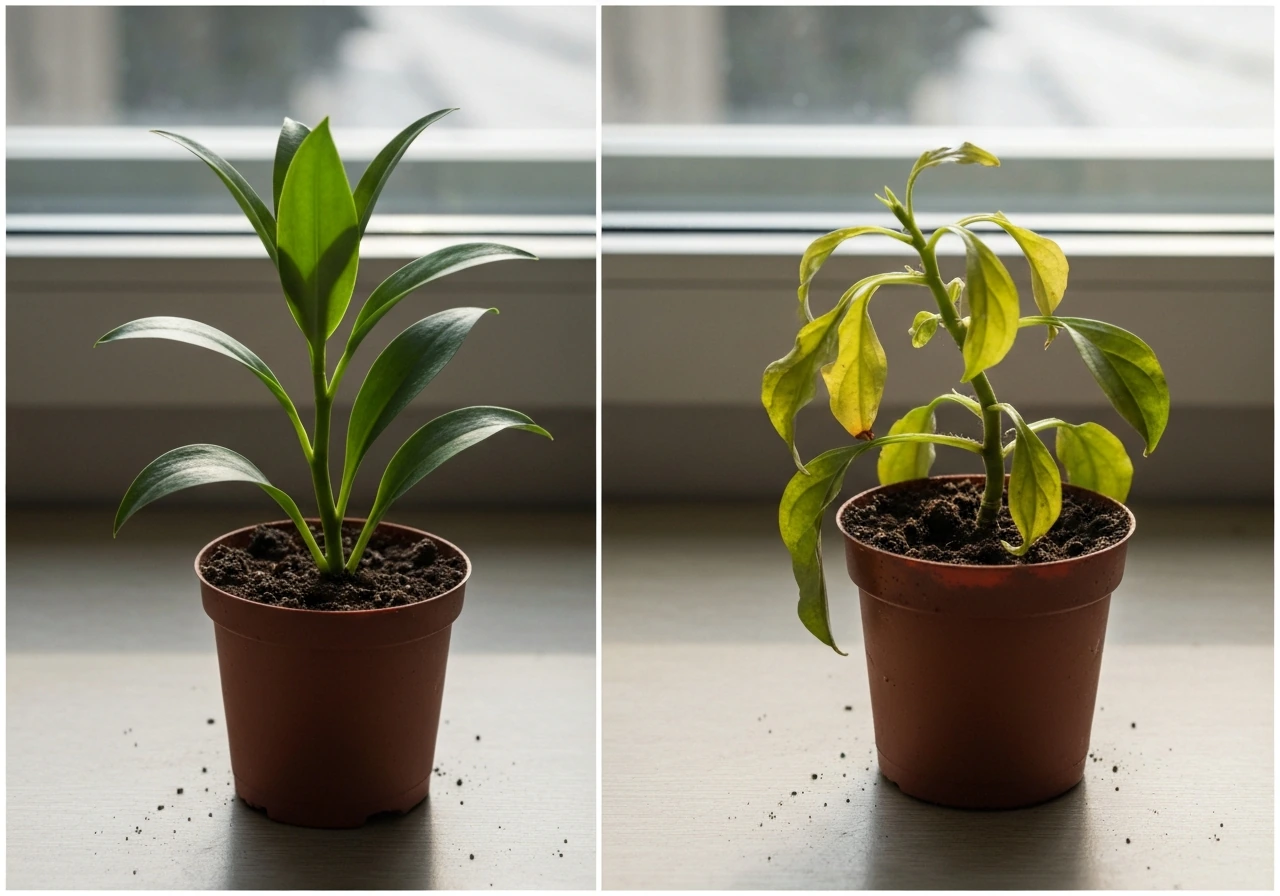
A healthy plant isn't just one that's alive. It's one that's actively growing at a pace appropriate for its species, producing firm leaves in a consistent color, and standing upright without drooping. New growth should be close to the same size as mature leaves. Roots, if you can see them, should be white or light tan and firm. The soil or growing medium should cycle through wet and dry phases without sitting soggy for days.
Stress shows up in predictable ways. Yellowing that starts on older, lower leaves and works its way up often points to insufficient light or nitrogen deficiency. Yellowing across leaves of all ages, including young ones, can mean too much light, temperature stress, or overwatering. Wilting that doesn't recover after watering almost always means root damage, either from rot or from a root ball so dry it's pulling away from the pot walls. Pale, stretched stems reaching toward a window are a classic sign of not enough light. Brown, crispy leaf tips usually mean low humidity or inconsistent watering. Once you learn to read these signals, you can fix problems before they become fatal.
| Symptom | Most Likely Cause | Quick Check |
|---|---|---|
| Yellowing older leaves, dropping | Low light or nitrogen shortage | Count hours of direct or bright indirect light per day |
| Yellowing on all leaves including new growth | Overwatering, too much light, or temperature shock | Check soil moisture and room temp; look for pale or bleached patches |
| Wilting despite moist soil | Root rot from overwatering | Unpot and check roots: brown, mushy, and easy to pull apart means rot |
| Wilting with bone-dry soil | Underwatering or hydrophobic root ball | Water thoroughly, let drain; if water runs straight off, soak the pot |
| Leggy, stretched stems | Insufficient light | Move to a brighter spot or add a grow light |
| Brown, crispy leaf tips | Low humidity or salt buildup from fertilizer | Mist, add a pebble tray, or flush the soil thoroughly |
| Soft, translucent leaves | Overwatering or cold damage | Check drainage and keep away from cold windows in winter |
Light, temperature, and airflow: getting the environment right
Light is almost always the limiting factor indoors
Insufficient light is by far the most common reason houseplants fail indoors. It causes yellowing and drop of older leaves, weak and smaller new growth, and that characteristic leggy stretching toward the nearest window. Most people overestimate how bright their home actually is. A spot that feels comfortably lit to human eyes can still be many times dimmer than what a plant needs. The practical fix: get plants as close to a window as possible, preferably within one to two feet of a south- or east-facing window for most tropical houseplants. If your home genuinely doesn't have bright spots, a basic LED grow light (even a modest 15 to 30 watt bulb in a standard lamp socket) run for 12 to 14 hours a day makes a real difference.
On the flip side, too much direct sun through glass can scorch leaves, causing pale or bleached patches that show up uniformly across leaves of all ages. This is more common in south-facing rooms in summer. A sheer curtain diffuses intense midday sun well without cutting light too drastically.
Temperature and airflow matter more than most people think
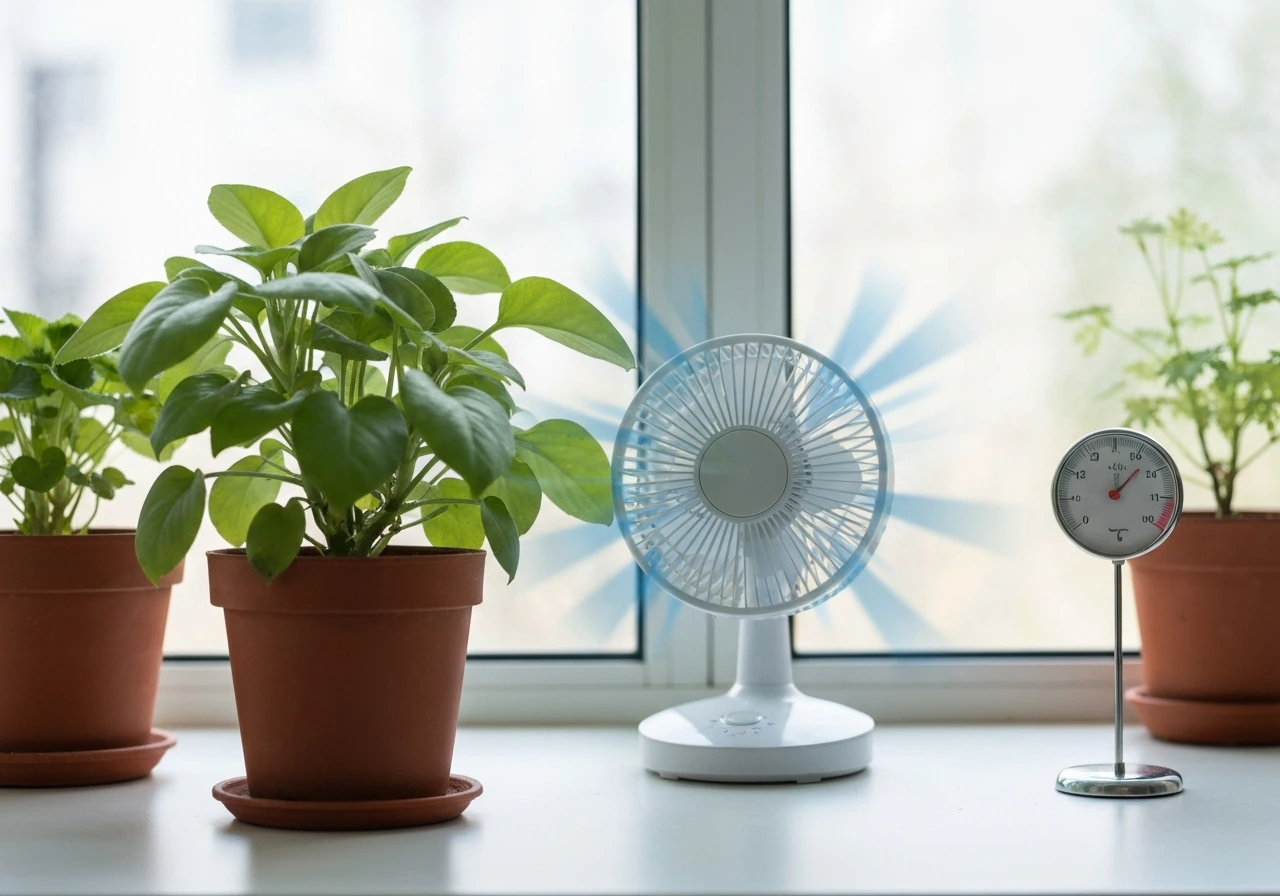
Most common houseplants prefer temperatures between 60 and 80 degrees Fahrenheit (15 to 27 Celsius). What kills plants more often than the average temperature is sudden swings: a tropical plant sitting against a cold glass window in winter, a pot sitting on a radiator, or a plant in the path of an air conditioning vent. These temperature shocks cause yellowing, leaf drop, and wilting that looks just like a watering problem. Keep plants away from drafts, heating vents, and cold windowpane contact during winter months.
Airflow is the underrated one. Stagnant air encourages fungal problems and makes certain pests much worse. You don't need a fan blasting plants, but a room that gets occasional air circulation, even from opening a window periodically, keeps leaves healthier and reduces the conditions that fungus gnats, powdery mildew, and botrytis love.
Soil, growing medium, and watering: the foundation of plant health
Choosing the right growing medium
Standard potting mix works for most tropical houseplants, but 'standard potting mix' doesn't mean one-size-fits-all. Succulents and cacti need a fast-draining mix with extra perlite or coarse sand, usually at a ratio of about 50 percent standard mix to 50 percent drainage material. Orchids need chunky bark, not soil at all. Dense, compacted soil is one of the most common hidden causes of poor plant health because it restricts oxygen to roots and holds too much water. If your mix feels like wet clay after watering, it's too tight. Adding perlite (20 to 30 percent by volume) to standard potting soil solves this for most plants.
Always make sure pots have drainage holes. Leaving houseplants standing in water in a saucer for more than an hour or two after watering is one of the fastest routes to root rot. If you're using a decorative pot without drainage, either drill a hole or use the nursery pot inside the decorative one and empty the saucer regularly.
How to water correctly and avoid the two big mistakes
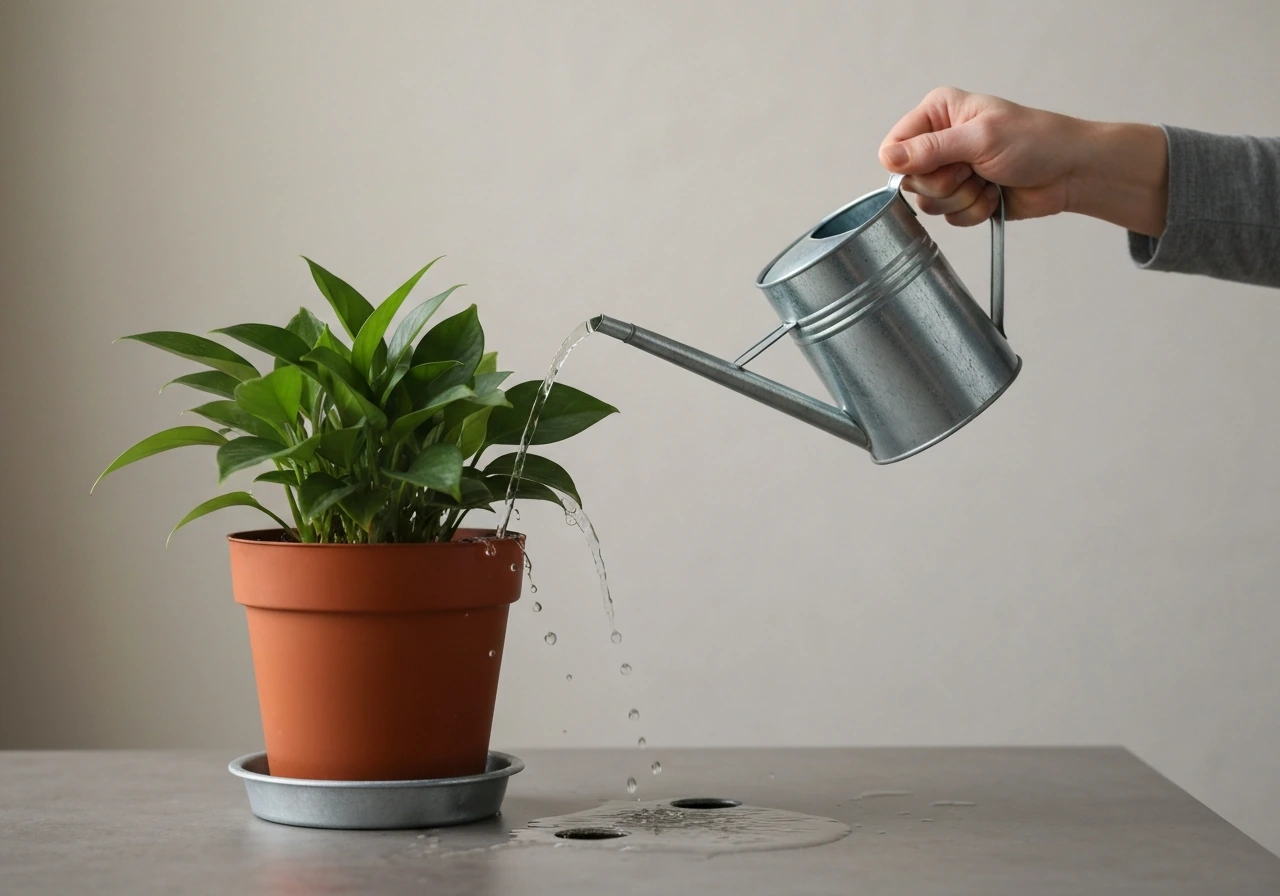
Overwatering kills more houseplants than anything else, but the solution isn't to water less, it's to water correctly. The goal is to water thoroughly when the plant needs it, then let the medium dry out to the appropriate level before watering again. 'Appropriate level' varies: for most tropical foliage plants, water when the top inch or two of soil feels dry. For succulents and cacti, wait until the soil is dry all the way through. For moisture-loving plants like ferns, water when just the surface feels dry.
When you water, water until it drains freely from the bottom of the pot. This ensures the entire root zone is hydrated, not just the top layer. Then let it drain completely and don't let the pot sit in water. If water runs straight off the surface without soaking in, the root ball has become hydrophobic from drying out too long. Fix this by sitting the pot in a tray of water for 20 to 30 minutes so it rehydrates from the bottom, then drain. Wilting can come from either too little or too much water, which is why checking the soil moisture before watering every time is worth the five seconds it takes.
Fertilizing and feeding: giving plants what they actually need
Plants grown in pots eventually exhaust the nutrients in their soil, usually within a few months of being repotted. After that, they depend on you to supply what they need. The three main macronutrients are nitrogen (N) for leafy green growth, phosphorus (P) for root and flower development, and potassium (K) for overall health and stress resistance. A balanced liquid fertilizer (labeled something like 10-10-10 or 20-20-20) handles most houseplants' needs during the growing season.
A simple feeding schedule that works for most home growers: fertilize every two to four weeks during spring and summer (active growth), and stop or reduce to once every six to eight weeks in fall and winter when most plants slow down. Always dilute liquid fertilizer to half the recommended dose if the plant has been stressed or recently repotted, because over-fertilizing burns roots and causes brown leaf tips that look like underwatering. If you see salt crust on the soil surface or the pot rim, flush the soil thoroughly with plain water to wash out the buildup.
- Spring and summer: liquid balanced fertilizer every 2 to 4 weeks, diluted to half strength if in doubt
- Fall and winter: reduce to once every 6 to 8 weeks or pause entirely for dormant plants
- Flowering plants benefit from a higher phosphorus fertilizer (like a 5-10-5 ratio) when buds are forming
- Never fertilize a plant that is wilting, stressed, or freshly repotted — fix the root problem first
- Slow-release granular fertilizer worked into the top of the soil is a good low-maintenance alternative for busy schedules
Dealing with pests, disease, and the problems people see most often
The most common houseplant pests and how to handle them
Spider mites show up as fine webbing under leaves and tiny specks on the leaf surface, usually when conditions are hot and dry. Treat by increasing humidity and washing leaves with insecticidal soap or a diluted neem oil solution, repeating every five to seven days for three weeks to break the life cycle. Fungus gnats are the tiny flies hovering around soil, a sign the top of the medium is staying too wet for too long. Let the surface dry out more between waterings and use yellow sticky traps to catch adults. Mealybugs look like white cottony fluff in leaf joints and stem crevices. Dab individual colonies with rubbing alcohol on a cotton swab and follow up with neem oil spray. Scale insects look like brown bumps on stems and leaves and are best removed manually then treated with horticultural oil.
The best pest defense is checking plants regularly. Catching an infestation when it's a few insects versus a full colony is the difference between a quick fix and losing a plant. When you bring a new plant home, quarantine it away from your other plants for at least two weeks and check the undersides of leaves before introducing it to your collection.
Diagnosing the most common problems quickly
Root rot is the most serious common problem and it comes from roots sitting in waterlogged soil too long. Signs are brown, mushy roots with an outer covering that pulls off easily, plus wilting or yellowing that doesn't improve after watering. To treat it, unpot the plant, trim all brown and mushy roots back to healthy tissue with clean scissors, dust cut ends with cinnamon or activated charcoal as a natural antifungal, repot into fresh well-draining mix, and hold back watering until the plant shows signs of recovery. Not every root rot case is fatal if you catch it early enough.
Powdery mildew appears as white powdery patches on leaves and is triggered by poor airflow and high humidity without good air circulation. Improve ventilation, remove badly affected leaves, and treat with a diluted baking soda spray (one teaspoon baking soda per liter of water) or a commercial fungicide. Leggy, stretched growth is purely a light problem and the fix is straightforward: more light, whether from repositioning or a grow light. You can pinch back leggy stems to encourage bushier growth once the light situation is improved.
Repotting and pruning: keeping growth under control
Plants need repotting when roots start circling the bottom of the pot, growing out of drainage holes, or when the plant dries out much faster than it used to. For most houseplants, that's every one to two years. When repotting, go up only one pot size at a time (usually 2 inches in diameter). Going too big traps excess moisture in the unused soil area and increases root rot risk. Spring is the best time to repot because plants are entering their active growing phase and recover quickly.
Pruning keeps plants looking compact and directs energy to healthy growth. For most foliage plants, removing dead or yellowing leaves immediately is a good habit because dead material attracts fungus and pests. Pinching back the growing tips on vining or bushy plants (like pothos, herbs, or coleus) encourages branching and fuller shape. Use clean, sharp scissors or pruning shears every time; dirty cuts introduce disease. For plants that have become very root-bound or overgrown, a hard prune combined with a repot in spring gives them a complete reset.
Applying these principles across different growing setups
The fundamentals of plant health, the right light, stable temperature, proper moisture balance, and adequate nutrition, stay the same no matter what medium you're growing in. What changes is how you apply them. Here's how the main setups differ in practice.
Soil-based growing (the standard)
Everything covered above applies directly to soil growing. The main variables to dial in are drainage quality and watering frequency. If you're struggling with consistently overwatered or underwatered plants, the most practical upgrade is switching to a moisture meter (about 10 dollars) so you stop guessing. For anyone curious about getting started with minimal complexity, easy-care species like pothos, snake plants, and ZZ plants are genuinely forgiving and a good starting point.
Water propagation and water growing
Growing plants in water eliminates the overwatering problem entirely but introduces different challenges. Water needs to be changed every one to two weeks to prevent algae growth and bacterial buildup, which will kill roots. Use an opaque container to reduce light exposure to the water itself, which slows algae. Nutrient supply becomes critical here: plain water has essentially no nutrients, so once a plant has been growing in water for a few weeks, adding a diluted liquid fertilizer at one-quarter the standard dose every two to three weeks is necessary for continued healthy growth. This is a popular method for cuttings and for plants like pothos, philodendrons, and lucky bamboo.
Hydroponics
In a hydroponic system, you're delivering nutrients directly through water, so there's no soil buffer. This means problems show up faster but can also be corrected faster. The key metrics to monitor are pH (keep it between 5.5 and 6.5 for most plants) and nutrient concentration (measured as electrical conductivity, or EC). pH outside this range locks out nutrients even when they're present in the water, causing deficiency symptoms that look exactly like the plant isn't being fed. Change or top up the nutrient solution every one to two weeks and check pH every few days. Light requirements are the same as soil growing, but since there's no soil to act as a buffer against temperature, keeping the root zone cool (ideally below 72 degrees Fahrenheit) is important to prevent root disease.
Terrariums
Terrariums are their own microenvironment and the biggest differences are in watering and airflow. A closed terrarium recycles moisture internally and almost never needs watering once established. If condensation covers more than about half the glass wall, open the lid for a few hours. An open terrarium loses moisture more like a standard pot but still retains more humidity than open air, making it better suited to moisture-loving plants like ferns and mosses. Fertilizing in terrariums should be minimal because you don't want plants outgrowing the space quickly; use fertilizer at one-quarter strength at most, once in spring. Pests can spread quickly in the enclosed environment, so inspect new plants thoroughly before adding them.
Your practical checklist to implement right now
If you want to immediately improve the health of plants you already have, work through this checklist. It covers the highest-impact actions in priority order.
- Assess your light: count the hours of bright indirect or direct light each plant spot gets. If it's under four hours, move the plant closer to a window or add a grow light.
- Check the soil moisture before you water next time, and every time after that. Stick a finger two inches into the soil — if it's still moist, wait.
- Look at the roots: if a plant is wilting or yellowing despite good watering habits, unpot it and check for brown, mushy roots. Treat root rot early.
- Check that every pot has drainage and isn't sitting in water in its saucer.
- Inspect the undersides of leaves for pests, especially on any new plants you've recently brought home.
- If you haven't fed your plants in over two months during their growing season, give them a half-strength balanced liquid fertilizer.
- Remove any dead, yellowing, or damaged leaves and stems with clean scissors.
- Check that no plants are sitting in drafts, on top of radiators, or touching cold windows.
Quick troubleshooting flow for common problems
If a plant looks unhealthy right now, run through this in order. Start with light (is the spot bright enough?), then check moisture (is the soil too wet or too dry?), then look at roots (are they healthy or rotting?), then check for pests (look at stems and leaf undersides), then consider temperature or drafts (is the plant near a vent, radiator, or cold window?), and finally consider nutrition (when did you last fertilize?). In the vast majority of cases, the problem will show up in one of the first three steps. Fix the root cause rather than treating just the symptom and the plant will recover.
Growing healthy plants at home is genuinely learnable, even if you've killed plants before. Every failed plant teaches you something about how conditions in your specific home work, and that knowledge transfers to every plant you grow afterward. If you're starting from scratch and want to build confidence, beginning with low-maintenance species is a smart move. If you want to go beyond theory, use this guide to pick low-maintenance plants and set up light, watering, and soil so they succeed low-maintenance species. And if you're interested in growing without traditional soil, exploring water-based and alternative setups opens up a whole different way to grow that removes some of the most common beginner pitfalls entirely. If you mean "rocket" plants and want to grow them at home, start by matching the light and watering approach to the setup you choose water-based and alternative setups. You can also learn how to grow plants at home without seeds by starting with cuttings, division, or water propagation.
FAQ
How can I tell whether my houseplant needs more light or more water?
If you do not have a place that stays consistently bright, prioritize an LED grow light placed close to the plant (roughly 6 to 12 inches, adjusted so leaves do not bleach) and keep a daily timer. Also rotate pots weekly so all sides get similar light, otherwise you can end up with a leaning plant even if the total light hours are correct.
What’s the safest way to know when to water, especially if my soil dries unevenly?
Too many people water based on the calendar. To avoid this, check moisture at the same depth every time (for most mixes, the top inch or two). If the surface feels dry but the next inch is still moist, wait, and if both layers are dry and the pot feels light, water thoroughly. A moisture meter helps when your soil varies a lot by brand and pot size.
Can I gradually move my plant to a brighter window without shocking it?
Yes, but the transition matters. If you move a plant from shade to direct window sun, it can scorch quickly. Increase light gradually over 7 to 14 days, starting with morning sun or filtered light, and watch for bleaching patches that appear on multiple leaves at the same time.
My plant has brown, crispy tips. Should I mist more or do something else?
In most homes, the quickest humidity improvement that helps browning tips is grouping plants together and using a small humidifier near (not blasting directly onto) the plants. Avoid over-misting, because wet leaves plus low airflow can invite powdery mildew and other fungal issues.
Why are my leaves turning yellow, but I’m watering “correctly”?
If leaves yellow while new growth is weak, first rule out light deficiency and overwatering. Yellow leaves from overwatering often come with limp growth and soggy medium, while light problems tend to start on older leaves and progress upward. A practical test is to check roots only if watering behavior has been correct for a week or two.
When should I stop fertilizing and when should I resume?
Fertilizer isn’t the first fix for most indoor issues. If a plant just had root damage, is still stressed from repotting, or is sitting in low light, feeding can worsen it. Wait until it shows stable new growth, then resume at half strength, especially after repotting or fixing moisture problems.
What’s the risk of repotting into a pot that’s too big?
Not exactly. A larger pot increases the volume of wet soil, which can keep roots in damp conditions too long. As a rule of thumb from the article’s logic, move up only about one pot size (around 2 inches in diameter), and make sure the new pot drains well.
My pot drains, but it never seems to dry out. How do I troubleshoot the medium?
If water pools in the bottom or the soil stays wet for days, the mix is likely too dense or the drainage path is blocked. Fix it by replacing the mix or adding the right drainage amendment (like perlite) and by confirming the pot has drainage holes. Hydrophobic soil is different, where water runs off quickly, and it needs a rehydration soak before you can assess true drainage.
What should I do first when I spot pests on a single leaf?
Start with the least toxic approach. Isolate the plant, remove heavily infested leaves when possible, and wash foliage. For recurring pests, stick to the article’s cadence (repeat treatments every 5 to 7 days for several weeks for mites) because eggs and life stages survive initial treatments.
Do closed terrariums ever need pest control, or are they safer than regular pots?
Yes, and it matters. In terrariums, too much condensation means airflow and moisture balance are off, so you should open the lid briefly when condensation covers much of the glass. Also, pests can spread quickly, so remove visibly infested material immediately and inspect new additions closely.
How can I confirm root rot instead of mistaking it for underwatering?
Often, but not always. Some roots appear light tan when healthy, while mushy brown roots with an outer layer that slips off usually signals rot. If you see wilting that does not recover after watering, inspect roots sooner rather than assuming it is underwatering.
Should I prune a leggy or unhealthy plant right away, or wait?
Avoid pruning as the primary solution when light or watering is wrong. Prune only after you correct the root cause, otherwise the plant has to regrow while still stressed. For leggy growth, pinch back after the light level improves, so the new shoots form where the plant can actually sustain them.
Is growing plants in water better for beginners, and what extra work does it require?
Switching to water propagation can reduce the soil moisture guessing game, but it introduces maintenance you must commit to. Change water every 1 to 2 weeks, use an opaque container to slow algae, and add diluted liquid fertilizer after a few weeks so the plant does not gradually decline from nutrient starvation.