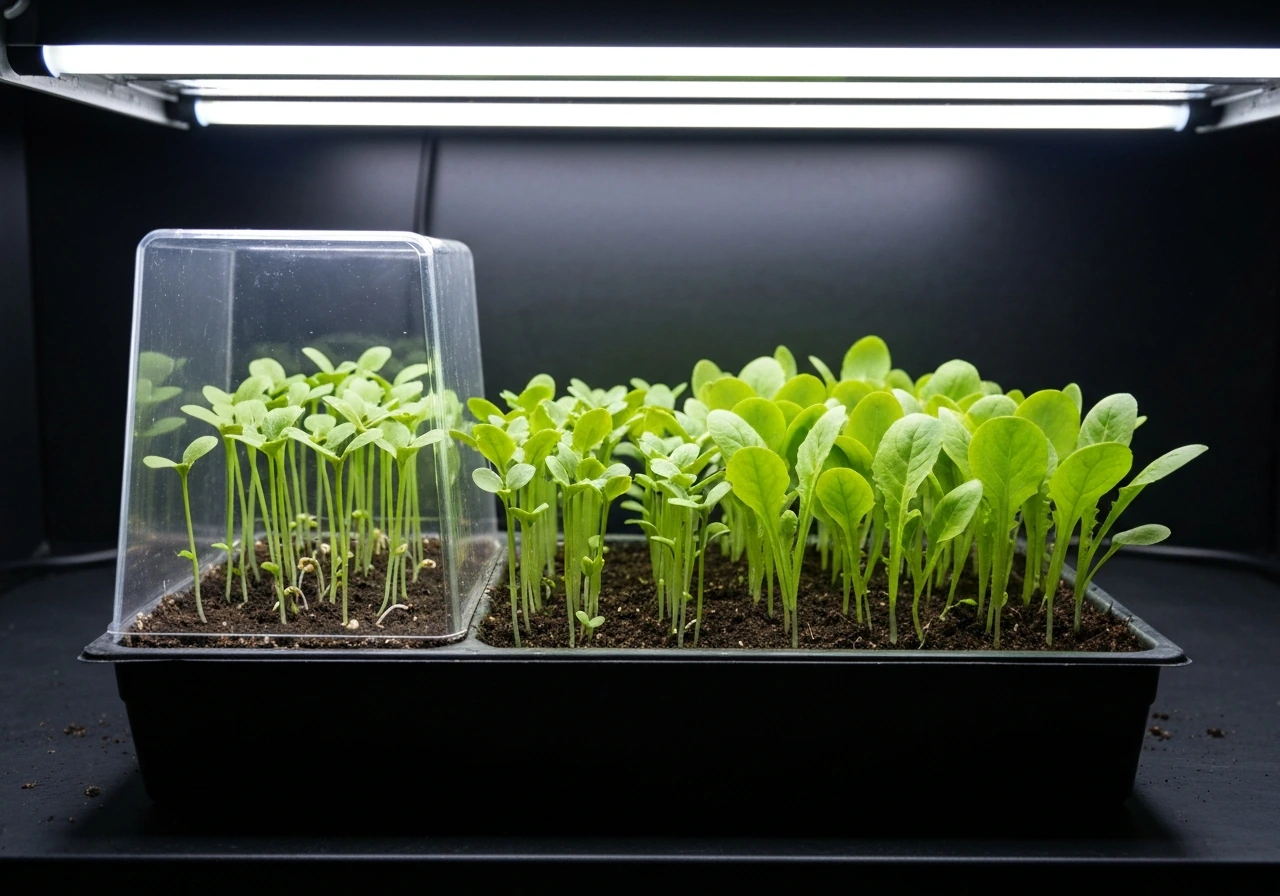
Wisconsin Fast Plants can go from seed to harvestable seed in as little as 35 to 45 days, which makes them one of the fastest-cycling flowering plants you can grow. To hit that timeline, you need continuous light (ideally 24 hours), consistent moisture, and a steady temperature around 70 to 75°F. Get those three things right from day one and you'll see germination in 24 to 48 hours, flowers within two weeks, and a full life cycle wrapped up in roughly five to six weeks.
How to Grow Wisconsin Fast Plants Quickly Step by Step

Marcus Holloway
4 May 2026
What Wisconsin Fast Plants are and why they grow so fast
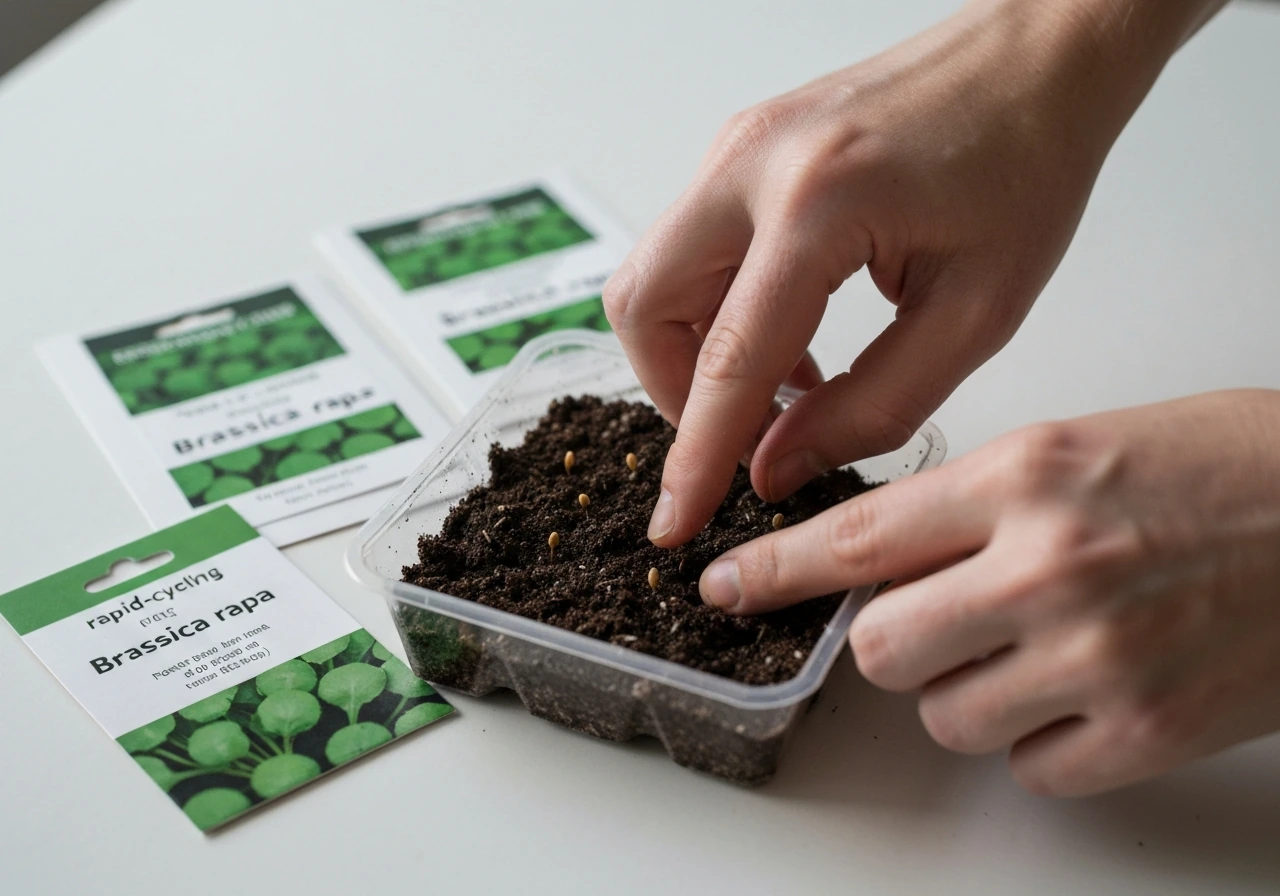
Wisconsin Fast Plants are a trademarked rapid-cycling cultivar of Brassica rapa, which is the same species family as turnips, mustard greens, and bok choy. They were developed by Dr. Paul Williams at the University of Wisconsin specifically as a model organism for classrooms and research labs. The goal was simple: create a plant that completes its entire life cycle fast enough to be useful in a school semester or a short experiment.
The speed comes from selective breeding over many generations. Scientists chose plants that flowered earliest, set seed fastest, and stayed compact. The result is a plant that doesn't waste time on long vegetative growth. It bolts (goes to flower) quickly by design, and under ideal conditions it produces harvestable seed in 35 to 45 days. Standard stock is specifically selected for flowering around 14 days after planting. That's not a typo. Two weeks to flower. That's why these are so popular in classrooms and why they're genuinely exciting to grow, even if you're not doing a science project.
The catch is that their speed depends almost entirely on continuous light. Unlike most garden plants that need a dark period, Wisconsin Fast Plants thrive under 24-hour light. Cut the light back and you slow the whole system down. This is the single most common reason people get disappointing results.
Seeds, timing, and setting up your grow space
Where to get seeds
Always buy seeds labeled specifically as Wisconsin Fast Plants or rapid-cycling Brassica rapa from a reputable seed supplier (the Wisconsin Fast Plants program sells them directly through their website, and science education suppliers carry them). Don't substitute regular Brassica rapa seeds from a garden store. Regular mustard or turnip varieties are not bred for rapid cycling and won't hit the same timeline. This is one place where skimping costs you weeks.
When to plant
Because you're growing under artificial light, there's no wrong season. You can start today, whether it's January or July. The plants don't need a specific outdoor season. If you're a classroom teacher, plan backward from when you want to see flowering or seed set, then count back 14 days (to flowering) or 35 to 45 days (to seed harvest) from that date to find your planting day.
Choosing containers
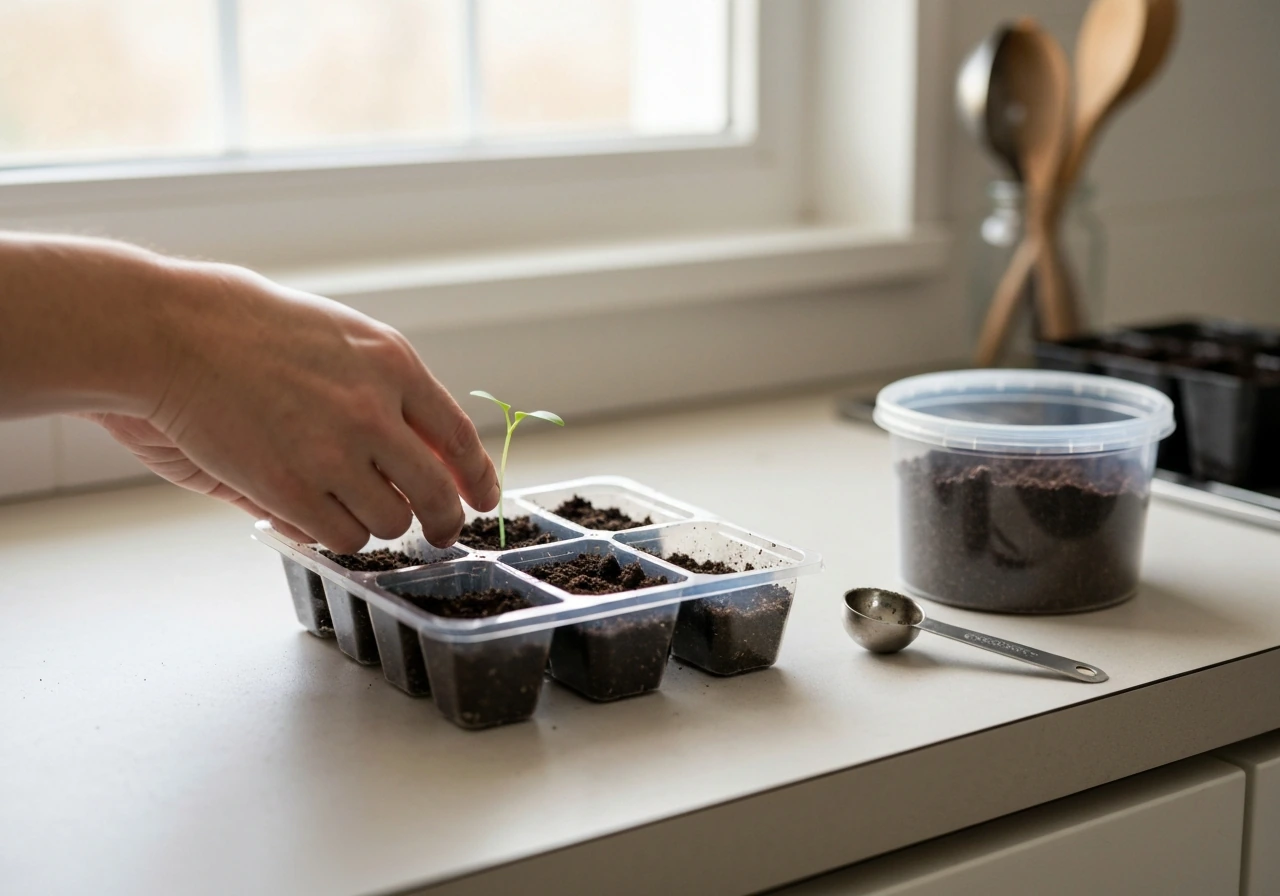
The classic setup uses small plastic tubes or quad-cell inserts similar to what you'd find in a seed-starting tray. Each cell should hold roughly 35 to 40 milliliters of growing medium. You can also use small plastic cups with drainage holes poked in the bottom. These plants stay compact (6 to 15 cm tall typically), so they don't need deep pots. What they do need is drainage. Standing water at the root zone is one of the fastest ways to kill them. Place your containers in a shallow tray filled with water and let them wick moisture up from below. This bottom-watering system is the standard classroom method and it works extremely well.
Temperature setup
Keep your grow space between 70 and 75°F (21 to 24°C). At this range, the plants grow fast and stay healthy. Below 65°F, growth slows noticeably. Above 80°F, especially under bright grow lights, you start running into heat stress and moisture imbalance. A regular indoor room temperature is usually fine, but watch out for windowsills next to cold glass in winter or spaces near heating vents that fluctuate a lot.
Getting seeds to sprout fast
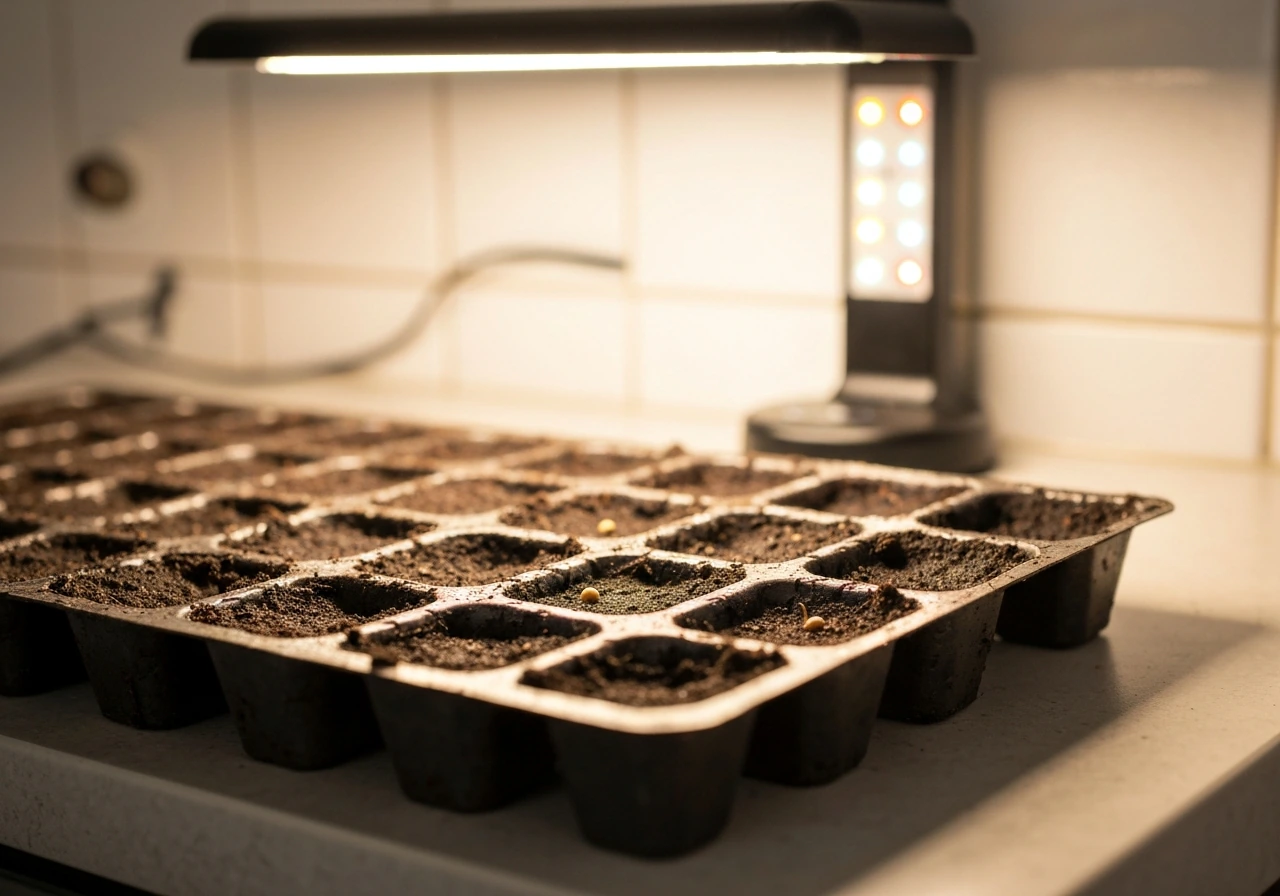
Fill your containers with moistened growing medium to about 1 cm below the rim. Press the medium down lightly so there are no big air pockets. Place one or two seeds per cell, roughly 1 to 2 mm deep. Don't bury them deeper than that. These are tiny seeds and they need to be close to the surface to emerge without struggling. Lightly cover them and press the surface gently.
Turn your lights on immediately after planting. Don't wait for germination to start the light cycle. The warmth from the lights helps trigger germination, and getting the seedlings under light the moment they emerge prevents the stretching that weakens young plants. Under warm conditions with good moisture and continuous light, you should see the first seedlings poking through in 24 to 48 hours.
Keep the growing medium consistently moist but not waterlogged during germination. If you're using the bottom-watering tray method, keep a thin layer of water in the tray at all times for the first few days. Once seedlings are up, you can let the tray dry slightly between refills to encourage stronger root growth downward.
Light, watering, and nutrients that actually speed things up
Light is the non-negotiable
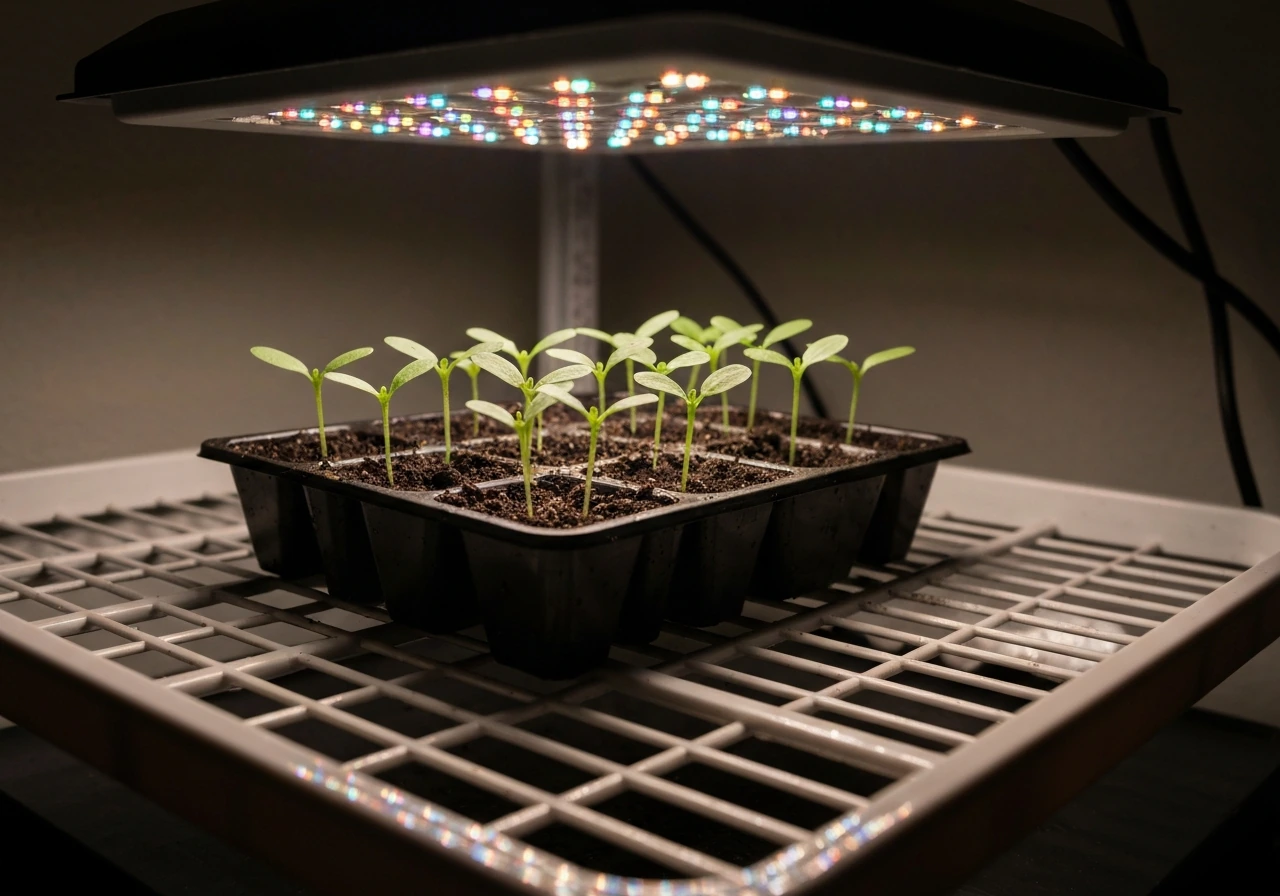
Wisconsin Fast Plants need continuous light, meaning 24 hours a day, to hit their fastest growth timeline. This surprises a lot of people because nearly every other plant you've grown needs a dark period. For these plants, darkness slows the clock. Use fluorescent or LED grow lights placed 5 to 10 cm above the tops of the seedlings. Keep adjusting the height as the plants grow to maintain that close distance. Lights that are too far away produce the single most common beginner problem: leggy, weak stems that can't support the plant later.
For light spectrum, a full-spectrum LED or a standard cool-white fluorescent tube both work well. You don't need an expensive specialized grow light, but you do need something strong enough to keep the canopy bright. A rough benchmark: if you hold your hand at plant height and it feels warm from the light, you're in the right zone. If you can barely tell the light is on, move it closer or upgrade the bulb.
Watering without drowning your plants
Bottom watering is the best approach for Wisconsin Fast Plants. Keep a reservoir tray under your containers and let the growing medium wick water up from below. This keeps the roots consistently moist, reduces the risk of damping-off (a fungal problem that kills seedlings at the soil line), and mimics the way professional setups work. Refill the tray when it runs dry. In a warm room under continuous lights, you may need to refill every day or every two days. Check it daily when plants are small and even more frequently as they mature and increase water demand.
Fertilizing for fast growth
Fast Plants are heavy feeders relative to their tiny size. If you're using a plain soilless mix or vermiculite, start adding a diluted liquid fertilizer from day one. A balanced fertilizer (something like 20-20-20 at quarter strength) added to your watering tray works well. If you're using a commercial potting mix with fertilizer already in it, you can wait until week two to start supplementing. Signs you need more nutrients: pale yellow-green leaves on a plant that's otherwise in good conditions. Signs of too much: dark, almost blue-green leaves and stunted growth.
Choosing your growing medium: soil, soilless, or hydro
You have real flexibility here, which makes Wisconsin Fast Plants a great candidate for experimenting with different growing methods. If you want results beyond fast-cycling varieties, the same natural approaches like steady light, consistent moisture, and gentle nutrition can help you grow plants naturally as well. Each option has trade-offs worth knowing.
| Medium | Speed | Ease for beginners | Notes |
|---|---|---|---|
| Potting mix (soil-based) | Moderate | High | Forgiving, buffers nutrients, good for classrooms; slower than soilless if nutrient delivery isn't optimized |
| Soilless (vermiculite or perlite) | Fast | Moderate | The classic classroom standard; gives you full control of nutrients via liquid feed; drain/wick setup is straightforward |
| Hydroponics (wick or DWC) | Fastest potential | Low-moderate | Excellent results if set up correctly; nutrient solution management needed; great for experimenting with growth speed |
For most beginners and classroom projects, a soilless mix like vermiculite in small cells with a bottom-watering fertilizer solution is the sweet spot. It's what the Wisconsin Fast Plants program recommends for good reason: it's consistent, cheap, and easy to replicate. If you're already comfortable with basic growing and want to push the speed envelope, a simple wick-based hydroponic setup with a diluted nutrient solution can shave a few days off germination-to-flower time.
If you're newer to growing and also interested in water-based methods, exploring how hydroponics works generally is a useful parallel skill to build alongside this project. If you want to grow plants easily, start with a simple soilless or wick-based hydroponic setup so the routine is hard to mess up.
Thinning and spacing
If you planted two seeds per cell, thin to one seedling about three to four days after germination. Leave the stronger-looking seedling and snip (don't pull) the weaker one at the soil line. Pulling risks disturbing the roots of the plant you're keeping. Crowded seedlings compete for light and nutrients and both end up weaker. One strong plant per cell beats two struggling ones every time.
Transplanting is generally not necessary for Wisconsin Fast Plants because they're grown in small individual cells from start to finish. If you started seeds in a flat and need to move them to individual containers, do it early (around day four to five, just after the first true leaves appear) and handle the root system gently. These plants don't tolerate major root disturbance well once they're past the seedling stage.
When growth slows: common problems and fast fixes
Most problems with Wisconsin Fast Plants come down to one of four things: not enough light, inconsistent moisture, temperature swings, or pests. Here's how to diagnose and fix each quickly.
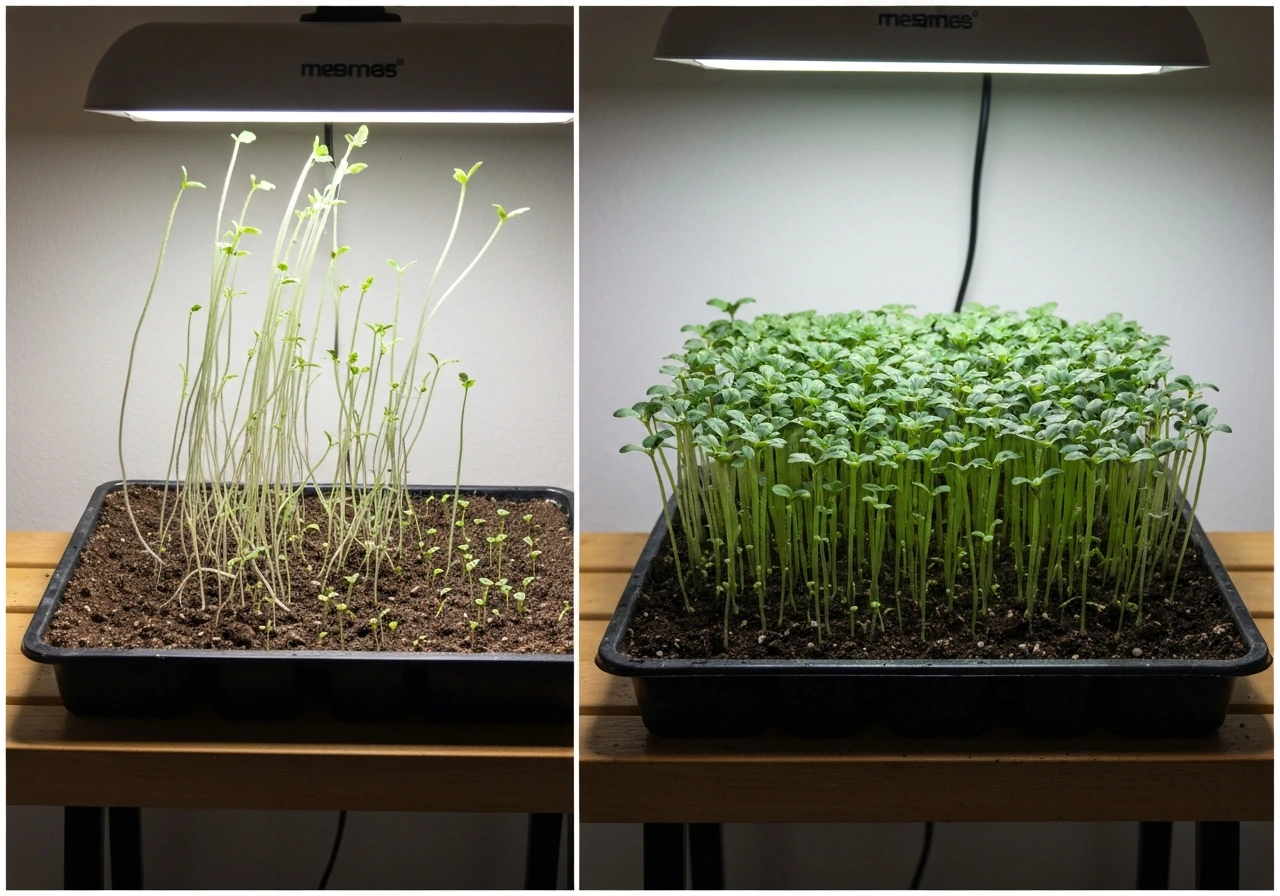
- Leggy, tall, pale seedlings: Not enough light or lights placed too far away. Move lights to within 5 to 10 cm of the plant tops immediately. You can't fully undo legginess once it happens, but getting light closer stops further stretching.
- Seedlings collapsing at the soil line (damping-off): This is a fungal problem caused by overwatering or poor air circulation. Remove affected plants immediately to prevent spread. Improve drainage, reduce watering frequency, and add a small fan for gentle airflow.
- Slow or no germination past 72 hours: Check soil temperature (too cold slows germination dramatically), check moisture (dry medium stops germination cold), and confirm seeds are viable and not too deeply buried.
- Yellow leaves early on: Usually a nutrient deficiency if using plain soilless mix without added fertilizer. Start a diluted balanced liquid feed in your watering tray right away.
- Dark, crinkled, or stunted leaves with slow growth: Could be nutrient excess (over-fertilizing) or root rot from standing water. Flush the medium with plain water and reduce or stop fertilizer for a few days.
- Plants not flowering by day 14 to 16: The most likely cause is insufficient light duration. Confirm your lights are running 24 hours a day. If you're using natural light from a window, that's not enough on its own.
- Aphids or fungus gnats: Aphids cluster under leaves and on new growth; remove them with a gentle spray of water or insecticidal soap. Fungus gnats in the soil mean the medium is staying too wet. Let it dry slightly between waterings and use yellow sticky traps.
- Heat stress (wilting despite adequate water): Temperatures above 80°F under bright lights can cook small plants. Add ventilation or move lights slightly further away to bring temps down.
Don't panic if you hit a problem in the first week. Wisconsin Fast Plants grow so fast that even a two-day setback in week one usually doesn't derail the whole project. Fix the issue, make a note of what happened, and keep going. That troubleshooting experience is genuinely useful if you go on to grow other fast-cycling plants.
What to expect week by week and when to harvest
Here's the realistic timeline under ideal conditions (24-hour light, 70 to 75°F, consistent moisture and nutrients): A UW, Madison news release on the Fast Plants program says the plants go from seed to plant to flower in just 14 days, then to seed by about 40 days.
| Days after planting | What you should see |
|---|---|
| Day 1 to 2 | Germination, cotyledons (seed leaves) emerging |
| Day 3 to 5 | Cotyledons fully open, first true leaves starting |
| Day 7 to 10 | Several true leaves visible, plants 3 to 5 cm tall |
| Day 13 to 16 | Flower buds forming (yellow flowers opening shortly after) |
| Day 17 to 21 | Peak flowering, pollination window if you want seed set |
| Day 30 to 35 | Seed pods (siliques) developing and maturing |
| Day 35 to 45 | Seeds harvestable, pods turning yellow-brown and papery |
If you want seeds to form, you need to pollinate the flowers yourself. The plants don't have insects to do it indoors. Use a small dry paintbrush or a cotton swab to gently transfer pollen from the stamens of one flower to the pistil of another on a different plant. Do this daily during peak flowering. Without pollination, you'll get flowers but no seed pods.
If your plants are running behind the timeline, go through this checklist in order: Is the light running 24 hours? If you want to try for something like how to grow a plant in 5 days, focus on keeping those key conditions tight from the very first day 24 hours. Are lights within 5 to 10 cm of the plant tops? Is the temperature consistently above 68°F? Is the growing medium staying moist but not waterlogged? Are you providing nutrients? These five factors cover about 95% of slow-growth scenarios. Fixing even one of them usually produces visible improvement within 48 hours, which is one of the genuinely satisfying things about growing plants that move this fast.
Once seed pods are yellow-brown and slightly papery, harvest the whole plant or individual pods and let them finish drying in a paper bag for a few days before opening. Store seeds in a cool, dry place and you can run the whole cycle again. If you're curious about pushing growth speed even further or comparing techniques, the principles that work here overlap a lot with broader strategies for growing plants quickly in general, and experimenting with your setup from one generation to the next is one of the best ways to learn what really matters.
FAQ
If I can’t keep the lights on 24/7, will Wisconsin Fast Plants still grow fast?
Yes, but aim for stable timing. If you briefly turn lights off (even for an hour or two), the plant can shift slower because the whole system depends on uninterrupted photoperiod. If you need to adjust your schedule, do it by changing the light-start time gradually over a few days rather than making sudden long dark gaps.
What happens if my grow light is not bright enough to keep the canopy “bright” all day?
They can, but seedlings are more prone to leaning and weak stems. When you use less light, keep the lamps closer to the canopy (within that 5 to 10 cm range) and expect a longer time to flowering. Also, watch spacing, since crowded plants become leggy faster.
How do I tell whether slow growth is from fertilizer problems or water problems?
If you see pale leaves without severe stunting, that usually points to low nutrition or inconsistent moisture, not light deficiency. A quick fix is to switch to a quarter-strength balanced fertilizer in the watering tray and confirm the medium stays evenly moist. If leaves turn very dark blue-green and growth slows, back off and flush with plain water to prevent overfeeding.
Do I need to test pH or adjust it to grow Wisconsin Fast Plants fast?
Start with the simplest. Wisconsin Fast Plants do not need a pH adjustment for typical classroom setups when you are using a pre-mixed soilless medium and a balanced fertilizer at quarter strength. The more important control is avoiding waterlogged roots (bottom tray, thin standing water only, refill on schedule) because oxygen starvation can look like nutrient or temperature issues.
How much water should I keep in the bottom-watering tray without overwatering?
Use a thin, consistent layer, not deep water. A common mistake is leaving a deep reservoir that continuously submerges the cells, which increases damping-off risk. Keep just enough in the tray for wicking during the early phase, then let the tray surface dry slightly between refills once seedlings are up.
What should I check if my seeds don’t germinate within 24 to 48 hours?
For germination, fresh seed and correct depth matter most. Don’t bury deeper than about 1 to 2 mm, and keep the medium evenly moist and warm. If after 48 hours nothing emerges, check depth, tray water level, and temperature before re-sowing, since dry surface or cold spots are the usual culprits.
Can I just pull the weaker seedling out, or should I snip it?
Snip is better. Pulling can tear the remaining seedling’s roots, which delays growth or causes uneven, weaker plants. Snip at the soil line with small scissors about 3 to 4 days after germination, when you can clearly identify the stronger one.
If I started in a flat, when is the latest safe time to transplant Wisconsin Fast Plants?
Handle transplant only when necessary, and do it early (around day 4 to 5, near the first true leaves). Keep the root ball intact as much as possible, and immediately return them under the same light and moisture conditions you used for germination. Waiting too long increases the chance of root damage that can knock them off the rapid cycle.
Do I really have to pollinate manually indoors, and how often should I do it?
Yes, but it should be deliberate. If you want seed, you need pollen transfer because typical indoor setups lack pollinators. Use a dry brush or swab, dab pollen from one flower’s stamens to another’s pistil, and repeat daily during peak bloom. Skipping days often leads to flowers that never form viable pods.
How should I store harvested seeds so I can grow another fast cycle successfully?
Storage matters because viability drops over time. After pods are harvested and fully dried, store seeds in a cool, dry place in an airtight container. If you want to run multiple generations, label the date and test a small batch first so you don’t lose an entire cycle to low germination.