Growing soil is not about buying a bag of dirt. It is about building and maintaining a living system that feeds your plants, holds water without drowning roots, and gets better every season you work with it. Whether you are digging in-ground beds, filling raised boxes, or mixing a custom potting blend, the process is the same: assess what you have, add what is missing, protect what is already working, and keep iterating. This guide walks you through every step, from your very first soil check to a long-term maintenance routine that keeps things improving year after year.
How to Grow Soil: Build Healthy Garden Dirt Step by Step

Marcus Holloway
11 Apr 2026
What 'growing soil' actually means
The phrase 'grow soil' trips people up because soil is not just a material you buy or dig up. The NRCS defines soil health as 'the continued capacity of soil to function as a vital living ecosystem that sustains plants, animals, and humans.' That framing matters a lot. It means your goal is not just to fill a hole with something brown and crumbly. You are trying to maintain a living system with biology, structure, water movement, and nutrient cycling all working together.
There is also a distinction worth making early: garden soil and potting mix are not the same thing. Bagged potting mixes are typically soilless media made from combinations of peat moss, pine bark, coir, perlite, and vermiculite. They are engineered for containers where drainage and aeration are critical, and they are deliberately different from field topsoil. If you want to understand how to grow plants in soil versus a container mix, that difference matters from day one. Garden soil building focuses on supporting a living ecosystem in place, while potting mixes are more about engineering the right physical properties from the start.
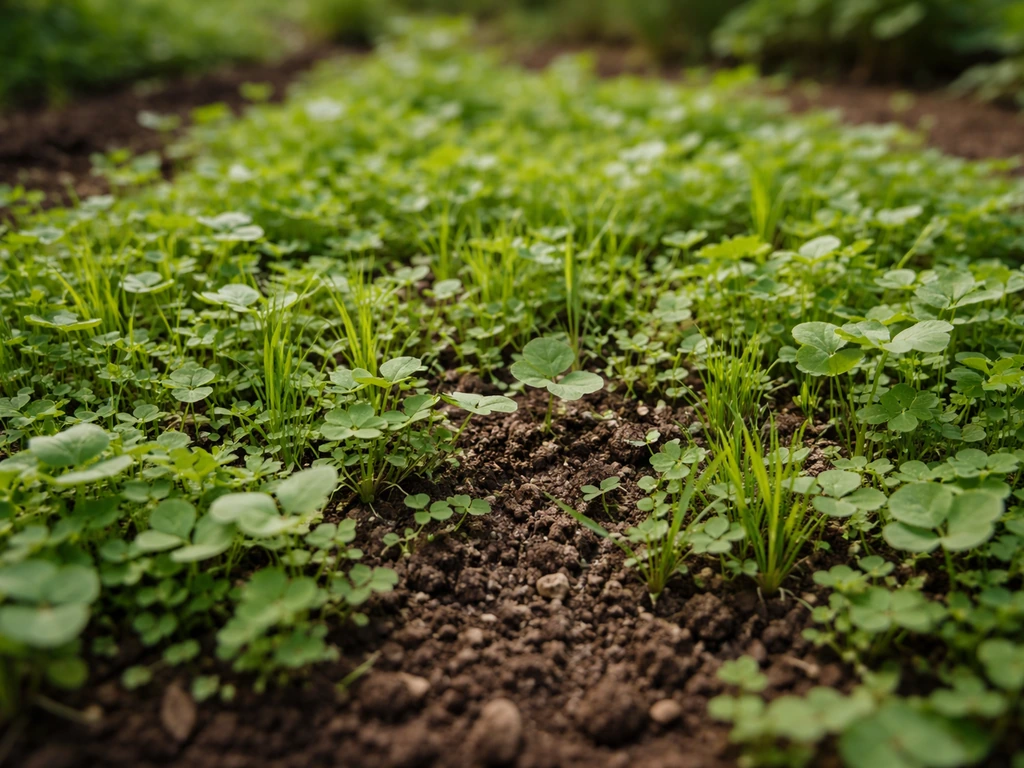
Assess what you are actually working with
Before you add anything, take ten minutes to read what you already have. Most gardeners skip this step and end up adding the wrong things. A few simple checks give you the information you need.
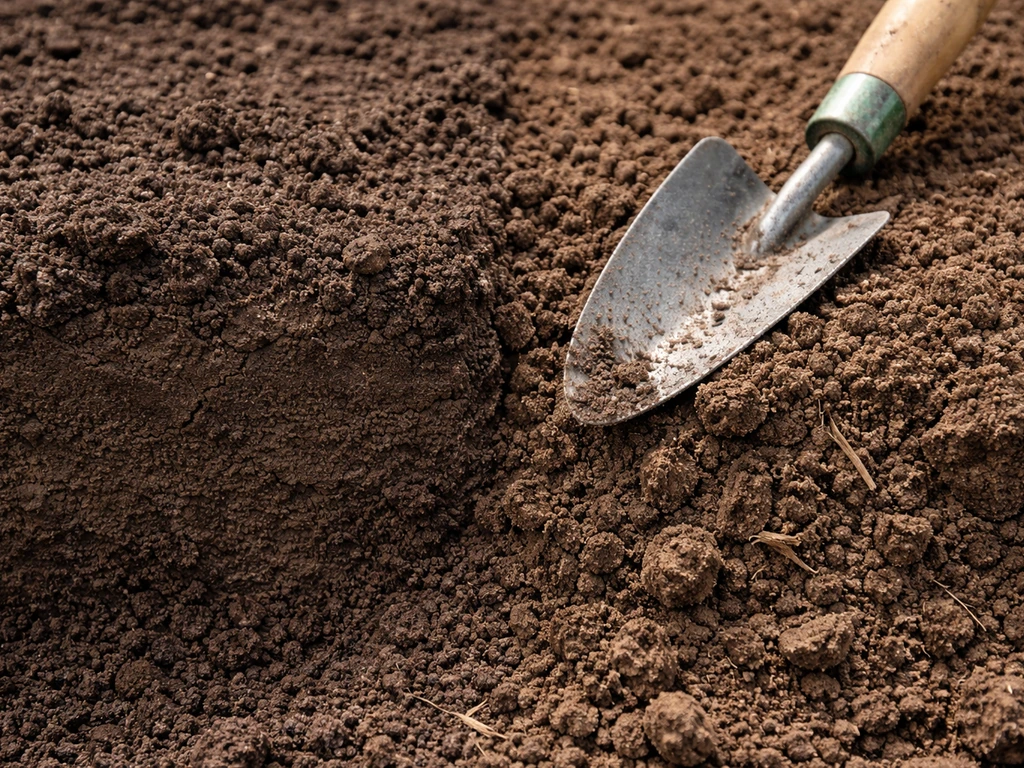
The squeeze and drainage test
Grab a handful of moist soil and squeeze it. If it holds its shape but crumbles when you poke it, your structure is decent. If it stays in a tight ball like modelling clay, you have heavy compaction or clay-dominant soil. If it falls apart immediately into loose grains with no cohesion, you are dealing with sand. For drainage, dig a hole about 12 inches deep, fill it with water, and time how long it takes to drain. Six to twelve inches per hour is the sweet spot. Slower than that and you have a drainage problem. Faster than that and water is moving through without being held for roots.
Compaction signals
Compaction is one of the most common soil problems and one of the easiest to miss. Penn State Extension notes that compaction reduces water infiltration, alters nitrogen cycling, and limits root growth in measurable ways. You do not need instruments to spot it. Look for a thin surface crust, sometimes less than half an inch thick, that seeds cannot push through. Puddles that stay for hours after rain. Shallow, bent roots when you pull a plant. These are all signals that your soil particles are packed together too tightly for roots and water to move through freely.
pH: the key you cannot skip
Soil pH controls which nutrients your plants can actually access, even if those nutrients are physically present in the soil. Most vegetable and berry crops do best at a pH between 6.5 and 6.8, and the broad safe zone for most plants runs from 6.0 to 7.5. A soil test is the only reliable way to know where you are. University of Minnesota Extension recommends soil testing to establish a baseline and track nutrient limitations, and they caution that home test kits are often less reliable than lab tests. For annual vegetable gardens, plan to test every two to three years. Take samples at the same time of year so your results are actually comparable season to season.
Build and amend: the practical steps
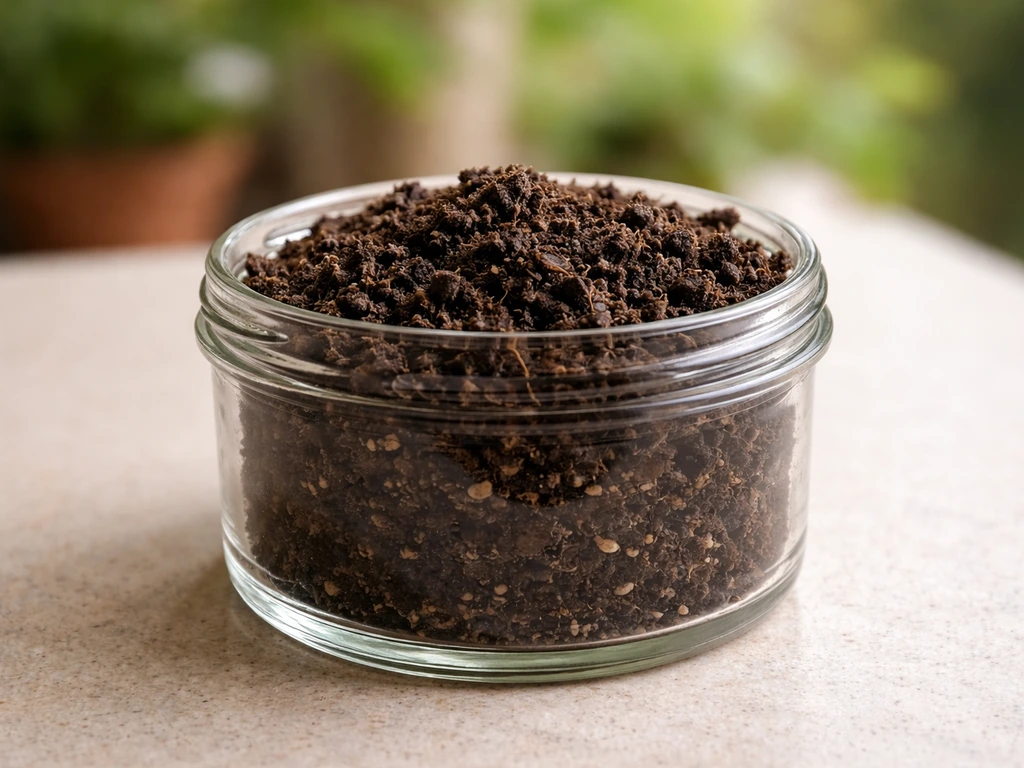
Once you know what you are working with, you can add things intelligently instead of guessing. The backbone of almost every soil improvement plan is organic matter, and compost is the most reliable way to add it.
Compost: how much and how often
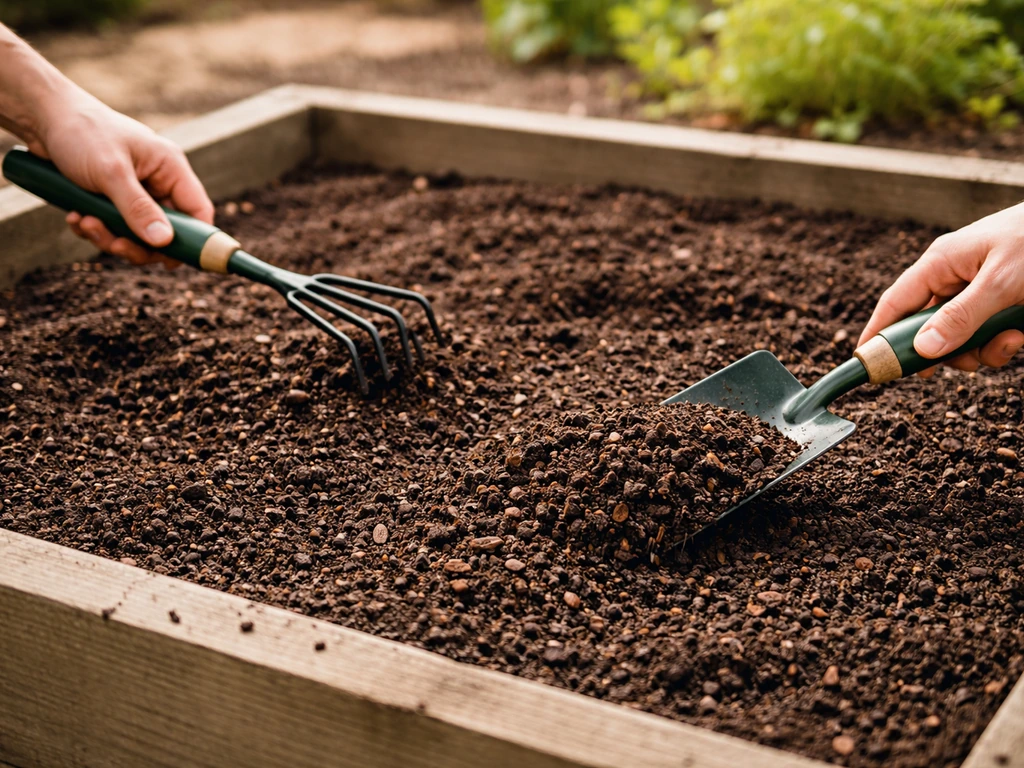
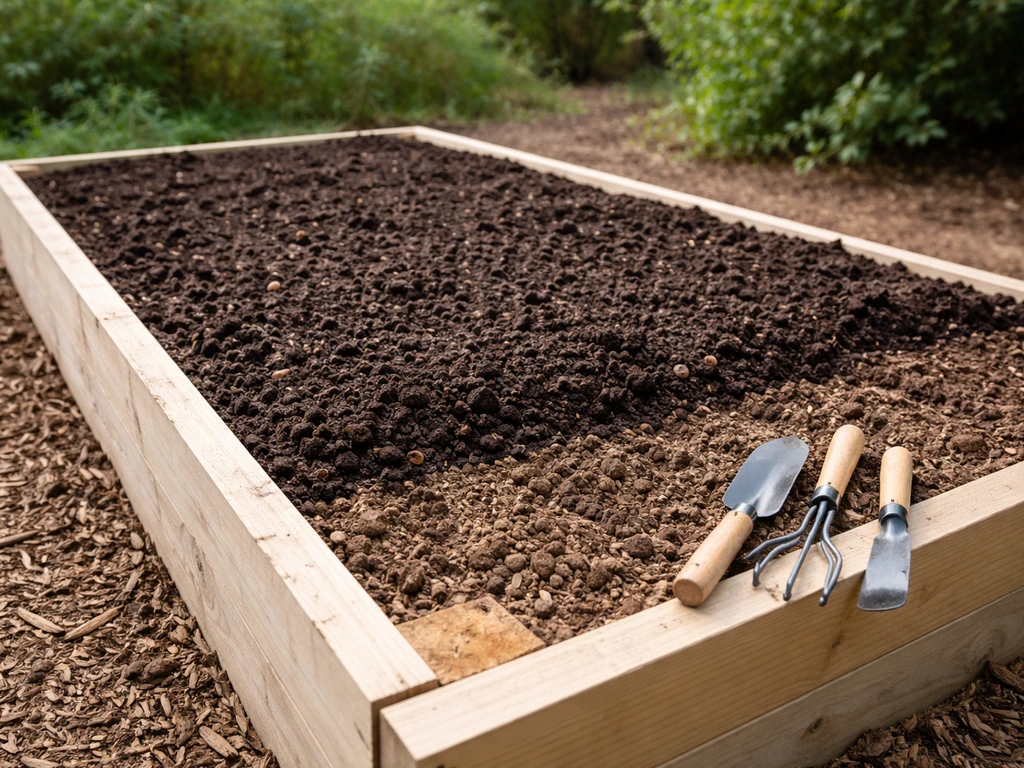
Illinois Extension recommends up to 4 inches of compost per year when used as mulch, while Utah State University Extension suggests 1 inch per year worked in for annuals, and 2 to 3 inches of low-salt material for beds that need more serious improvement. For established perennials, shrubs, and trees, Oregon State University Extension recommends applying compost as a top-dressing mulch at 1 to 2 inches.
The practical takeaway: start with 2 to 3 inches worked into new beds, then maintain with 1 to 2 inches per season after that. If you are using manure as part of your compost, make sure it has been properly hot-composted. Illinois Extension ties pathogen and weed-seed destruction to maintaining pile temperatures between 131°F and 170°F for the right duration, depending on your composting system.
Balancing nutrients
Compost provides slow-release nutrients, but it does not always supply everything in the right ratios. Your soil test results will tell you if you are short on phosphorus, potassium, calcium, or other nutrients. Nitrogen is trickier because it moves through soil quickly and standard soil tests do not always predict what your plants will actually see in a season. Use your test results as a guide, not a recipe. For a deeper look at what it takes to make good soil for plants to grow, the key is layering compost with targeted amendments based on what your test actually shows, not just adding everything at once.
Cover crops as a soil-building tool
Cover crops are one of the most underused tools in home gardens. The NRCS notes that cover crops act like green manure, providing nutrients and biomass while improving soil structure and water retention through biological activity. Legumes like clover, vetch, and field peas go further by fixing atmospheric nitrogen through a symbiotic relationship with Rhizobium bacteria. NC State Extension explains this process clearly: legumes form partnerships with rhizobia bacteria in their root nodules to pull nitrogen from the air and convert it into plant-available form. For this to work well, University of Arizona Cooperative Extension recommends inoculating legume seeds with the correct rhizobia strain before planting.
Soil structure, water, and mulch
Good soil structure means water can move through freely, but not so fast it runs off before roots can use it. Compost incorporation has been shown to improve infiltration rates, and research published through the IECA confirms that compost texture matters for how evenly infiltration improvements are distributed through a bed. But structure is not just about what you add. It is also about what you stop doing.
Tillage is the biggest structure-wrecker most gardeners do not think twice about. The NRCS is direct: tillage destroys organic matter and soil structure and reduces water infiltration, making soil less productive over time. Oregon State University Extension adds that fungal hyphae and earthworms create the pore space and aggregate bonding that supports infiltration, and both are disrupted by repeated digging. Reduce tillage wherever you can. Use a broadfork instead of a rototiller. When you do need to dig, do it only when soil is moist, not wet.
Mulching the surface is one of the highest-return actions you can take. A 2 to 3 inch layer of straw, wood chips, or shredded leaves slows evaporation, moderates soil temperature, feeds surface-dwelling soil organisms as it breaks down, and prevents the crusting that blocks seedling emergence. Think of mulch as the protective skin of your soil system. Without it, every rain event and every hot afternoon is stripping away the progress you have made.
The biology underneath: microbes, worms, and what not to kill
The difference between dead dirt and living soil is almost entirely biological. Billions of bacteria, fungi, nematodes, and other organisms break down organic matter, cycle nutrients, suppress diseases, and literally glue soil particles into the stable aggregates that give healthy soil its structure. You do not need to manage all of this directly. Your job is mostly to stop doing things that hurt it.
SARE research identifies tillage as a key threat to soil biology because it disrupts the physical habitat of soil organisms and exposes them to heat, UV light, and drying. Synthetic pesticides and herbicides can also harm soil life if overused. That does not mean you can never use them, but using them as a last resort rather than a routine tool protects the biology you are trying to grow.
Worms are the most visible sign of healthy soil biology, and they are genuinely useful: they create channels for water and roots, and their castings are a concentrated nutrient source. Feed them by keeping the soil covered with organic mulch and reducing tillage. Mycorrhizal fungi are another important group. These form mutualistic partnerships with plant roots and help plants access water and nutrients beyond the reach of their own root hairs. They are naturally present in undisturbed soils, and you can support them by reducing tillage and avoiding phosphorus over-application, which can suppress their growth.
If you want to understand more deeply how plants grow in soil from a biological standpoint, the short version is that healthy soil biology is the engine behind almost every process your plant depends on, from nutrient uptake to disease resistance.
Matching plants to your soil and feeding them well
Building great soil and then planting the wrong crops in it is a frustrating mistake. Before you plant, match your crop choices to your actual conditions, including pH. UConn Extension puts the optimal pH for most vegetables at 6.5, with a working range of 6.0 to 7.0. But that is a general number. Crops like fennel prefer a more acidic range around 5.0 to 6.0, while artichokes can handle up to 7.5. Knowing this matters because planting a pH-sensitive crop into soil that does not match means nutrients get locked up even in healthy, well-amended soil.
When you are starting a new bed or recovering degraded soil, plant forgiving, fast-growing crops first. Leafy greens, radishes, and legumes are good early choices. They give you visible feedback fast, and legumes actively improve the nitrogen situation while they grow. Read plant performance like a report card: yellowing older leaves often signals nitrogen or magnesium deficiency.
Purple-tinged leaves can mean phosphorus is locked up (often a pH issue). Pale new leaves with dark veins point to iron or manganese problems, again often a pH issue. If you are gardening in an area with dense, challenging native soil, the strategies for helping plants grow in clay soil overlap heavily with general soil improvement and are worth reading alongside this guide.
For feeding, compost once or twice a season is usually enough for most vegetable beds when combined with cover cropping in the off-season. Avoid the temptation to fertilize heavily on a fixed schedule. Instead, use plant appearance and periodic soil testing to decide when to add and what to add. Over-fertilizing, especially with nitrogen, pushes lush leaf growth at the expense of roots, fruit, and soil biology.
When your soil is broken: fixes for common problems
| Problem | Signs | Fix |
|---|---|---|
| Heavy clay | Sticky, slow-draining, forms hard clods when dry | Add compost (2–3 inches), avoid tilling when wet, plant clay-tolerant species first |
| Sandy soil | Falls apart, dries fast, low fertility | Add compost heavily (3–4 inches), mulch thickly, use slow-release organic fertilizers |
| Compaction | Surface crusting, puddles after rain, shallow roots | Broadfork to loosen, add compost, stop foot traffic, plant cover crops with deep taproots |
| Low pH (too acidic) | Nutrient deficiencies despite amendments, poor legume growth | Add agricultural lime per soil test recommendations, retest after 3 months |
| High pH (too alkaline) | Iron chlorosis (pale new leaves), poor phosphorus uptake | Add sulfur per test results, use acidifying fertilizers, add pine bark mulch |
| Nutrient deficiency | Yellowing, purpling, or stunted growth patterns | Identify deficiency by symptom pattern, amend specifically per soil test |
| Weed pressure | Fast-growing weeds dominating bare soil | Mulch heavily, plant densely, hand-pull before seed set |
| Soil-borne pests/disease | Recurring rot, wilting despite moisture, root damage | Rotate crops, improve drainage, add compost to boost beneficial biology |
Clay and sand are the most common structural problems, and the fix for both of them is the same: add organic matter consistently over multiple seasons. One heavy application will not transform either type. Think of it as a multi-year project. If you are starting out with red-tinged or iron-rich native soil, the specific challenges and plant choices for growing plants in red soil are worth looking into, as drainage and pH dynamics can behave differently in those conditions.
Keeping soil healthy for the long run
Soil building is not a one-time project. The most productive gardens are the ones where the grower keeps adding organic matter, keeps testing periodically, and keeps adjusting based on what they see. Here is a simple maintenance rhythm that works for most in-ground and raised beds:
- Test soil every 2 to 3 years for annual vegetable beds. Take samples at the same time of year each time so results are comparable.
- Add 1 to 2 inches of compost each spring before planting, and again in fall before covering beds for winter.
- Plant a cover crop in any bed you are resting for a season. Mow or cut it down before it sets seed and let the roots break down in place.
- Mulch every bed every season. Replace mulch as it breaks down. Think of decomposed mulch as a feature, not a sign you need to top up.
- Reduce tillage year over year. Use a broadfork for aeration when compaction appears, but avoid turning and flipping the whole bed.
- Read your plants every week. Slow down and look at leaf color, growth rate, and root health when you transplant. Your plants will tell you what is off before any test does.
When to rebuild or re-mix completely
In-ground soil rarely needs a full rebuild if you are adding organic matter consistently. But there are situations where starting fresh makes more sense than continuing to amend: persistent soil-borne disease that keeps recurring despite crop rotation, severe contamination from previous chemical use or construction fill, or pH so far out of range that corrections would take years. If you hit one of those situations, it is worth considering raised beds with a fresh media mix rather than continuing to fight the existing soil.
For container and raised bed mixes, plan to refresh or replace media every two to three years. Over time, peat and coir break down, perlite gets pushed to the top or washes out, and the mix can become hydrophobic or compacted at the root zone. Signs that it is time to re-mix: water sitting on the surface instead of being absorbed, roots circling and hitting the bottom of the pot with nowhere to go, or a sudden drop in growth rate despite good watering and feeding. At that point, repotting with a fresh mix is a faster fix than trying to amend in place.
The best thing about growing soil is that it rewards patience more than any other gardening input. Every handful of compost, every cover crop season, every time you put the rototiller away and use a fork instead, you are compounding gains that make next year easier than this one. Start with the checks, add compost, protect the biology, and pay attention to what your plants are telling you. That is the whole system.
FAQ
Do I need to fix pH every time before I start adding compost?
If your soil test shows a pH outside the typical vegetable range, prioritize pH correction before adding big rounds of compost and fertilizer. Mix amendments thoroughly and re-test after changes have had time to react (commonly several weeks to a few months), because pH adjustment affects nutrient availability more than texture alone.
What should I do first if my soil is improving but drainage still feels slow?
Avoid adding compost at full depth repeatedly without also checking for compaction. If you have drainage issues or crusting, consider aeration or broadfork loosening in the short term, then focus on compost and mulch long term. Compost helps, but it cannot reliably fix tight soil layers that prevent roots from exploring.
Can I rely on compost alone for nutrients year-round?
Yes, but treat it as a soil-test driven support system. Compost can raise organic matter and supply nutrients, yet nitrogen dynamics often lag behind plant needs. Watch for deficiency symptoms on new growth and confirm with periodic testing before applying nitrogen again, especially in cool or wet seasons.
Why is my soil crusty even though I added compost?
In most gardens, a “thin crust” is more often compaction or low surface cover than a lack of compost. Start by increasing mulch coverage and reducing surface disturbance, then only lightly incorporate compost where seeds will be planted. Heavy working of crusted soil can worsen structure.
Do I really need to inoculate legume seeds, or is it only for advanced gardeners?
For legumes, inoculation matters most when the crop is new to your area or you have not grown legumes there recently, and only if you use the correct rhizobia strain for that legume. If nodules do not form or plants stay pale despite good growth, re-check inoculation timing and seed-to-soil contact.
Is manure ever safe to use in a vegetable garden, and when should I apply it?
Yes, but do it carefully with the compost type and weather. Avoid fresh manure on edible crops in the same season, and use hot-composted, properly cured material if you are applying near planting. Also keep manure or compost off plant stems, and follow waiting periods for food-safety.
How often should I mulch to keep improving soil without suffocating plants?
For garden beds, stop worrying about “exact inches” and start focusing on even coverage and consistent frequency. Apply mulch at a thickness that covers soil fully without smothering plants, then refresh as it breaks down. If you see rapid drying or weed germination, your mulch layer is probably too thin or too patchy.
My garden stays weedy, does that mean I should till more to build soil faster?
Repeated tilling can undo structure even if you add lots of compost, because it breaks apart aggregates and disrupts pore networks. If you need to manage weeds, consider spot management, hoeing on dry days, or covering, then switch to minimal disturbance tools like broadfork.
What are the best signs that my raised bed or container mix needs replacement?
Container mix “going bad” often looks like uneven wetting, hydrophobic patches, and declining growth even with normal feeding. Before replacing everything, you can top-dress with a thin compost layer for quick benefits, but if drainage and root behavior are clearly off, a full refresh every two to three years is usually the best fix.
How can I tell if the problem is soil quality or my watering schedule?
Overwatering can mimic poor soil. If water pools and then slowly soaks in, check infiltration and soil structure. If water disappears quickly but plants wilt, you may have hydrophobic mix or too much mulch contacting soil; adjust irrigation and use a mulch layer that supports steady moisture.