If you searched 'how to plant throw and grow,' you most likely want to do one of three things: scatter seeds over an area (broadcast or throw seeding), stick cuttings into soil to root new plants, or bury bulbs so they sprout on their own schedule. All three work great once you know which one applies to your situation. Pick your material below, follow the matching steps, and you can have something in the ground or in a pot today.
How to Plant, Throw, and Grow: Seeds, Cuttings, Bulbs

Marcus Holloway
14 May 2026
What does 'throw' actually mean in gardening?
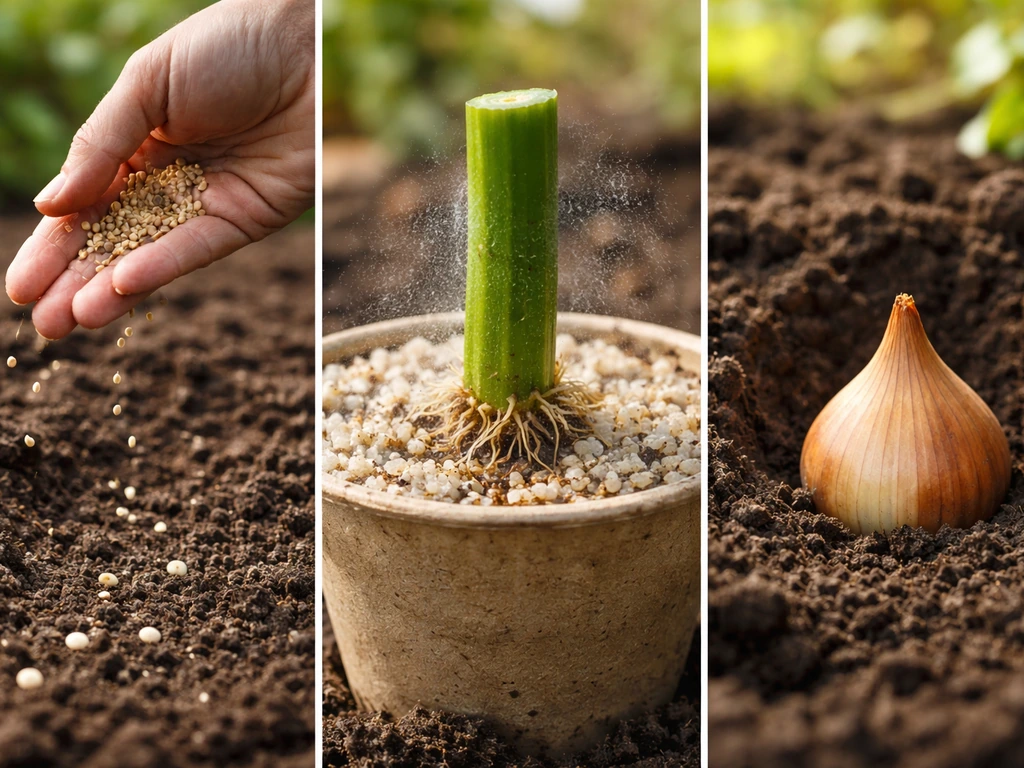
In gardening, 'throw' almost always refers to broadcast seeding: you grab a handful of seed and scatter (throw) it over a patch of soil rather than planting in neat rows. It is a genuinely fast and legitimate planting method, especially for wildflower mixes, cover crops, and lawn grass. The tradeoff is that you typically need about 10 to 20 percent more seed than row planting because distribution is less precise and some seeds land in bad spots. But for most home garden uses, that extra seed cost is trivial and the speed is worth it.
That said, 'plant throw and grow' can also describe the general idea of a quick-plant approach for any material. So before you start, ask yourself one clarifying question: what am I actually holding right now? A seed or seed packet, a cut stem from a plant, or a bulb or corm? Your answer determines every step that follows.
| What you have | What the method is called | Expected wait for results |
|---|---|---|
| Seeds | Broadcast/scatter seeding or direct sowing | Days to weeks for germination |
| Cut stem from a plant | Stem cutting propagation | 2 to 8 weeks for roots |
| Bulb, corm, or tuber | Bulb planting | Weeks to months for sprouts |
Step-by-step planting for seeds, cuttings, and bulbs
Planting seeds (including broadcast/throw style)
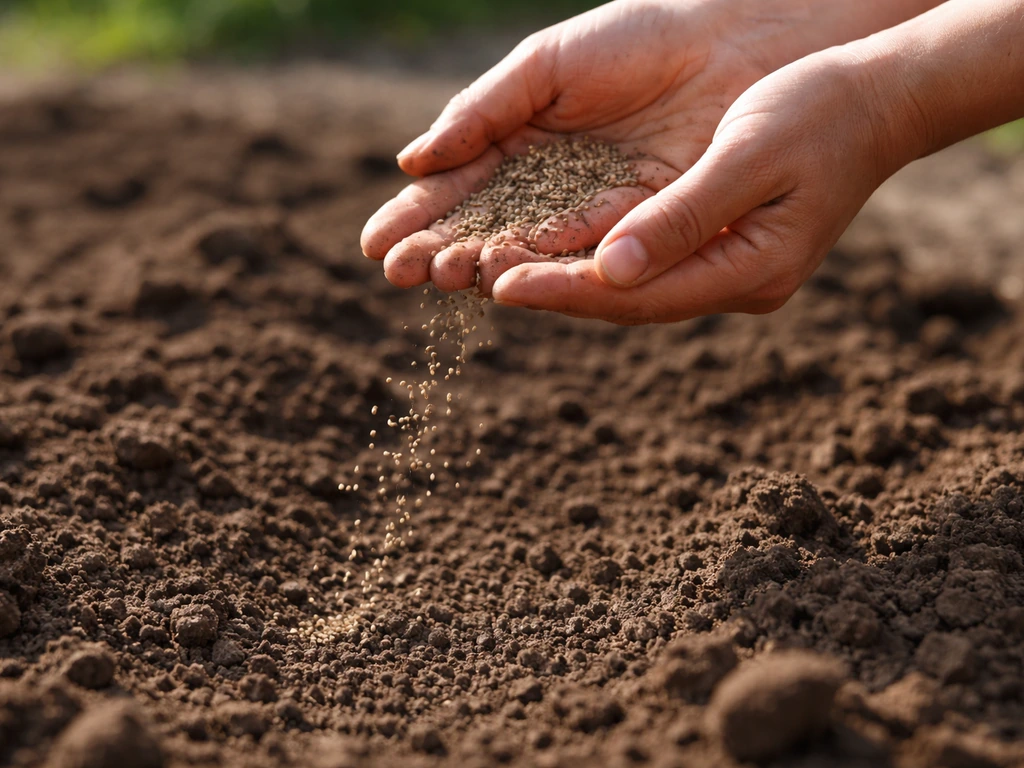
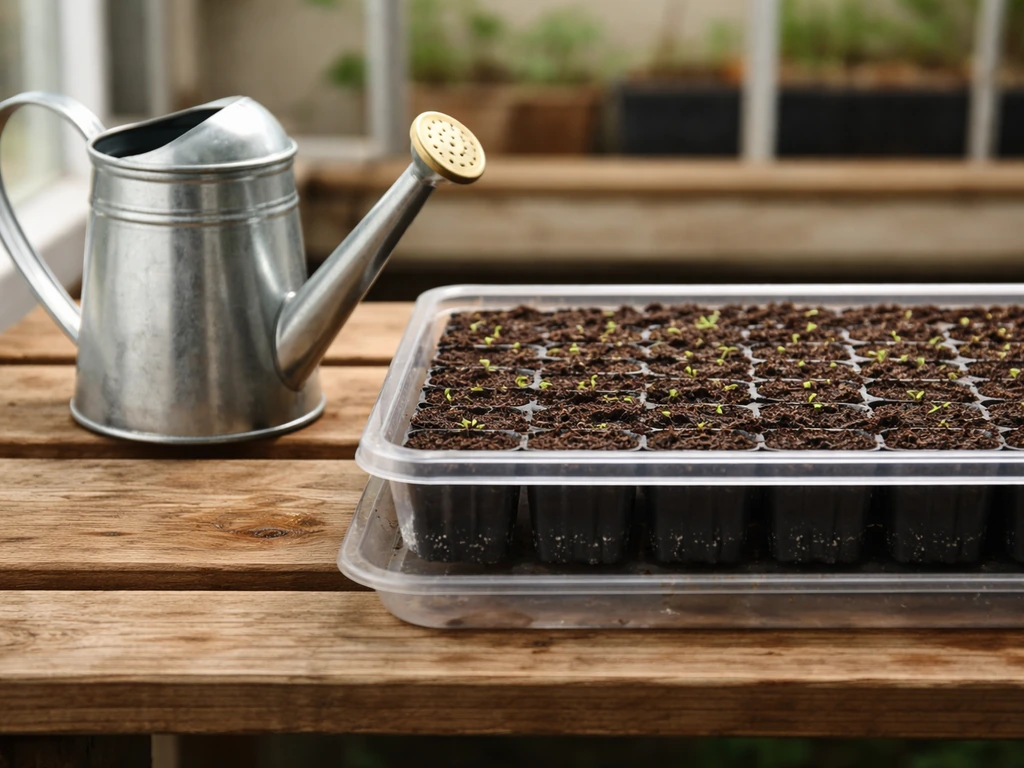
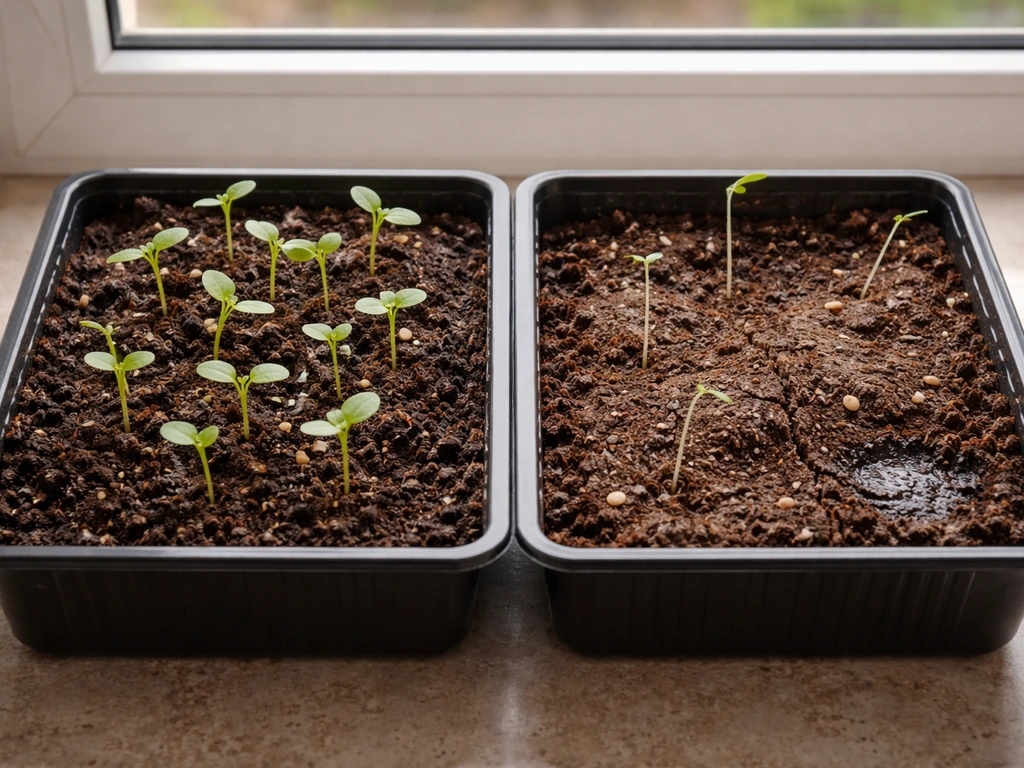
Seed planting lives or dies on two things: depth and seed-to-soil contact. Get those right and germination almost always follows. The general rule is to plant seeds at a depth of 2 to 4 times the seed's width. For tiny seeds like lettuce or carrots, that means no deeper than about 1/4 inch. For larger seeds like beans or squash, a 1-inch depth is typical. Very small seeds can simply be surface-sown and barely pressed in, since burying them even half an inch can prevent emergence entirely.
- Prepare your planting area by loosening the top 2 to 3 inches of soil or filling a container with a commercial seed-starting mix (peat and vermiculite, not garden soil).
- If broadcast seeding outdoors, rake the surface lightly so it is not compacted, then scatter your seeds evenly by hand across the area.
- Cover seeds to the correct depth: press large seeds in individually, or for broadcast seeding rake gently over the surface to barely bury seeds.
- Firm the soil surface gently but firmly with your palm or the back of a trowel. This improves seed-to-soil contact, which is one of the most overlooked steps in successful germination.
- For indoor seed starting, cover with a thin layer of fine vermiculite rather than potting mix. Vermiculite is porous enough to let a little light through and keeps the surface evenly moist.
- Water gently using a mister or a watering can with a rose head so you do not blast seeds out of position.
- Label what you planted and note the date so you can track the germination timeline.
Planting cuttings
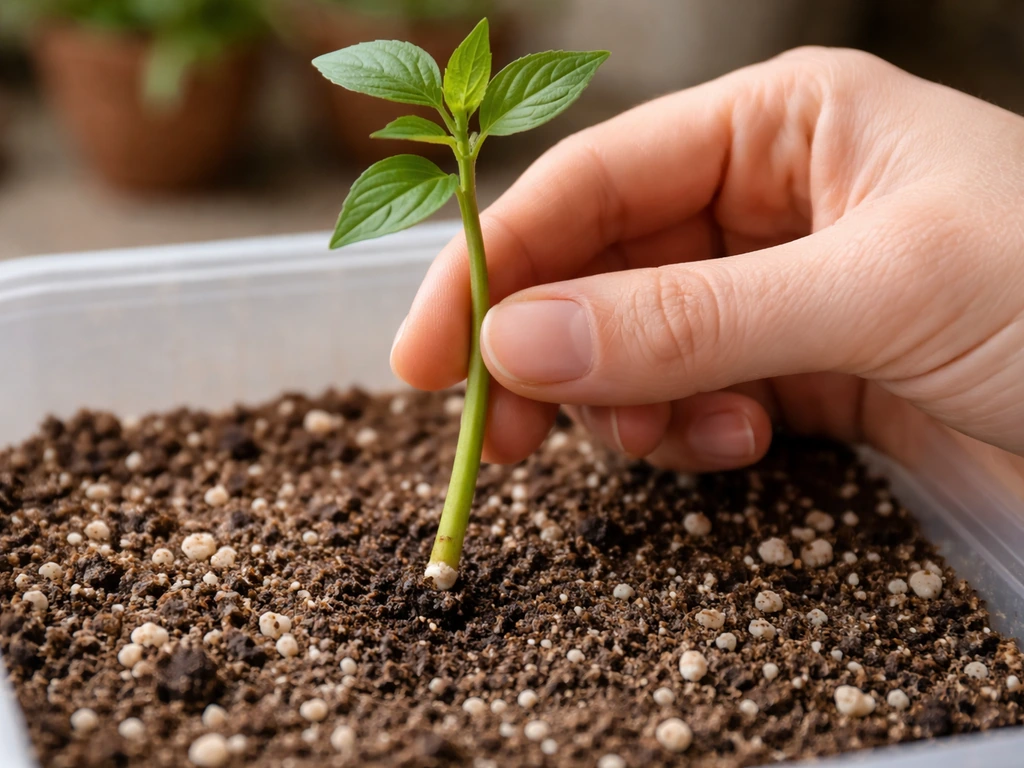
Taking a cutting from a plant and getting it to root is one of the most satisfying things you can do in gardening. You need a healthy stem, a clean cut, and a rooting medium that stays moist but never waterlogged. For most houseplants and soft-stemmed garden plants, a mix of perlite and peat moss works well. For woodier stems, aim for bottom heat in the range of 60 to 70 degrees Fahrenheit, which encourages root formation without cooking the cutting.
- Take a cutting 4 to 6 inches long, cutting just below a leaf node with a clean, sharp tool.
- Remove the lower leaves so the bottom third of the stem is bare. Buried leaves rot and invite fungal problems.
- For difficult-to-root species, lightly wound the base of the cutting by scraping one side with a knife, then dip the base in rooting hormone powder or gel.
- Make a small hole in your rooting medium with a pencil or dibber and insert the cutting so the bare stem section is buried. Do not just push the cutting straight in, as this strips off the rooting hormone.
- Firm the medium around the base of the cutting so it stands upright.
- Cover with a clear plastic bag or humidity dome to trap moisture around the leaves. Cuttings lose water through their leaves but have no roots yet to replace it, so keeping humidity high is critical.
- Place in bright indirect light and check every few days. Mist lightly if the medium starts to dry. Test for rooting after 2 to 3 weeks by gently tugging: resistance means roots are forming.
Planting bulbs
Bulbs, corms, tubers, and rhizomes all follow the same core rule: the planting depth should be about 2 to 3 times the maximum diameter of the bulb. So a 2-inch daffodil bulb goes roughly 4 to 6 inches deep, which often works out to around 6 to 8 inches for typical spring bulbs.
Spacing matters too: larger bulbs like tulips and daffodils should sit about 4 to 6 inches apart; smaller bulbs like grape hyacinths can be 2 to 3 inches apart. Always check the specific instructions for your species because depth and spacing vary, and getting them wrong is the number one reason bulbs either rot or fail to bloom.
For plant species y, follow the species-specific instructions for depth, spacing, and care so your bulbs or similar starters have the best chance to thrive.
- Dig a hole to the correct depth using a trowel or bulb planter tool.
- Set the bulb in with the pointy end facing up and the flat or root end facing down. When in doubt, plant on its side and it will usually sort itself out.
- Backfill with loose soil and press down lightly to eliminate air pockets.
- Space the next bulb at the appropriate distance and repeat.
- Water in after planting to settle the soil. After that, most hardy bulbs need very little water until they start actively growing.
The growing setup your plants actually need
No matter which planting method you used, the environment you create after planting determines whether anything survives. Light, temperature, soil, water, and airflow are all connected. Skimp on one and the others cannot compensate.
Light
Seedlings and cuttings both need bright, consistent light to grow sturdy. Weak light is the top reason seedlings go leggy and fall over.
If you are starting seeds indoors, a sunny south-facing window helps, but a simple LED grow light on a 14 to 16 hour timer is more reliable than any window in most homes. Cuttings rooting under a humidity dome prefer bright indirect light rather than direct sun, which can overheat the enclosed space. Cuttings rooting can stall if they dry out, so many propagation guides recommend [enclosing cuttings to keep humidity up](https://www. growables.
org/information/documents/PropgVineCuttingPacNW. pdf), such as with a humidity dome or a plastic bag. Bulbs planted outdoors do not need light until they sprout, but the spot you chose should get full sun or partial shade as required by the species.
Temperature
Most seeds germinate fastest in the range of 65 to 75 degrees Fahrenheit. A heat mat set to around 70 to 75 degrees placed under seed trays speeds up germination noticeably. For cuttings, bottom heat in the 60 to 80 degree range (depending on the species) is what triggers root development. If your space is cold, a heat mat is one of the cheapest and most impactful tools you can buy.
Soil and growing medium
For seed starting, use a commercial seed-starting mix, not garden soil. Garden soil compacts in containers, drains poorly, and often carries pathogens. For cuttings, use a sterile, porous rooting medium like perlite mixed with peat moss. For bulbs planted in the ground, work in some organic matter if your soil is very heavy clay, but most bulbs tolerate average garden soil well. In containers, use a quality potting mix with good drainage.
Watering
The rule after any type of planting is: keep the medium consistently moist, never soggy. If you are aiming to grow a plant species without irrigation, focus on drought-tolerant choices, soil amendments that improve water retention, and site selection so rainfall can do the work watering. Soggy soil is how you get damping off with seedlings, rot with cuttings, and fungal issues with bulbs. A simple test: push your finger about an inch into the soil. If it still feels damp, wait. If it feels almost dry, water. For seeds and cuttings, small and frequent watering is better than large infrequent doses.
Airflow
Good airflow strengthens stems and prevents fungal problems. Indoors, a small fan running on low for a few hours each day mimics outdoor breeze and helps seedlings develop thicker, sturdier stems. For cuttings under a dome, lift the dome for 15 to 30 minutes each day to exchange air and prevent mold buildup, especially if you notice condensation pooling heavily inside.
What happens after you plant: timelines and troubleshooting
After planting, the waiting is the hardest part. Here is a realistic timeline for each method so you know whether things are on track or something has gone wrong.
| Method | First signs of life | Established and ready to transplant or grow on |
|---|---|---|
| Broadcast/scatter seeds | 3 to 14 days (species-dependent) | 4 to 8 weeks after germination |
| Stem cuttings | 2 to 4 weeks (root resistance when tugged) | 6 to 10 weeks with healthy root ball |
| Bulbs | Sprouts in 1 to 12 weeks (species and season-dependent) | Full establishment over one growing season |
Common problems and what to do about them
- Nothing sprouting after 2 weeks (seeds): Check depth, seeds may be buried too deep. Also check if the medium has dried out completely between waterings, which stalls germination. Press soil down to improve seed-to-soil contact on any remaining unsprouted patches.
- Seedlings flopping over or rotting at the base (damping off): This is a fungal problem caused by consistently wet, warm conditions. Reduce watering frequency, improve airflow, and remove affected seedlings immediately to prevent spread. Use a sterile seed-starting mix next time.
- Cuttings wilting or going limp: Usually means humidity is too low or you lost the cutting to rot. Check the base for brown mushy tissue. If the base is firm and just the leaves are wilting, seal the humidity dome more tightly. If the base is mushy, the cutting is lost and you need to start fresh with drier rooting conditions.
- Seedlings pale green or yellow: Usually a light problem if it happens early, or a nitrogen deficiency as they grow on. Move to stronger light first. Once seedlings have their first true leaves, a diluted starter fertilizer helps because phosphorus is critical for young, limited root systems.
- Bulbs not sprouting: If it has been more than 12 weeks and nothing appeared, dig one up carefully and check. Soft or mushy means rot from overwatering or poor drainage. Firm and dry means either it needs more time or the planting depth was wrong.
- Pests (gnats, aphids, spider mites): Fungus gnats are almost always caused by overly wet soil near the surface. Let the top inch dry out between waterings. For aphids and spider mites on seedlings, a gentle wipe with a damp cloth or a diluted neem oil spray works well without stressing young plants.
- Transplant shock after moving seedlings: Wilting and leaf drop after moving are normal for 3 to 7 days. Keep the plant out of direct midday sun temporarily, water consistently but not excessively, and resist the urge to fertilize immediately. Give roots time to settle in.
Moving up: transplanting and long-term care
Once your seedlings have their second set of true leaves (not the seed leaves, but the ones that look like the actual plant), or your cuttings resist a gentle tug, they are ready to move into their long-term home. Harden off seedlings that are going outdoors by setting them outside in a sheltered spot for an hour or two each day over about a week, gradually increasing exposure to sun and wind. This prevents the shock of going from a cozy indoor setup to full outdoor conditions all at once.
Once transplanted, feeding becomes part of the routine. A balanced fertilizer (something like a 10-10-10 or similar NPK ratio) applied every 2 to 4 weeks during active growing season covers most plants. Avoid overfeeding, which causes fast leafy growth but weak stems and roots. For bulbs, feeding after they bloom but while the leaves are still green helps them store energy for next year's flowers.
Pruning is about directing energy. Pinching off the growing tip on seedlings and young plants after they have 4 to 6 leaves encourages bushier growth rather than tall, spindly stems. Deadheading spent flowers on blooming plants keeps energy going into new blooms rather than seed production. For cuttings that have rooted and are actively growing, treat them the same as any established plant of that species.
Growing in different environments: containers, hydroponics, and terrariums
The core planting steps stay the same regardless of where you grow, but each environment has specific adjustments that make the difference between thriving and struggling.
Containers and limited spaces
Container growing is extremely versatile and works well for seeds, cuttings, and bulbs. The most important rule is drainage: every container must have drainage holes, and the potting mix must not compact around roots. Use a lightweight, well-draining potting mix rather than garden soil. Because containers dry out faster than garden beds, you will water more frequently, sometimes daily in warm weather. Fertilizing is also more important in containers because nutrients leach out with each watering.
For seeds in small containers, broadcast seeding works well: scatter seeds thinly across the surface of the mix, press lightly, cover to the correct depth, and mist. If you are using a click-and-grow type system, follow its specific seed pod instructions and keep the light and water settings consistent so the plants can establish quickly click and grow. Thin seedlings once they germinate so they are not competing for space. This is similar in spirit to using a structured growing kit (like a click-and-grow system), just with more manual control over every variable.
Hydroponics
In hydroponic setups, seeds and cuttings are started in an inert medium like rockwool cubes, clay pebbles, or net pots filled with perlite rather than soil. The principles are the same: maintain moisture around the seed or cutting base, keep humidity up for cuttings, and provide strong light. The key difference is that nutrients are delivered through the water rather than absorbed from soil, so you will need a balanced hydroponic nutrient solution from the moment your seedlings or rooted cuttings are large enough to feed. Start at a quarter-strength solution to avoid nutrient burn on young plants. Hydroponic growing typically speeds up growth significantly once plants are established because roots have constant access to both water and oxygen.
Terrariums
Terrariums are a beautiful option for small plants, cuttings, and humidity-loving species. The critical rule here is to never use garden soil: it is too heavy, compacts around roots, and does not allow proper water movement in a small enclosed container. Use a terrarium-specific mix or a combination of quality potting mix, perlite, and activated charcoal over a drainage layer of pebbles.
Watering in a terrarium should be done by misting rather than pouring, and you should rinse any mix off foliage to prevent rot. Open terrariums need more frequent watering than closed ones, which can go weeks between waterings as moisture cycles internally. The risk with closed terrariums is humidity buildup leading to mold. If you see heavy condensation on the walls or white fuzzy mold on the soil surface, crack the lid open for a few hours each day to ventilate. Keeping humidity consistently above 60 percent in a sealed space creates conditions where mold thrives, so occasional venting is not optional, it is maintenance.
Light in terrariums is trickier because the glass can filter some spectrum and create uneven coverage. A small LED grow light positioned above an open terrarium works very well. For closed terrariums, avoid placing them in direct sunlight, which can cook the interior like a greenhouse on a hot day.
Your next steps today
If you are ready to plant right now, here is the shortest possible checklist. Once you decide how to grow plant species Z, use the checklist to match the right depth, medium, light, and watering to the material you have plant right now. Identify what you have: seed, cutting, or bulb. Match the planting depth and medium from the steps above.
Make sure you have good seed-to-soil or stem-to-medium contact. Set up your light source (grow light, bright window, or outdoor spot). Water in gently, then check back in a few days rather than daily over-watering. Mark your planting date and note the expected germination or rooting window so you know when to start troubleshooting instead of just waiting.
Plants are more forgiving than most beginners expect, so give it a proper start and trust the process. Once you have your planting method and growing setup dialed in, you can follow species-specific guidance for how to grow plant species x successfully.
FAQ
If I throw seeds over the soil, how do I avoid uneven germination and patchy stands?
After broadcasting, press the area lightly (flat board or your hand) so most seeds make contact. Then cover with a thin layer of the recommended medium (often compost or fine soil) just enough to protect them, and keep the top layer consistently moist until you see sprouts.
Do I need to soak seeds before planting for faster growth?
Some seeds benefit from soaking to speed and even out germination, but others can be harmed if soaked too long. If your seed packet does not specify, start without soaking and rely on proper depth and steady warmth, since temperature is usually the biggest lever.
What should I do if seeds sprout but most seedlings collapse a few days later?
Collapse right after germination often points to damping off. Reduce surface wetness, improve airflow, and avoid soggy mix. Also make sure the container has drainage holes, and if needed, restart in fresh seed-starting mix rather than trying to salvage moldy soil.
How can I tell whether my cutting is rooting or just sitting still?
Look for subtle changes like new growth at the top and slight resistance when you gently tug. If you cannot tug-test safely, wait and check the cutting’s base through clear containers, because roots take time even when conditions look perfect.
Is a rooting hormone required for cuttings?
No, it is optional. It can increase success rate for harder-to-root plants and speed up rooting, but the bigger determinants are a clean cut, sterile or porous medium, and keeping the stem base consistently moist without waterlogging.
How deep should cuttings go, and does burying more improve rooting?
More depth is not automatically better. Bury only the part that needs to root, usually the bottom third to half of the cutting, and keep leaves above the medium to prevent rot and reduce fungal risk.
Why are my bulbs rotting instead of sprouting?
Most bulb rot comes from planting too shallow, using heavy waterlogged soil, or planting in a spot that stays wet. Plant at the species-recommended depth, improve drainage with organic matter if soil is dense, and avoid watering until you see growth if spring rains are heavy.
Can I plant bulbs in containers the same way as in the ground?
Yes, but keep drainage strict. Use a quality potting mix, ensure drainage holes, and consider deeper pots because container soil warms and dries faster. Also confirm spacing, since bulbs in containers compete more quickly for space and moisture.
How do I choose between row planting and broadcast (throw) seeding?
Broadcast seeding is best for groundcovers, lawns, and wildflower or cover-crop areas where exact spacing is not critical. If you need predictable plant spacing (vegetable rows, transplant-style crops), row or spot sowing usually gives better uniformity and easier thinning.
Should I thin seedlings after broadcasting, and when is the right time?
Yes, thinning is important because overcrowding leads to weak stems and poor airflow. Thin once seedlings have enough structure to handle (often after the first true leaves appear), then water lightly after thinning to reduce stress.
What if my soil is very clay and I want bulbs to thrive?
Improve drainage before planting by mixing in coarse amendments like compost plus grit or another drainage-improving material, and avoid placing bulbs in low spots that collect water. If the area stays wet for weeks, consider raised beds or containers for reliable results.
How do I water seeds or cuttings correctly if I am worried about overwatering?
Use the finger test described in the article: if the top inch still feels damp, wait. For containers, water gently until moisture reaches the bottom but does not pool, and avoid repeated heavy pours that create saturated conditions.
My seedlings are leggy, what is the fastest fix?
Increase light intensity and reduce time under low light. A grow light on a timer is usually more effective than a window because it provides consistent brightness, and raising the light closer (as allowed by the fixture) can help prevent stretching.
When should I start feeding seedlings or rooted cuttings?
Wait until plants are established, often after true leaves form for seedlings or after rooted cuttings show active new growth. Starting too early can cause nutrient stress, especially in seed-starting mix that may be low in nutrients and in containers where conditions change quickly.
Can I combine methods, like throwing some seeds and planting bulbs in the same area?
You can, but plan for different depth and timing needs. Keep bulb locations undisturbed and avoid covering emerging bulb shoots with additional seed mulch, and choose species that match the same sunlight and watering routine.
What is the best way to keep track of what I planted and when to troubleshoot?
Write the date, method (thrown seed, planted seed, rooted cutting, or bulb), and the expected germination or rooting window on a tag. If nothing changes by the low end of the expected range, adjust one variable at a time (usually warmth, moisture level, or light) rather than changing everything at once.