Growing plants outside is honestly one of the most forgiving things you can do as a beginner, because nature does a lot of the heavy lifting. You get free sunlight, natural rainfall, and real soil ecosystems working in your favor. But to actually succeed, you need to match the right plants to your conditions, set things up properly from the start, and learn to read what your garden is telling you. This guide walks you through every step: picking plants, prepping the space, planting correctly, watering and feeding, protecting against weather, troubleshooting problems, and finishing with a simple plan you can act on today.
How to Grow Plants Outside: Step-by-Step Guide for Beginners

Marcus Holloway
5 Apr 2026
Pick the right plants for your outdoor conditions
The single biggest mistake beginners make is falling in love with a plant at the nursery and then wondering why it struggles in their yard. Before you buy anything, you need to know two things: your hardiness zone and your frost dates.
Your USDA Plant Hardiness Zone tells you which perennial plants are most likely to survive your winters. You can find yours in seconds by entering your ZIP code into the USDA Plant Hardiness Zone Map's Quick ZIP Code Search box. Once you know your zone, you can check any plant tag or seed packet and immediately tell whether it's suited for your location.
Your frost dates are just as important, especially for annuals and vegetables. The Old Farmer's Almanac has a 2026 frost dates calculator that uses your ZIP code and the nearest official weather station to estimate your average last spring frost and first fall frost. These two dates define your outdoor growing window. Everything you plant should fit inside that window, or be cold-hardy enough to go beyond it.
For true beginners, here are plant categories that reliably succeed outdoors and build your confidence:
- Easy annuals: marigolds, zinnias, nasturtiums, sunflowers (direct sow after last frost)
- Reliable vegetables: zucchini, bush beans, kale, cherry tomatoes, lettuce
- Low-maintenance perennials: coneflowers, black-eyed Susans, hostas, daylilies
- Herbs: basil, chives, mint (keep mint contained), parsley, thyme
- Specialty plants for adventurous growers: carnivorous plants can actually thrive outdoors in humid climates, though they need very specific conditions like nutrient-poor soil and rainwater
Match the plant to your honest conditions, not your ideal conditions. A shady north-facing yard is not a tomato yard. Work with what you have.
Choose and set up the outdoor growing space
Figure out your sun and shade patterns first
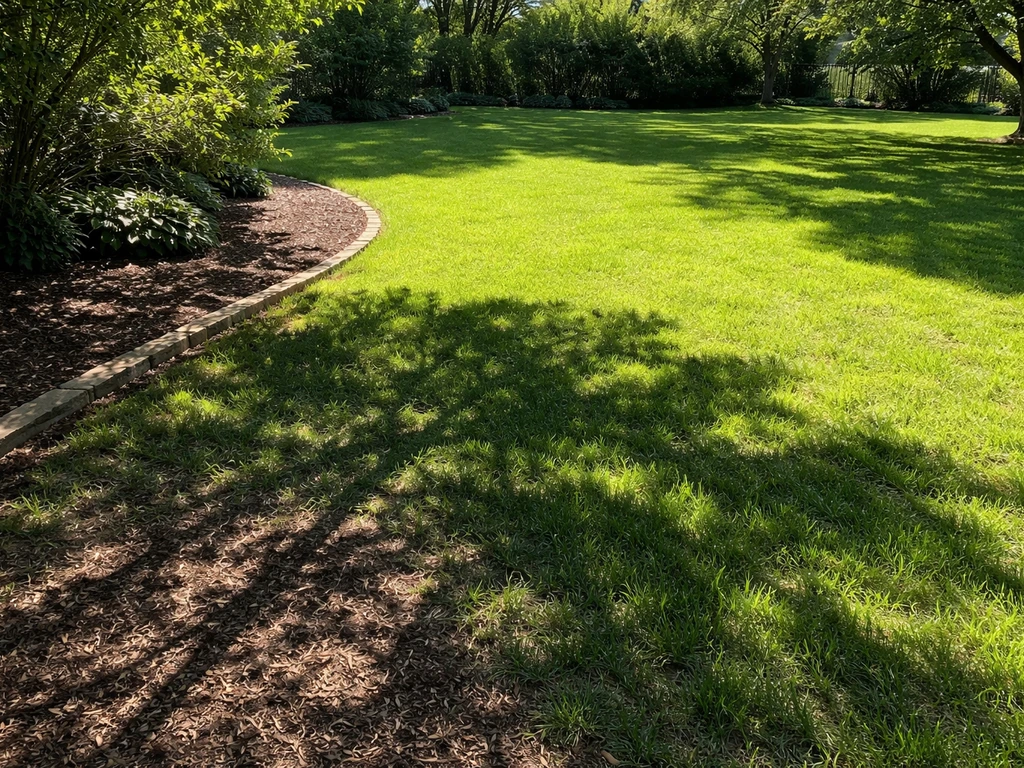
Before you dig anything, spend one day observing your yard. Walk out at 8am, noon, 3pm, and 6pm and note which areas are in sun versus shade. Most edibles and flowering plants need 6 or more hours of direct sun. Partial shade means roughly 3 to 6 hours. According to University of Minnesota Extension, full shade is defined as less than 3 hours of sunlight, and K-State Research and Extension further breaks shade into categories: areas that receive less than one hour of direct sun qualify as full shade, while woodland-style dappled light is its own distinct pattern. Knowing exactly what you're working with prevents you from planting sun-lovers in a dim corner and wondering why they never bloom.
Soil: the foundation of everything
Outdoor soil quality varies wildly, and you can't know what you're working with just by looking at it. Get a soil test before your first season. Cornell Cooperative Extension has solid guidance on how to take a soil sample correctly for pH testing, and once you get your results back, Penn State Extension explains that soil test reports include measured fertility parameters like pH, phosphorus, potassium, and magnesium, with recommendations in a separate section. For vegetable gardens specifically, Cornell extension materials state that a soil pH in the 6.0 to 7.0 range is optimal. If your pH is off, nutrients get locked up in the soil no matter how much fertilizer you add.
To improve poor native soil, mix in 2 to 4 inches of compost and work it into the top 8 to 12 inches. For raised beds and large containers, Missouri Extension recommends mixing topsoil with a mineral material like expanded shale or calcined clay to maintain drainage over time without the mix compacting.
In-ground beds vs. raised beds vs. containers

| Option | Best for | Setup cost | Drainage control | Soil control |
|---|---|---|---|---|
| In-ground bed | Large plantings, trees, shrubs, native perennials | Low | Depends on native soil | Low (amend existing soil) |
| Raised bed | Vegetables, herbs, cut flowers | Medium | Excellent | High (you fill it) |
| Container | Patios, balconies, small spaces, tender plants | Medium to high | Excellent (with drainage holes) | Complete |
Recommendation: if you're a beginner with a small yard or questionable native soil, start with a 4x8 raised bed or a cluster of large containers. You control the soil from day one, drainage is reliable, and you can avoid fighting clay or compaction issues right away.
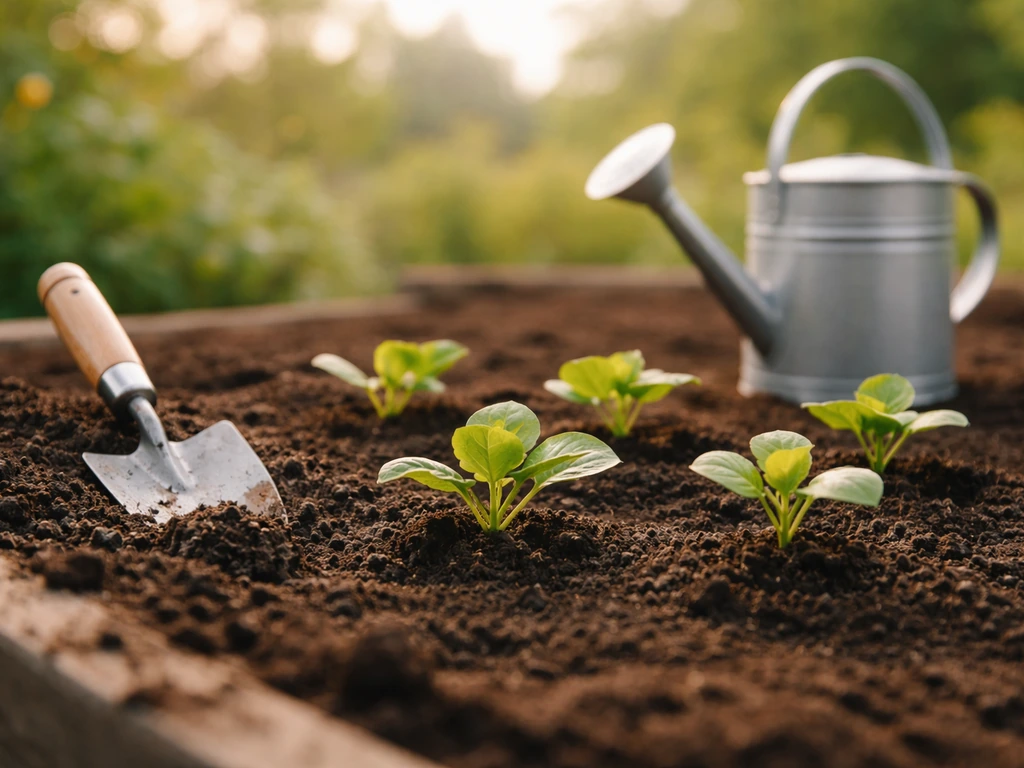
Planting basics: timing, spacing, depth, and establishment
Timing is everything outdoors. Plant too early and a late frost kills tender seedlings. Plant too late in the season and your crops don't have enough time to mature. Use your frost dates as your anchor. For warm-season plants like tomatoes, peppers, and basil, wait until 2 weeks after your last expected spring frost before planting outside. Cool-season crops like kale, peas, and lettuce can go in 4 to 6 weeks before last frost because they tolerate light freezes.
Spacing matters more than most beginners expect. Crowded plants compete for light, water, and nutrients, which leads to disease and weak growth. Follow the spacing on the seed packet or plant tag. For large-fruiting plants like zucchini, that might mean 3 feet between plants, which always feels excessive until you see one zucchini plant take over. If you want to grow large, productive plants, proper spacing is non-negotiable. For those aiming to really push their plants' potential, understanding how to grow 10 pound plants comes down to exactly this combination of soil quality, spacing, and consistent care.
Planting depth is simple but gets ignored. Most transplants go in at the same depth they were growing in their pot, with the exception of tomatoes, which you can bury deeper to encourage more root growth along the buried stem. Seeds have their planting depth printed on the packet; a good rule of thumb is to plant seeds at a depth of roughly twice their diameter.
After planting, focus on establishment for the first 2 to 4 weeks. Water more frequently during this period because roots haven't spread yet and the plant can't draw moisture from a wide area. Avoid heavy fertilizing right after transplanting since roots that are stressed by the move can get burned by concentrated nutrients.
Outdoor watering and fertilizing routines that match the weather
Watering: let the soil tell you, not the calendar
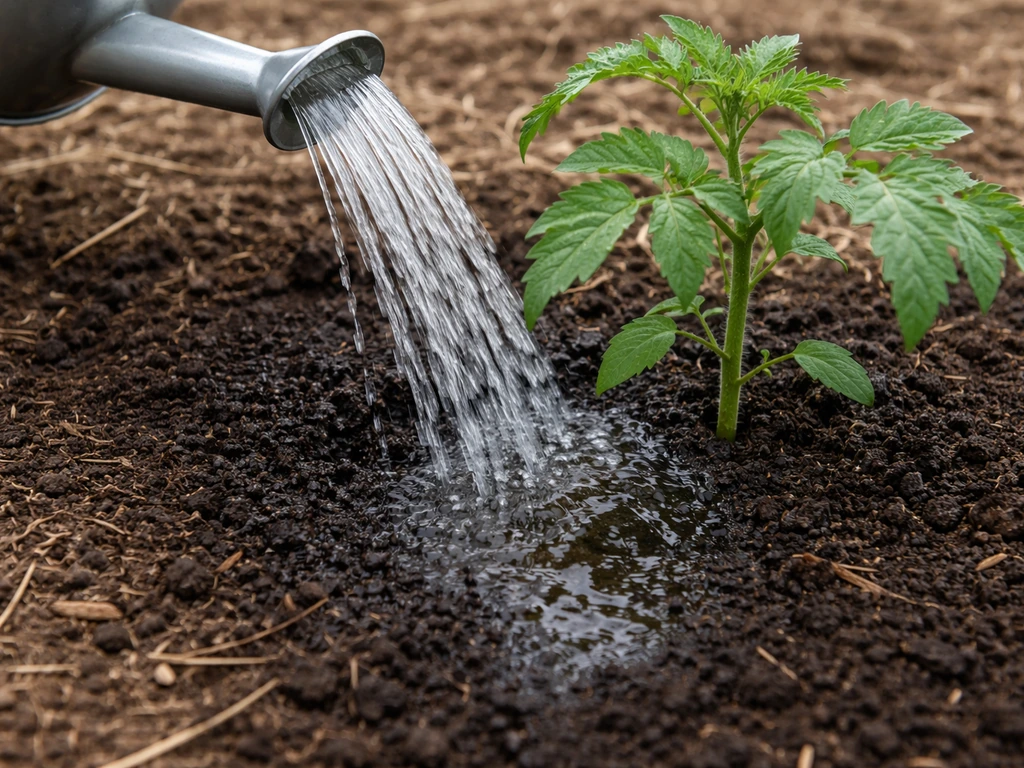
The most common outdoor watering mistake is giving every plant the same schedule regardless of weather. A hot, windy week dries soil much faster than a cool, overcast one. Instead of watering on a fixed schedule, check the soil. Push your finger 2 inches into the soil near the plant's roots. If it's dry at that depth, water. If it's still moist, wait. This one habit prevents both overwatering and underwatering, which are the two most common causes of outdoor plant failure.
When you do water, water deeply and less frequently rather than shallowly every day. Deep watering (until moisture reaches 6 to 8 inches down) encourages roots to grow deep, which makes plants far more drought-tolerant. Shallow daily watering keeps roots near the surface where they're vulnerable. Water at the base of the plant in the morning so the soil surface dries by evening, reducing disease pressure.
A simple drip irrigation system or soaker hose on a timer is one of the best investments for outdoor growing. It delivers water directly to the root zone, reduces evaporation, and takes the guesswork out of your routine.
Fertilizing: feed based on growth stage, not just time
If you've amended your soil well with compost, you may not need to fertilize heavily at all in the first season. But most outdoor gardens benefit from feeding. For vegetables and annuals, a balanced granular fertilizer (like a 10-10-10) worked into the soil at planting covers early needs. Switch to a lower-nitrogen, higher-phosphorus formula once plants start flowering or setting fruit, because nitrogen drives leafy growth while phosphorus and potassium support flowers and fruit. For perennials and shrubs, one compost top-dressing in spring is often enough. Always follow label rates. More fertilizer is not better and frequently burns roots.
Light and temperature protection across the seasons
Outdoor growing means dealing with the full range of weather, and plants need help at the extremes. Here's how to handle the most common temperature and light challenges:
- Late spring frost: keep row cover fabric or old bedsheets on hand to drape over tender plants when a surprise frost is forecast. Even one layer of fabric can protect to about 28°F.
- Summer heat and sunburn: newly transplanted seedlings and shade-adapted plants can scorch in intense afternoon sun. Use shade cloth (30 to 50% density) over vulnerable plants during heatwaves or transition them to full sun gradually over 7 to 10 days (this is called hardening off).
- Hardening off: any plant that's been indoors or in a greenhouse needs a transition period before full outdoor exposure. Set it outside in a sheltered spot for 1 to 2 hours the first day, then gradually increase exposure over 7 to 14 days before leaving it out permanently.
- Fall cold: extend your season by 4 to 6 weeks using cold frames, low tunnels with row cover, or frost cloth. Harvest frost-sensitive crops before the first fall freeze.
Wind is an underrated stress factor. Strong winds dry out soil faster, break stems, and can topple containers. Stake tall plants like dahlias, tall tomatoes, and sunflowers early, before they need it, because staking after a stem bends or snaps is always too late. If you're growing vining or climbing plants, setting up proper support from the beginning makes a huge difference. Understanding how to grow creeper plants outdoors, for example, involves planning your trellis or fence support before the plant is even in the ground.
Common outdoor problems and practical troubleshooting
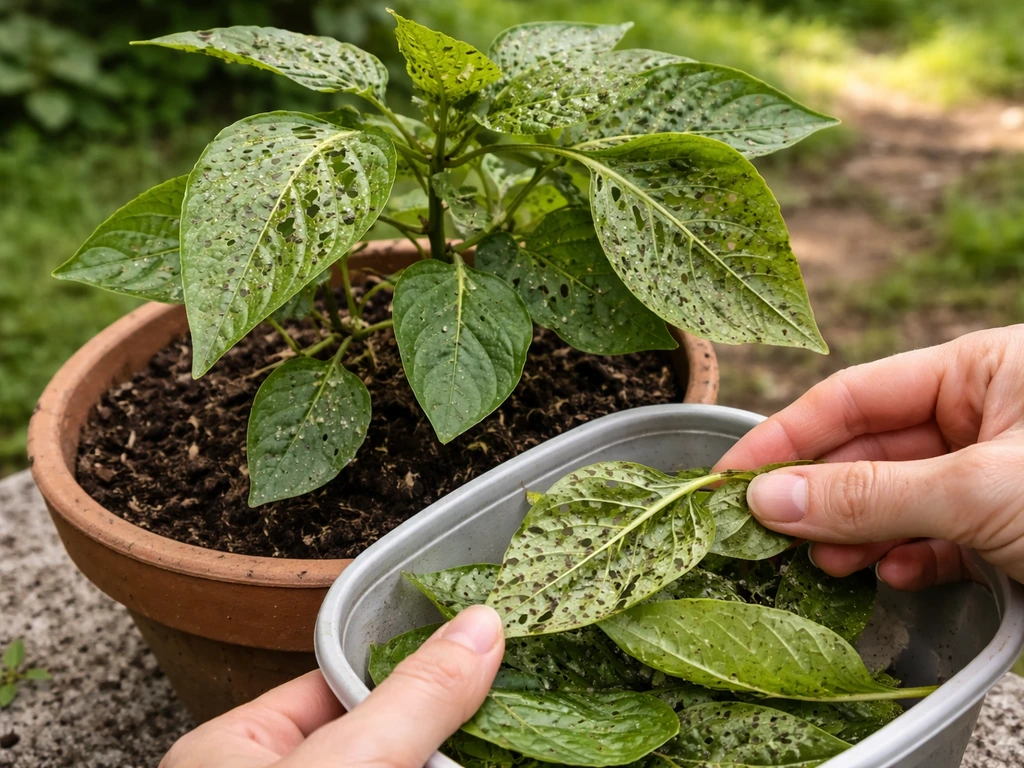
Pests
Catch pest problems early by checking the undersides of leaves weekly. Most outdoor pest problems are manageable if you catch them before populations explode. Aphids, caterpillars, and spider mites can be knocked off with a strong spray of water. For heavier infestations, insecticidal soap spray is effective and low-impact. Slugs and snails are handled with iron phosphate bait around the base of plants. Japanese beetles and other large insects are best picked off by hand in the early morning when they're slow. Avoid broad-spectrum pesticides as a first response since they also kill beneficial insects like ladybugs, lacewings, and predatory wasps that do pest control for you.
Some gardeners take a creative approach to pest management. Plants like sundews and pitcher plants are natural insect trappers, and those interested in using biology as a garden tool might find it useful to understand how to grow insectivorous plants outdoors as part of a broader pest management strategy.
Disease
Most outdoor plant diseases are fungal and are driven by wet leaves and poor air circulation. Prevent them by watering at the base (not overhead), spacing plants properly, and removing dead or infected foliage promptly. If you see powdery white coating (powdery mildew), dark spots on leaves (fungal leaf spot), or stems collapsing at the base (damping off or crown rot), act fast. Remove affected plant parts and improve airflow. A diluted neem oil spray (follow the label) handles many fungal issues. Rotate where you plant vegetables each year to prevent soil-borne disease buildup.
Weeds
Weeds compete directly with your plants for water, nutrients, and light. The best weed control strategy is mulch: apply 2 to 3 inches of shredded wood mulch, straw, or compost around plants, keeping it a few inches away from stems. Mulch suppresses weed germination, retains soil moisture, and moderates soil temperature. Pull weeds when they're small and before they set seed. One weed going to seed can mean hundreds of new weeds next season.
Stress symptoms and what they mean
| Symptom | Likely cause | Fix |
|---|---|---|
| Yellowing lower leaves | Overwatering or nitrogen deficiency | Let soil dry out; soil test and fertilize if needed |
| Wilting in afternoon heat | Normal heat stress OR underwatering | Check soil moisture; water if dry; add mulch |
| Leggy, stretched growth | Not enough light | Move to sunnier spot or thin surrounding plants |
| Scorched leaf edges or bleached patches | Sunburn or fertilizer burn | Provide afternoon shade; flush soil with water |
| Stunted growth, purplish leaves | Phosphorus deficiency or cold soil | Warm soil with black plastic; fertilize with phosphorus |
| Transplant wilting after planting | Transplant shock | Water well; shade briefly; wait 5 to 7 days before judging |
One note on plant variety: even in a standard outdoor garden, you might find yourself drawn to more unusual plants once you've got the basics down. Some gardeners get into specialty growing, like learning how to grow insect eating plants in outdoor bog gardens, which requires a specific setup but is a genuinely rewarding challenge once you're comfortable with the fundamentals.
Your simple start-to-finish outdoor growing plan
Here's a practical checklist and seasonal timeline you can use right now. Work backward from your last frost date to set your actual calendar dates.
Before you plant (4 to 8 weeks out)
- Look up your USDA hardiness zone and 2026 frost dates using your ZIP code
- Choose plants suited to your zone, sun exposure, and space
- Take a soil sample and get a pH and fertility test done
- Amend soil with compost and any pH corrections based on test results
- Set up your growing area: in-ground bed, raised bed, or containers with proper drainage
- Install any support structures (trellises, stakes, cages) before planting
Planting time
- Harden off any seedlings or transplants over 7 to 14 days before full outdoor exposure
- Plant cool-season crops 4 to 6 weeks before last frost; plant warm-season crops 2 weeks after last frost
- Follow spacing and depth guidelines on plant tags or seed packets
- Water in transplants thoroughly at planting
- Apply 2 to 3 inches of mulch around plants immediately after planting
Ongoing care through the season
- Check soil moisture every 2 to 3 days (finger test, 2 inches deep) and water only when dry
- Feed vegetables and annuals every 3 to 4 weeks with a balanced fertilizer; perennials need less
- Inspect leaves weekly for pests and disease; act early
- Pull or hoe weeds when small, before they set seed
- Stake or tie tall plants as they grow; don't wait until they topple
- Watch the forecast and cover frost-sensitive plants when temperatures threaten to drop
End of season
- Harvest frost-sensitive crops before your first fall frost date
- Cut back annual plants and compost healthy material (not diseased plant matter)
- Top-dress beds with compost to feed soil organisms over winter
- Note what worked and what didn't: keep a simple journal or phone note for next season
- Order seeds or make a plant list for next year while this season is fresh in your mind
Outdoor growing has a natural rhythm, and once you've been through one full season, the second one feels dramatically easier. You'll know your yard's quirks, your local pest pressure, which spots run hot, and which hold moisture too long. That first-season experience is irreplaceable, so don't let the complexity of the list above stop you from starting. Pick three plants, set them up right, and learn from what happens. That's genuinely all it takes to get going.
FAQ
What if my yard gets less than 6 hours of sun, can I still grow plants outside?
Yes. Choose shade-tolerant options (leafy greens, some herbs like mint and parsley, and many ornamental foliage plants). Also look for “dappled” areas that get short bursts of brighter light, then position plants there and use reflective surfaces (light-colored walls or mulch) to boost available light.
How do I tell the difference between under-watering and overwatering outside?
Use the 2-inch soil finger check near the root zone. If the soil is dry at 2 inches and leaves wilt in the afternoon, it’s usually under-watering. If soil stays wet or soggy at that depth and leaves yellow or plants look limp, that’s often overwatering, poor drainage, or root stress.
Do I need to amend soil every year or only before planting?
Often only before the first season and then lightly afterward. Many beginners can get by with adding compost as a top-dress each spring, rather than reworking everything, which prevents disturbing established roots and soil structure. If a soil test shows persistent nutrient or pH issues, follow its specific correction plan.
Can I plant in containers if I have bad ground or heavy clay?
Definitely, and it’s one of the easiest ways to control drainage and soil. Use a high-quality potting mix (not garden soil), ensure drainage holes are adequate, and avoid containers that sit in standing water after heavy rain. Large containers also buffer temperature swings better than small pots.
How often should I check soil moisture once I start using drip or a soaker hose?
Check at least once or twice per week early in the season, then adjust based on weather and plant type. Even with timers, drip output varies with soil type, heat, and how quickly roots expand. Confirm moisture at 6 to 8 inches down for established plants, not just at the surface.
Is it better to water in the morning or evening if I’m trying to prevent disease?
Morning is usually better because leaves and the soil surface dry faster, which reduces disease pressure. Evening watering can keep foliage wet overnight, especially in humid conditions. If you must water later, aim the water at the base and avoid wetting leaves.
What should I do if my plants look healthy but growth is slow or stunted?
Check spacing first, then verify soil pH with a test, because nutrients can be locked up even when you fertilize. Also confirm you’re planting at the right depth (seeds) and that transplants are not buried too deep for the specific plant. Root restriction from an undersized container is another common cause.
When should I fertilize outside, right after planting or after they establish?
Wait until plants are actively growing again after transplanting, since immediately feeding stressed roots can burn. For many beds, incorporate a modest amount at planting, then switch to a more targeted fertilizer once flowering or fruit set begins, as directed on the product label.
How can I protect seedlings from unexpected late frost?
Use row covers or low tunnels immediately after planting, remove or vent them during the warmest parts of the day, and water the soil the day before a cold event to improve temperature buffering. If plants are in pots, move them to a sheltered spot overnight. Avoid covering with plastic directly on foliage, use a breathable fabric instead.
What’s the best first response if I spot pests like aphids or caterpillars?
Start with physical removal and observation. Knock aphids off with a strong water spray, hand-pick larger pests early in the day, and inspect leaf undersides weekly. If you use insecticidal soap, test on a small area first and follow label timing to avoid harming beneficial insects.
How do I handle fungal disease in a way that actually prevents it from coming back?
Improve airflow and keep foliage dry by watering at the base, spacing plants correctly, and removing infected leaves promptly. Also rotate vegetable beds each year to reduce soil-borne carryover. If you repeat the same conditions (wet leaves, tight spacing), treatment will only give temporary relief.
What mulch should I use, and how far from the stem should it be?
Use 2 to 3 inches of shredded wood mulch, straw, or compost. Keep it a few inches away from stems to prevent moisture buildup against the plant and reduce rot risk. Replenish mulch as it decomposes, especially in windy or hot climates where it breaks down faster.
Should I pull weeds immediately or let them compete for a while?
Pull them when they’re small and before they set seed. Large weeds rob water and nutrients quickly, and a single seed-producing weed can create a new problem next season. If weeds are persistent, increase mulch thickness and verify you’re not overwatering bare soil.
Are there any outdoor “beginner traps” in plant selection?
Two big ones are buying based on appearance instead of sun and climate suitability, and choosing plants that won’t fit the planting window. Before buying, confirm hardiness zone and frost dates, then match the mature plant size to your available space and spacing requirements.