Plants grow in a repeating cycle: germinate from seed (or root from a cutting), push out their first leaves, develop a root system, build stems and foliage, and eventually flower or fruit. By understanding the growth cycle, you can figure out how do plants and flowers grow in your own home. How do new plants grow? It comes down to the basic stages of germination, leaf and root development, and then flowering or fruiting when conditions are right.
Plants Grow Step by Step: A Practical Guide to Results

Marcus Holloway
18 May 2026
To get that cycle moving, you need five things in the right balance: water, light, air, warmth, and nutrients. Get those five right from day one and most plants take care of the rest themselves. Nursery growers use the same core needs, just with careful temperature control, humidity, and staged transplanting to help plants establish quickly how do nurseries grow plants. Nursery growers rely on this same growth-cycle logic, so if you want more specifics on how do nurseries grow plants, follow up with the full step-by-step routine. Miss one and growth stalls, leaves yellow, or seedlings flop over.
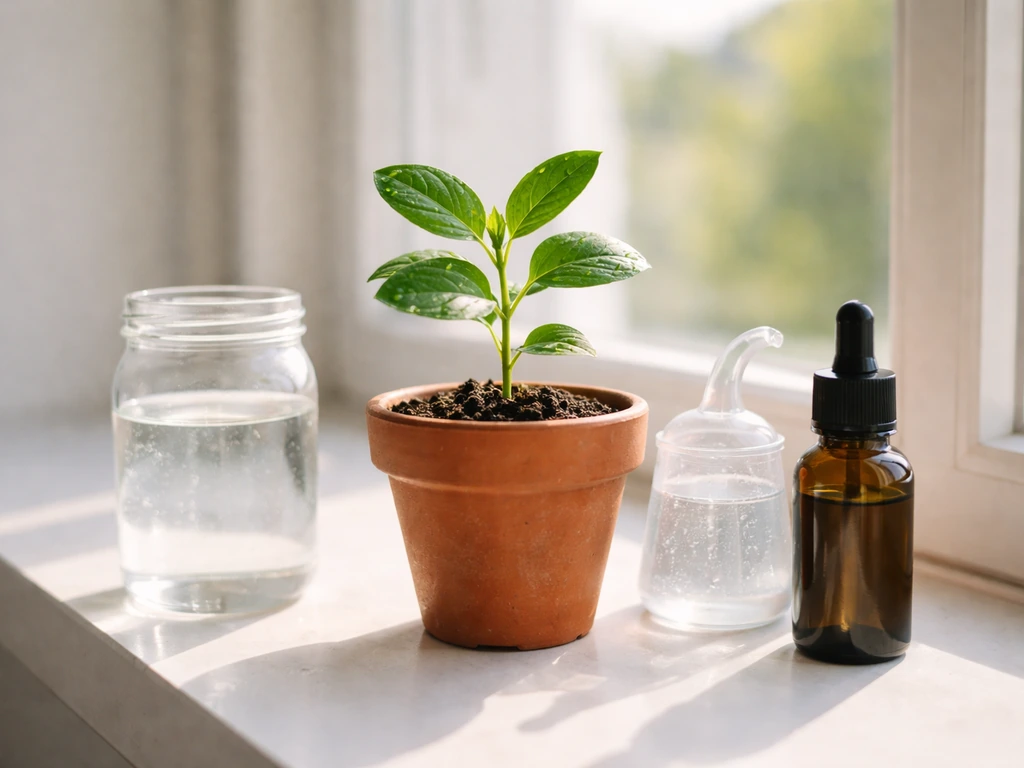
This guide walks you through every stage, step by step, with specific routines you can start today whether you're growing in soil, water, hydroponics, or a terrarium.
How plants actually grow (the cycle every beginner needs to know)
Understanding the basic growth cycle makes every decision easier, because you're not guessing. You're just responding to where your plant is in its life.
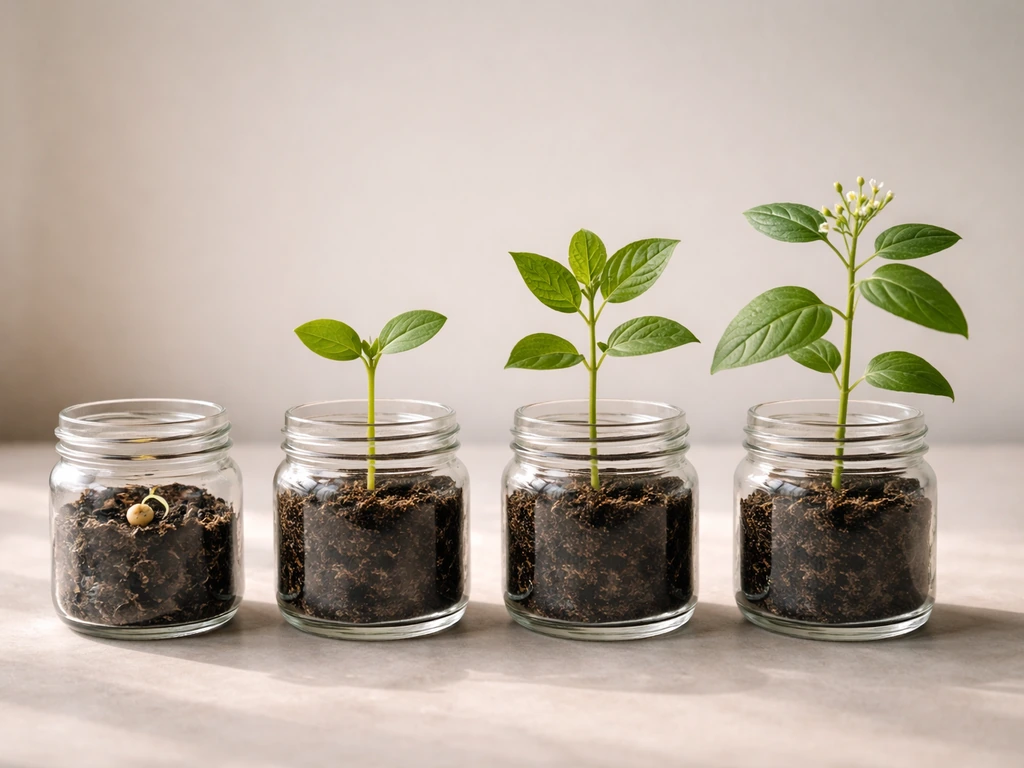
- Germination: The seed absorbs water, the coat splits, and the embryo inside uses its stored food to push out a root (radicle) and a shoot. Oxygen and water are the triggers. Too cold, too dry, or too deep and the seed just sits there.
- Seedling stage: The first tiny leaves that appear (cotyledons) are actually part of the seed, not true leaves. They fuel the plant for its first few days. Once true leaves emerge, the plant can start photosynthesizing properly.
- Vegetative growth: Roots spread, stems lengthen, and leaves multiply. This is when light and nutrients matter most. A plant in this stage is hungry and thirsty.
- Maturation: The plant reaches its adult size, structure stabilizes, and (depending on species) it may flower, fruit, or simply keep producing foliage.
- Reproduction or dormancy: Annual plants complete their cycle and die. Perennials slow down or go dormant in low-light or cold conditions, then restart. Houseplants may cycle more subtly, slowing in winter and pushing new growth in spring.
Each stage calls for slightly different care. Seedlings need moisture and warmth more than fertilizer. Vegetatively growing plants need more light and nutrients. Mature plants need maintenance, not intervention. The most common beginner mistake is treating all stages the same way.
Choosing what to grow and setting your starting conditions
Before you buy a single seed or cutting, match your plant choice to your actual conditions, not your dream conditions. Be honest about your light situation first. A south-facing window in a sunny climate is very different from a north-facing apartment window in winter. If you have low light, start with low-light tolerant foliage plants like pothos, snake plants, or peace lilies. If you have a bright spot or grow lights, you can try herbs, tomatoes, or flowering plants.
Next, pick your growing method. Each one suits different situations:
| Method | Best for | Main advantage | Main challenge |
|---|---|---|---|
| Soil | Most beginners, herbs, vegetables, houseplants | Forgiving, widely available, naturally buffers moisture and nutrients | Overwatering is easy to do |
| Water/propagation | Cuttings from existing plants, quick starts | Cheap, easy to see root development, no soil needed initially | Roots must transition to soil eventually; stagnant water causes rot |
| Hydroponics | Fast growth, limited outdoor space, year-round growing | Faster growth, precise nutrient control, no soil-borne pests | Requires pH and EC monitoring, more upfront setup |
| Terrarium | Small spaces, humidity-loving plants, low-maintenance setups | Self-regulating humidity, minimal watering | Limited plant selection, can overheat or mold if poorly managed |
For most beginners, soil is the right call. It's forgiving, cheap, and works for almost everything. Hydroponics and terrariums are great once you understand the basics. Water propagation is a fun, low-stakes way to multiply plants you already have.
Step-by-step planting and initial setup
Soil setup
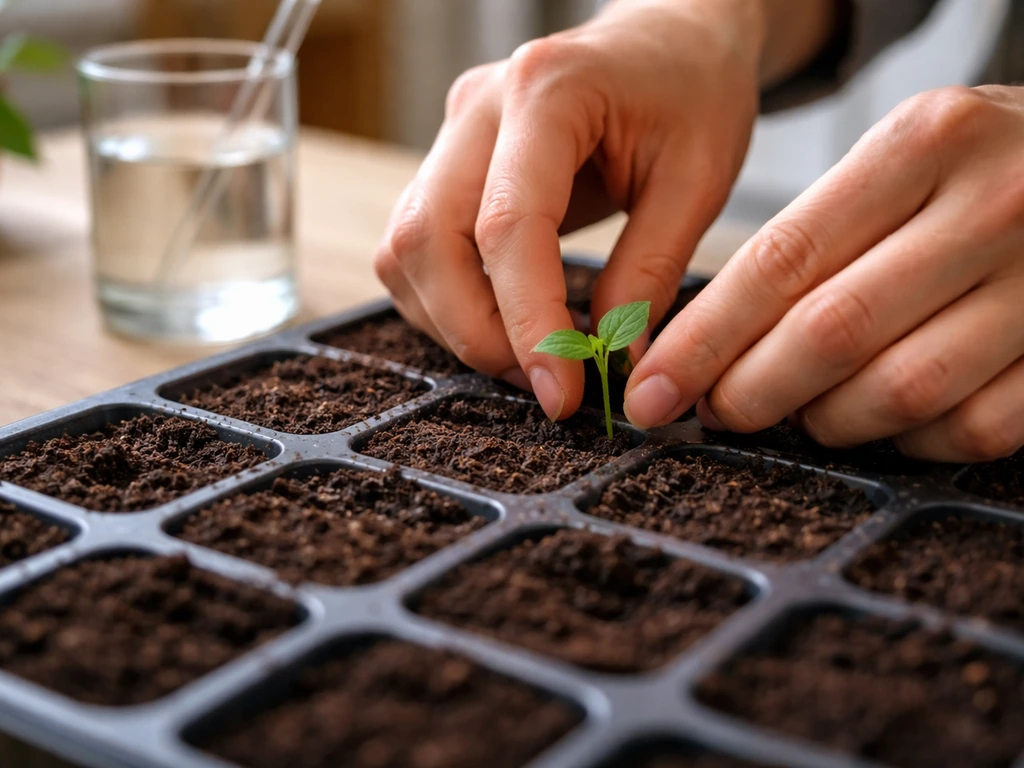
- Choose your container: Use divided containers or individual cells so each seedling has its own space. This prevents roots from tangling, which means no root damage when you transplant. Every container must have at least one drainage hole. No exceptions. A pot without drainage is a slow death trap for most plants.
- Skip the gravel layer: Don't put rocks or gravel in the bottom of pots thinking it improves drainage. It doesn't. It actually creates a perched water table that keeps roots sitting in moisture. Just use a well-draining potting mix and a pot with holes.
- Fill with the right mix: Use a quality soilless potting mix for seedlings or indoor plants. Don't use outdoor garden soil indoors. It compacts, drains poorly, and can bring pests and fungi with it.
- Set planting depth: Plant seeds at a depth equal to 2 to 3 times their width. A tiny basil seed barely gets covered. A bean seed goes about an inch down. After sowing, cover lightly with a thin layer of vermiculite, which holds moisture while still letting light through for seeds that need it.
- Position the root ball correctly when transplanting: When moving a seedling or repotting a plant, match the soil level to where it was growing before. Don't plant deeper. Add enough fresh mix to the bottom of the new pot so the root ball sits about 1 to 2 inches below the rim, leaving room for watering.
Water/propagation setup
Take a cutting just below a leaf node, remove the lower leaves, and place the stem in a clean jar of water. Change the water every few days to prevent stagnation. Keep it in bright indirect light. Once roots are 1 to 2 inches long, you can transfer to soil or continue in water if the plant tolerates it. Common candidates: pothos, coleus, basil, mint, impatiens.
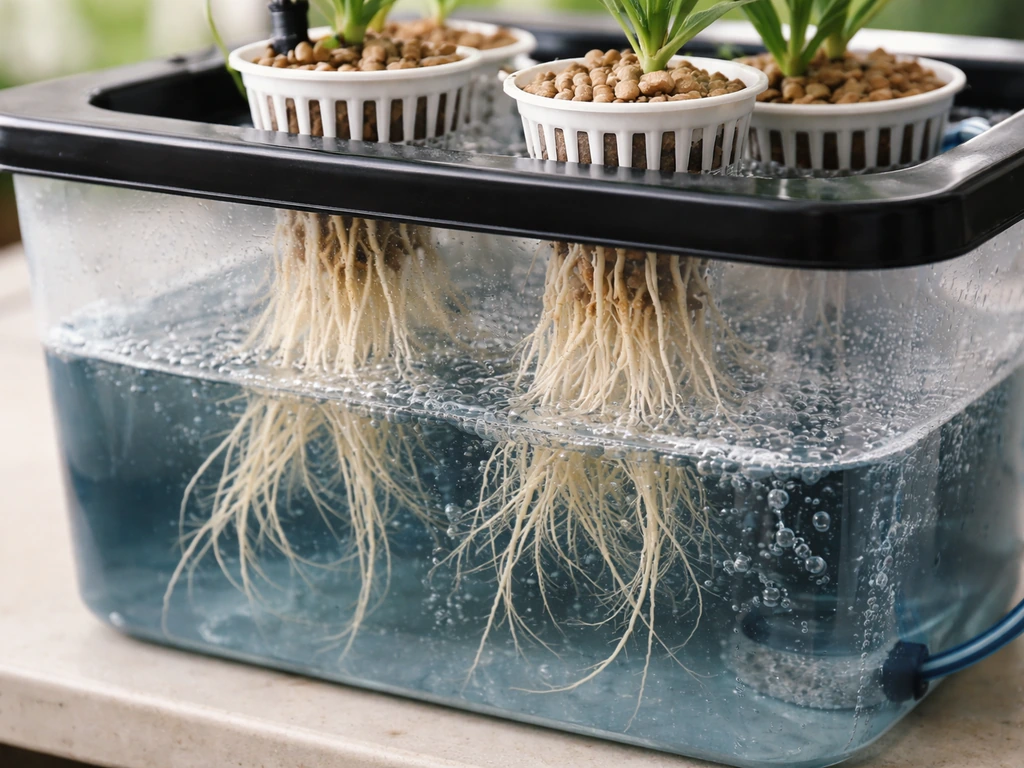
Hydroponics setup
Start with a simple deep water culture (DWC) or kratky method setup: a reservoir, net pots, growing medium (like clay pebbles or rockwool), and a nutrient solution. Mix nutrients according to package instructions. Test your pH before your plants go in. Water pH should sit between 5.5 and 7.0 for most home setups. The nutrient solution itself should be mixed to a pH around 5 to 6 so the root zone stays between 6 and 6.5. Test pH and electrical conductivity (EC) weekly and adjust as needed.
Terrarium setup
- Choose a clear glass or plastic container with a lid for a closed terrarium, or leave it open for succulents and cacti.
- Add drainage layers in this order: a base of small stones or pebbles, then about 1/4 to 1/2 inch of activated charcoal to filter air and water and keep things from going stale, then a layer of sterile, light, well-draining potting mix.
- Plant your species, then mist lightly. Close the lid and watch. In a well-balanced closed terrarium, condensation should appear on the glass and then clear. That moisture cycle is the system working.
- Never use outdoor garden soil. It compacts immediately in a small closed space and brings fungal and pest problems with it.
Light, watering, and temperature: the daily drivers of growth
Light
Light is the single most underestimated factor in home growing. Window light almost always looks brighter than it actually is for plants. For seedlings especially, even a bright south-facing window often isn't enough to prevent leggy, stretched growth. Getting enough light is also one of the fastest ways to grow more leaves on plants prevent leggy, stretched growth. Fluorescent or LED grow lights placed close to seedlings (a few inches away) produce much stronger, more consistent results. If your seedlings are tall, thin, and leaning toward a light source, that's your signal that they're not getting enough. That stretch is called etiolation and it's the plant desperately reaching for more light.
Watering

Forget fixed watering schedules. Different plants, different pots, different seasons, different rooms all change how fast soil dries out. Instead, check the soil. Push your finger about 2 inches into the mix near the stem. If it feels dry at that depth, water thoroughly until it drains from the bottom. If it still feels damp or wet, leave it and check again in a day or two. For seedlings specifically, use a spray bottle to water gently so you don't disturb the mix or wash tiny seeds sideways. Keep the top of the mix consistently moist until true leaves appear.
You can also squeeze a small handful of soil. If it forms a ribbon easily and feels slick, it's still quite wet. If it crumbles and barely holds together, it's time to water. If it doesn't form a ball at all and feels powdery, you've let it dry out too long.
Temperature
Most common plants germinate and grow best between 65 and 75 degrees Fahrenheit (18 to 24 Celsius). Cold slows germination and growth dramatically. Heat above 85 to 90 degrees stresses most plants. Keep seedlings away from cold drafts, air conditioning vents, and windows that get frigid at night in winter. A heated seedling mat under trays speeds up germination noticeably for warm-season crops like tomatoes and peppers.
Air movement
A gentle fan running near your seedlings a few hours a day does something surprising: it makes them stronger. The slight resistance from moving air triggers the plant to build sturdier cell walls. Seedlings grown with airflow are noticeably thicker-stemmed and stand upright better when you transplant them. This is one of those tiny tips that makes a big visible difference.
Nutrition: when and how to feed your plants
Plants need different nutrients at different stages, and more fertilizer is not always better. Feeding too early or too much is one of the most common ways beginners accidentally damage plants.
Soil
A good quality potting mix usually contains enough nutrients to carry seedlings for the first few weeks. Hold off on fertilizing until true leaves appear and the plant is actively growing. Then use a balanced liquid fertilizer (like a 10-10-10 or similar) at half the recommended strength to start. Build up gradually. During active vegetative growth, fertilize every 2 to 4 weeks. Back off in winter when growth naturally slows.
Water/propagation
Cuttings rooting in water don't need fertilizer yet. Once they're in soil and showing new growth, start them on a diluted liquid feed just like you would any young plant.
Hydroponics
In hydroponics, the nutrient solution is the entire food supply for the plant, so getting it right matters more than in soil. Use a complete hydroponic nutrient formula designed for the growth stage you're in (most come in a grow formula for vegetative growth and a bloom formula for flowering). Mix to the manufacturer's recommended EC level and check it weekly. As plants feed, EC drops and pH drifts. Top off with plain water between full solution changes, and do a complete nutrient solution refresh every one to two weeks.
Terrariums
Terrariums are a low-fertilizer environment by design. The closed system recycles nutrients slowly. If you fertilize heavily in a terrarium, you'll get overgrown, crowded plants quickly, which defeats the point. Use a very diluted liquid fertilizer (quarter strength) once or twice a year at most for closed systems. Open terrariums with faster-growing plants can handle a light feeding two to three times a year.
Progress checks and troubleshooting
Most plant problems come down to one of five causes: too much or too little water, wrong light, temperature stress, nutrient imbalance, or root problems. Here's how to diagnose fast.
| Symptom | Most likely cause | Fix it by |
|---|---|---|
| Leggy, stretched seedlings leaning toward light | Insufficient light | Move closer to a grow light or add a supplemental LED; aim for 14-16 hours of light for seedlings |
| Yellow leaves on lower/older growth | Nitrogen deficiency or overwatering | Check soil moisture first (finger test). If soggy: let dry out and improve drainage. If soil is fine: feed with a balanced fertilizer |
| Wilting despite wet soil | Root rot from overwatering or poor drainage | Remove from pot, inspect roots. Trim black/mushy roots, repot in fresh dry mix, hold off watering for several days |
| Wilting with dry soil | Underwatering or root-bound pot | Water thoroughly. If water rushes straight through, the plant may be root-bound and need a bigger pot |
| Slow or no growth after weeks | Wrong temperature, poor light, or depleted soil | Check temps (should be 65-75F), increase light, and begin feeding if you haven't started |
| Mold or fungus on soil surface | Overwatering, poor airflow, or contaminated mix | Reduce watering, improve airflow, scrape off visible mold and top-dress with fresh dry mix |
| Brown leaf tips or edges | Low humidity, salt buildup from over-fertilizing, or fluoride in tap water | Flush soil with plain water, switch to filtered water, or increase humidity with a pebble tray |
| Roots circling the pot or emerging from drainage holes | Plant is root-bound | Repot into a container 1-2 inches larger in diameter with fresh mix |
When you transplant seedlings, wait until they have at least one or two sets of true leaves. Hortmag recommends transplanting seedlings after they have developed one or two sets of true leaves, which means true leaves rather than cotyledons wait until they have at least one or two sets of true leaves. Transplanting too early (when it's just cotyledons) stresses the plant and increases failure rates. Container-grown plants actually suffer very little transplant shock when handled carefully, because the root system stays intact inside its growing medium.
A simple weekly care plan to keep growth moving
The biggest thing that separates thriving plants from struggling ones is consistent, attentive care, not expensive products or elaborate setups. This weekly routine works for soil, water propagation, and most hydroponic and terrarium setups with minor adjustments.
Every day
- Glance at your plants. Look for wilting, color changes, or anything visually off. Catching problems early makes them much easier to fix.
- For seedlings: check that the top of the growing medium is consistently moist (not wet, not dry).
- For hydroponics: confirm the reservoir has enough solution covering the roots.
Every 2 to 3 days
- Do the finger test on soil plants. Push 2 inches in near the stem. Dry? Water deeply. Still damp? Leave it.
- Check terrarium condensation. Light misting on the glass should clear within a few hours. Constant dripping means too much moisture.
- Rotate pots a quarter turn so all sides get even light exposure.
Once a week
- Test pH and EC if you're running hydroponics. Adjust solution as needed and top off with plain water between full changes.
- Look at the roots if your plant is in a transparent propagation vessel. Healthy roots are white or pale. Brown, slimy, or smelly roots need attention immediately.
- Check for pests under leaves and along stems. Catching an infestation at 5 bugs is a lot easier than at 500.
- Note any new growth: new leaves, new nodes, visible root tips. This is your confirmation that the plant is happy.
Once a month
- Feed soil plants with a diluted liquid fertilizer if they're in active growth.
- Check if roots are starting to circle the pot or push out drainage holes. If yes, size up.
- Wipe dust off large leaves with a damp cloth. Dusty leaves photosynthesize less efficiently.
- For terrarium: assess plant size. Trim any plants getting too crowded to maintain airflow.
Your next-step roadmap
If you're just starting out today, here's the clearest path forward. In the next hour: pick your method (soil is the easiest), get a container with drainage holes, fill it with quality potting mix, and plant your seed or cutting at the right depth. West Virginia University Extension recommends covering seeds with growing medium at a depth equal to about 2, 3 times the seed’s width [2–3 times their width](https://extension. wvu.
edu/lawn-gardening-pests/gardening/gardening-101/seed-starting). In the first week: focus entirely on moisture and light. Don't fertilize yet. Use a spray bottle for seedlings.
Get a grow light if you don't have strong natural light. In the first month: watch for true leaves, check roots in propagation vessels, and begin feeding once you see active new growth. After that: adjust based on what you observe, not what a schedule says. Plants tell you what they need if you know what to look for.
Growing plants step by step really does come down to paying attention at each stage and responding to what you see. The biology of how a plant starts its life is straightforward once you've watched it happen a few times. Whether you're curious about how new plants develop from scratch, want to grow a full foliage display, or are thinking about exploring specialized methods like hydroponics or terrariums, the foundation is always the same: right light, consistent moisture, and a growing medium that gives roots room to breathe. Start simple, watch closely, and adjust as you go. That's genuinely all there is to it.
FAQ
How do I tell which growth stage my plant is actually in, especially if growth looks slow?
Look for physical cues, not your calendar. Cotyledons only means you are still in the seedling phase, true leaves means it is ready for light and gentle feeding adjustments, and the presence of flower buds or fruit set tells you the plant has entered reproductive mode. If roots are circling or the plant has stalled after transplant, it may be in establishment stress rather than a normal slow-growth period.
Should I start fertilizing immediately after germination or after I pot seedlings?
Usually no. Many potting mixes include enough nutrition for the first few weeks. A safer rule is to wait until true leaves appear and you see active new growth, then start with diluted fertilizer at about half strength. If you fertilize earlier, seedlings can show burnt leaf tips, pale leaves, or slowed development.
What’s the fastest way to prevent leggy, stretched seedlings if I already have a grow light?
Check two things: distance and daily exposure time. If the light is too far, seedlings will stretch even under grow lights, and if the light schedule is too short, plants will still lean. As a quick adjustment, lower the light close to the canopy (a few inches) and increase the daily light duration gradually while monitoring for leaf scorching.
How often should I water, given that soil drying varies so much?
Use a depth-based check rather than a schedule. Push a finger or use a moisture meter at about 2 inches near the stem, water thoroughly only when that zone feels dry, and then wait again instead of repeating partial watering. For seedlings, spray gently so you keep the surface moist without dislodging tiny seeds or creating waterlogging.
My seeds sprouted but then stopped growing. What usually causes that?
The most common causes are not enough warmth, insufficient light, or an overly wet mix. Cold can slow metabolism, low light leads to weak, stretched seedlings, and constant dampness can reduce oxygen to the roots. Let the surface dry slightly between waterings, move to brighter light, and keep the temperature in the mid-60s to mid-70s Fahrenheit range.
Is it normal for seedlings to wobble or flop over, and how do I fix it?
A little early weakness can happen, but persistent flop usually points to low light, uneven watering, or weak stems from poor airflow. Improve light intensity, ensure the mix drains well, and run a gentle fan a few hours per day. Also avoid over-fertilizing, which can create weak, fast growth that cannot stand.
When should I transplant from a propagation container to soil, and how deep should the new plant go?
Wait until there is at least one or two sets of true leaves, or for propagations, when roots are established (often about 1 to 2 inches long). Bury the stem only as deep as needed to support growth without burying leaves, and keep the first week focused on steady moisture and light rather than heavy feeding.
For water propagation cuttings, when do I decide to keep them in water or move them to soil?
If roots are healthy and the cutting keeps producing new growth without yellowing, it can stay in water for a while, but many plants transition better after the root system is more developed. Move to soil when you want faster overall growth and a more stable nutrient supply, and start with diluted feeding only after you see clear new growth in the new medium.
How do I avoid nutrient problems in hydroponics when pH and EC drift?
Test both pH and EC weekly and adjust with small changes rather than large corrections. Between full changes, top off with plain water to counter evaporation and dilution patterns. If pH keeps swinging or EC drops quickly, check your solution mixing accuracy and make sure you are using the correct nutrient formula for the current growth stage.
What EC and pH targets should I use in hydroponics for home setups?
Aim for a water/root-zone pH roughly in the mid range described in the guide (about 6 to 6.5) and keep nutrient solution mixing acidic to match that range. EC targets depend on the product and crop, so follow the manufacturer’s recommended EC levels for vegetative versus bloom stages, then track week-to-week trends to catch slow declines or sudden shifts.
Do I need to fertilize terrariums at the same frequency as outdoor or indoor potted plants?
No. Terrariums are closed systems that recycle nutrients slowly. Overfeeding leads to crowded, fast, weak growth and can accelerate dieback. Use minimal feeding, and if the terrarium is open versus closed, adjust upward only slightly for the faster-growing setup.
How can I quickly diagnose whether the problem is water, light, temperature, nutrients, or roots?
Start with the most visible patterns. Yellowing plus soggy mix points to water or oxygen issues, pale growth with stretching suggests low light, scorched or curled leaves near bright spots often indicates light stress, and growth that stops during cold periods suggests temperature stress. If stems are fine but plants won’t recover, check root condition (smell, firmness, and whether roots are damaged or circling).
Should I change multiple variables at once when something goes wrong?
Avoid it. Change one variable at a time so you can interpret results. For example, if you suspect low light, adjust lighting first and monitor for new leaf growth over days, not hours. If you change watering, light, and nutrients together, it becomes hard to know what actually caused improvement or setbacks.
What simple routine should I follow each week to catch issues early?
Do a short inspection that matches the system you are using: for soil, check moisture at depth and look at leaf color and posture; for propagation, look for root length and cloudiness or stagnation in water; for hydroponics, test pH and EC and inspect for algae or clogged lines; for terrariums, check condensation level and plant crowding. Catching small drift early prevents the larger, harder-to-fix problems later.