You can grow healthy, lush green plants at home by starting with a forgiving species, giving it the right amount of light for its type, watering only when the soil is actually dry an inch or two down, and using a well-draining pot with a decent potting mix. That combination alone will keep most green plants alive and thriving. Everything else, like fertilizing, humidity, and choosing between soil, water, or hydroponics, is just fine-tuning on top of that foundation.
How to Grow Green Plants at Home: Beginner Guide

Marcus Holloway
22 May 2026
If you've killed plants before, you're in good company. Most beginners overwater, underlight, or pick plants that need conditions their home can't deliver. This guide is built to fix all three of those problems and then some, covering every growing method, every common problem, and giving you a clear path from your first plant to a full indoor collection. If you want a simple start, follow these steps on how to grow green plants indoors with the right light, watering, and plant choices. If you follow these tips to grow plants at home, you can keep even beginner-friendly varieties healthy as you build confidence.
Choosing the right green plants for indoor success
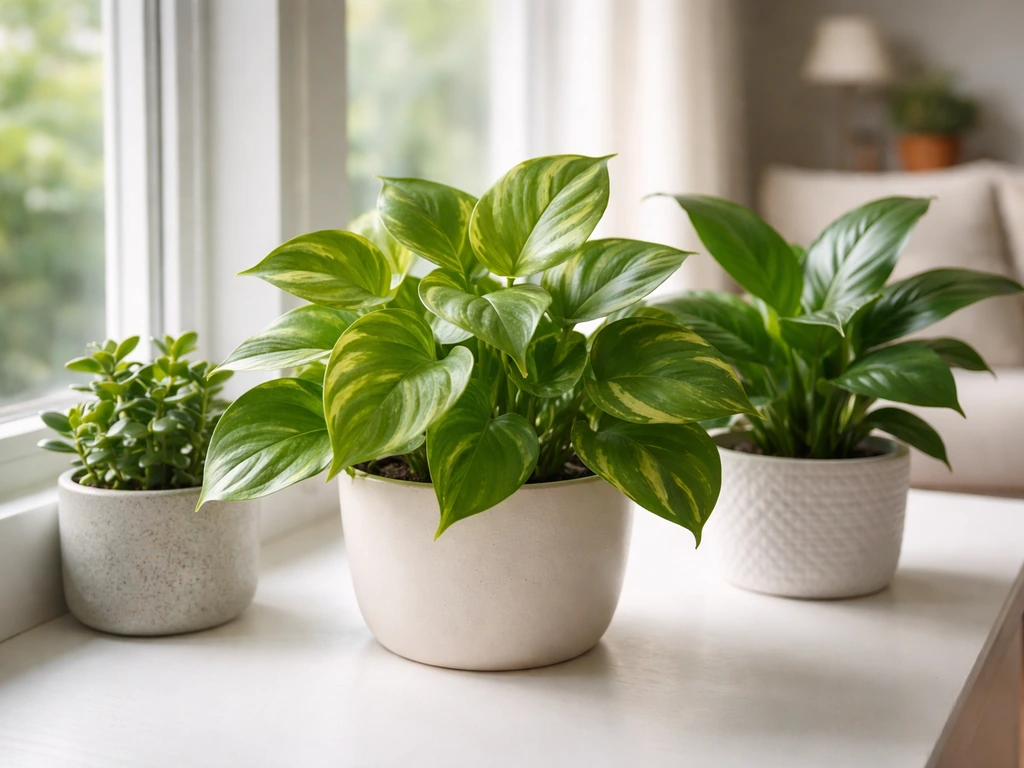
The single biggest factor in early success is picking a plant that suits your actual home, not the plant you think looks coolest at the garden center. Some green plants are genuinely tough and will forgive mistakes. Others are divas that need exactly the right conditions. Start with the forgiving ones.
For leafy, fast-growing greenery, pothos (Epipremnum aureum) is the gold standard beginner plant. It tolerates low light, irregular watering, and neglect. Snake plants (Sansevieria) survive almost anything, including weeks without water. Peace lilies are a solid pick if you want something that droops dramatically when thirsty (which is actually helpful feedback). Spider plants, heartleaf philodendrons, and ZZ plants round out the beginner tier. These plants share a key trait: they'll tell you when something is wrong before it becomes fatal.
If you want to grow actual edible leafy greens at home, like lettuce, spinach, or basil, those work beautifully on sunny windowsills or under grow lights. They grow fast, which is motivating, but they do need more light and consistent moisture than most houseplants. Herbs like mint and chives are even more forgiving and a great bridge between decorative and edible growing.
The plants best suited for water propagation or hydroponic setups (covered later in this guide) include pothos, tradescantia, coleus, and most mint varieties. If you're thinking about a terrarium, ferns, mosses, nerve plants (Fittonia), and baby tears are your best options since they love the high-humidity enclosed environment.
Light and placement essentials
Light is the one thing you absolutely cannot fake. A plant makes its food from light, and if it doesn't get enough, it slowly starves no matter how well you water or fertilize it. Most indoor plant failures trace back to light, not skill.
Which window direction to use
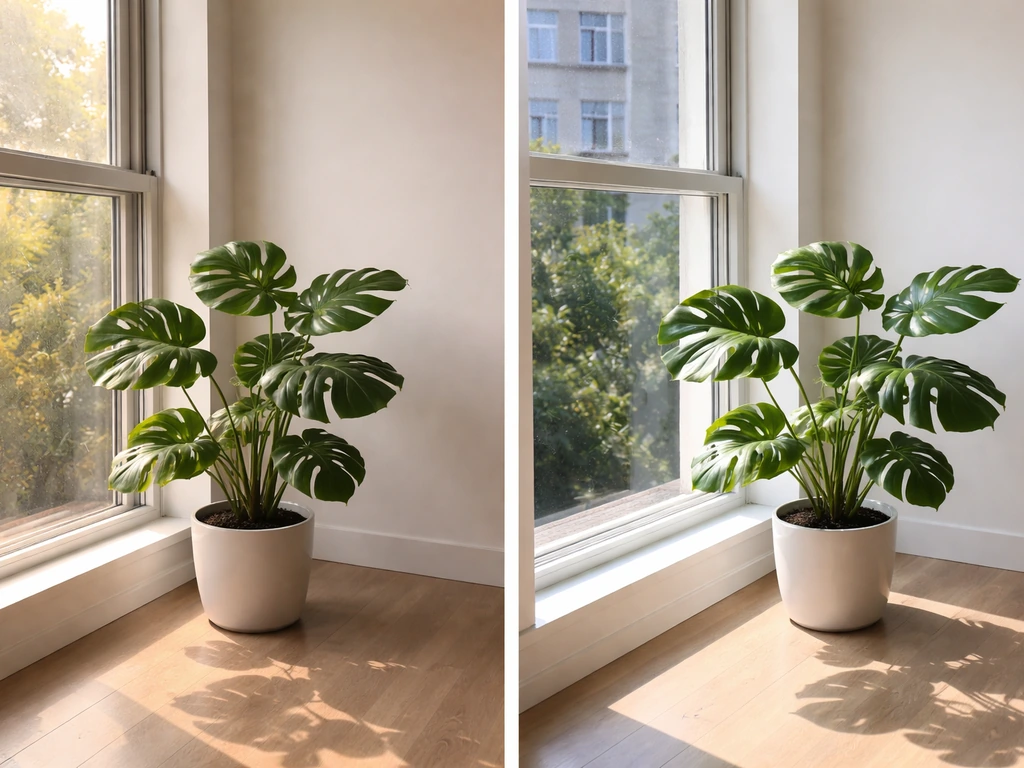
South-facing windows get the most direct sun throughout the day and are ideal for most green plants that want bright light. East-facing windows give gentle morning sun, which is perfect for ferns, pothos, and peace lilies. West-facing windows deliver strong afternoon light and work for most tropical houseplants. North-facing windows are the toughest because they get no direct sun at all. You can still grow plants there, but stick strictly to low-light specialists like ZZ plants, cast iron plants, or snake plants.
Distance from the window matters more than most people realize. Light drops off fast: a plant sitting two feet from a window receives roughly half the light of one sitting right at the glass. Keep light-loving plants within one to two feet of the window and low-light plants within four to six feet.
When to add a grow light
If your space doesn't have a window that delivers at least a few hours of bright indirect light, a simple LED grow light changes everything. Full-spectrum LED panels or bulbs are inexpensive, energy-efficient, and effective. For most green houseplants, aim for 12 to 14 hours of grow light per day. For edible leafy greens or herbs, bump that to 14 to 16 hours. Put the light on a cheap outlet timer so you don't have to think about it. Position the light 6 to 12 inches above the plant canopy for most LED panels, but check the manufacturer's guidance since intensity varies.
A quick test: if your plant's new growth is getting smaller, paler, or growing in long stretching stems toward the nearest light source, it needs more light immediately. That stretching behavior is called etiolation, and a grow light will stop it within a week or two.
Easy growing methods: soil, water propagation, hydroponics, and terrariums
You don't have to grow plants in soil. There are four practical methods that work well at home, each with its own strengths. Once you have the basics down, you can follow a step-by-step plan to grow your own plants at home with confidence how to grow your own plants at home. If you're curious about growing without soil altogether, or creating a self-contained plant ecosystem, all four are accessible even for beginners.
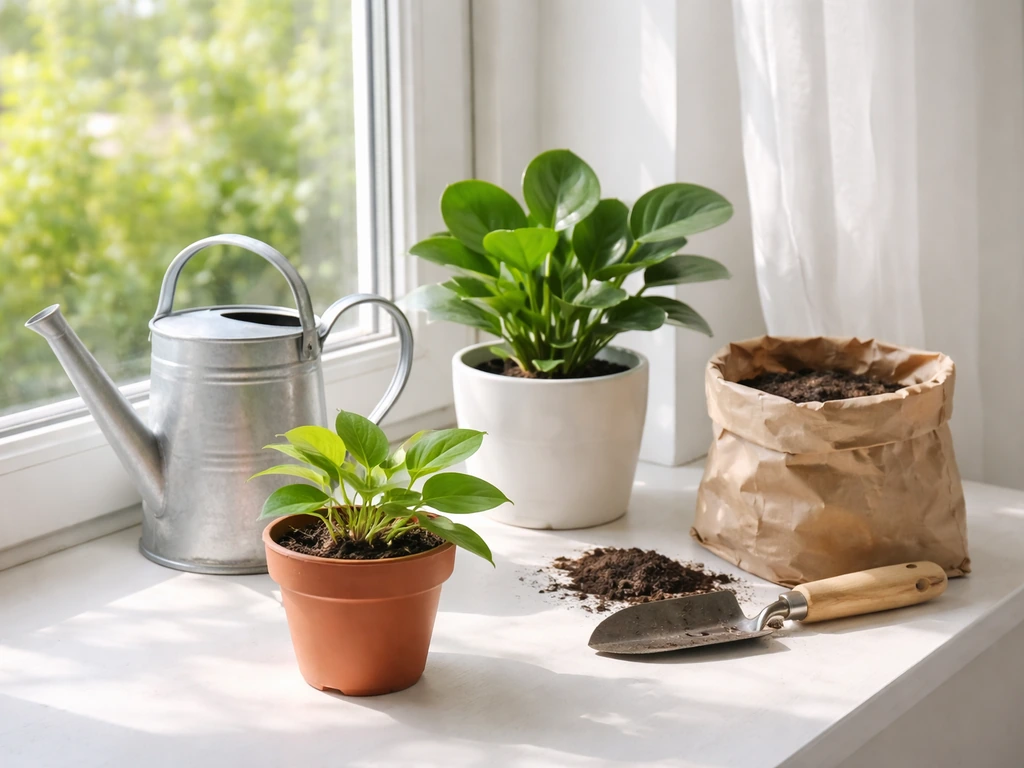
Growing in soil
Soil is the most forgiving and intuitive method for most beginners. A quality indoor potting mix (not outdoor garden soil, which is too dense and compacts in pots) provides structure, nutrients, and moisture retention. The key is choosing a mix appropriate for your plant type. Most tropical houseplants do well in a standard peat- or coir-based potting mix with some perlite added for drainage. Succulents and cacti need a much grittier, faster-draining mix. Edible leafy greens appreciate a rich mix with compost blended in.
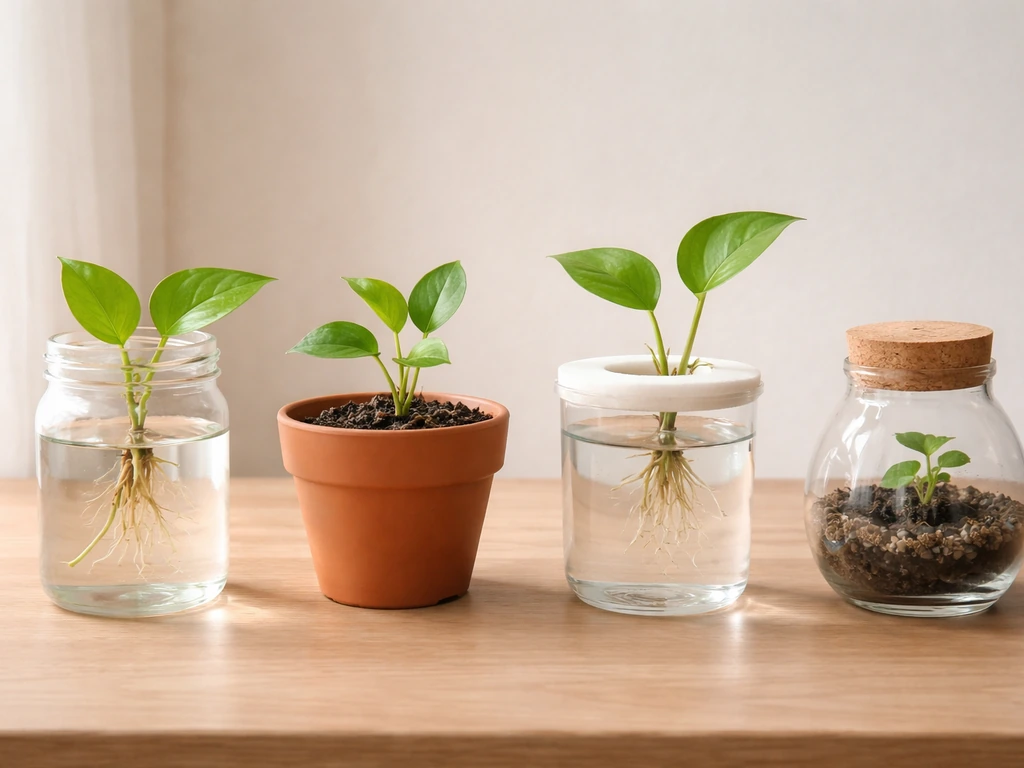
Water propagation
Water propagation is the practice of rooting cuttings in plain water before transitioning them to soil or keeping them in water long-term. Pothos, philodendrons, tradescantia, and coleus all root easily in a jar of water on a bright windowsill, usually within one to three weeks. Change the water every few days to prevent bacterial buildup, and keep the jar out of direct harsh sun. Once roots are an inch or two long, you can pot them into soil or continue growing them in water indefinitely (called water culture). For long-term water culture, add a small amount of liquid fertilizer to the water every few weeks since there are no soil nutrients to draw from.
Simple home hydroponics
Hydroponics sounds complicated but the beginner version is straightforward. Instead of soil, plants grow in an inert medium like clay pebbles, rockwool, or perlite, with their roots sitting in or periodically flooded with nutrient-rich water. The most accessible beginner setup is a kratky system: a plant in a net cup suspended over a reservoir of nutrient solution, with no pumps or electricity needed. The roots dangle into the solution while the air gap above the water provides oxygen. Leafy greens like lettuce, spinach, and herbs grow incredibly fast in kratky setups, sometimes ready to harvest in three to four weeks. The main difference from soil growing is that you replace watering with monitoring and adjusting your nutrient solution on a regular schedule.
Terrariums
A terrarium is essentially a miniature greenhouse inside a glass container. Closed terrariums (with a lid) create a humid, self-watering microclimate through condensation, which is perfect for moisture-loving plants like ferns, mosses, and Fittonia. Open terrariums are better for succulents and cacti because they allow moisture to escape. To build a basic closed terrarium, layer the bottom with drainage gravel, then activated charcoal (to prevent odor and bacterial growth), then a thin layer of sphagnum moss (as a barrier), and finally a couple of inches of potting mix. Mississippi State Extension’s closed-system terrarium guidance also advises using charcoal (including notes on charcoal grade/type) to help manage odor and bacterial growth in the enclosed environment blank" rel="noopener noreferrer">activated charcoal (to prevent odor and bacterial growth). Plant your chosen species, water lightly once, seal the container, and place it in bright indirect light. A properly set up closed terrarium may need watering only once every few weeks or less.
Basic care routines: watering, feeding, humidity, and temperature
Watering without overthinking it
The most useful watering rule is this: stick your finger one to two inches into the soil. The University of Minnesota Extension provides practical guidance on caring for houseplants, including watering and light basics blank" rel="noopener noreferrer">The most useful watering rule is this: stick your finger one to two inches into the soil.. If it feels dry, blank" rel="noopener noreferrer">water thoroughly until water runs freely from the drainage hole. If it still feels slightly moist, wait another day or two and check again. Overwatering is the number one killer of houseplants, and it doesn't mean watering too much at once: it means watering too frequently before the soil has had a chance to partially dry. When in doubt, wait.
Seasonality matters. Plants grow actively in spring and summer and slow down significantly in fall and winter. That means a plant that needed water twice a week in June might only need it once every ten days in December. Adjust based on what the soil is actually doing, not a rigid schedule.
Feeding your plants
Plants need nutrients to produce that deep, healthy green color. Nitrogen is the key nutrient for leafy green growth, so look for a balanced fertilizer (like a 10-10-10 or 20-20-20 NPK ratio) or one slightly higher in nitrogen. For most houseplants, a liquid fertilizer diluted to half strength and applied once a month during the growing season (roughly March through September) is plenty. Skip fertilizing in winter when growth slows, since unused nutrients can build up and burn roots. Edible greens growing under lights can be fed more frequently, every two weeks, since they're growing fast and actively consuming nutrients.
Humidity and temperature
Most tropical green houseplants prefer temperatures between 60 and 80 degrees Fahrenheit (15 to 27 degrees Celsius) and humidity levels above 40 percent. Average homes run a bit dry, especially in winter when heating systems pull moisture from the air. If your plant's leaf edges are turning brown and crispy, low humidity is often the cause. Fix it by grouping plants together (they create a shared microclimate), setting pots on a pebble tray with water in it (don't let the pot sit directly in water), or running a small humidifier nearby. Avoid placing plants near heating vents, air conditioners, or drafty windows, since temperature swings stress plants and slow growth.
Soil setup, containers, and drainage for healthy roots
Healthy roots are invisible until something goes wrong, which is why getting this right from the start saves a lot of frustration later. The goal is a medium that holds enough moisture to keep roots hydrated but drains fast enough that roots never sit in waterlogged conditions.
For most green tropical houseplants, mix standard indoor potting mix with about 20 to 30 percent perlite by volume. Perlite is that lightweight white gritty stuff that looks like tiny foam balls. It creates air pockets in the soil and dramatically improves drainage. If you can't find perlite, coarse horticultural sand works as a substitute. Edible leafy greens benefit from a richer mix with added compost. Ferns and moisture-loving plants like a bit more peat or coir to retain humidity.
On containers: drainage holes are non-negotiable. A pot without a drainage hole traps water at the bottom and creates an anaerobic, root-rotting swamp. If you fall in love with a decorative pot that has no hole, use it as a cachepot and grow your plant in a plain nursery pot inside it. Just lift the nursery pot out and empty the cachepot after watering so water doesn't pool. Terracotta pots are excellent for plants prone to overwatering because they're porous and let soil dry out faster. Plastic or glazed ceramic pots retain moisture longer, which suits ferns, peace lilies, and other moisture-lovers.
Pot size matters too. A pot that's far too large for the plant holds excess moist soil around the roots, which invites rot. When potting up, go only one to two inches larger in diameter than the current root ball. This gives roots room to grow without drowning them in soggy soil.
Troubleshooting common problems
Most plant problems show up as visual symptoms before the plant actually dies, which gives you time to fix things. Here's how to read what your plant is telling you.
| Symptom | Most Likely Cause | Quick Fix |
|---|---|---|
| Yellow leaves (lower, older leaves) | Overwatering or root rot | Let soil dry out fully, check for mushy roots, repot if necessary |
| Yellow leaves (all over, newer growth) | Nutrient deficiency or underwatering | Feed with balanced liquid fertilizer, check soil moisture |
| Brown, crispy leaf edges | Low humidity or salt buildup from fertilizer | Increase humidity, flush soil with water, reduce fertilizing |
| Leggy, stretched stems toward light | Not enough light (etiolation) | Move closer to window or add a grow light immediately |
| Drooping, wilting leaves | Underwatering OR overwatering | Check soil: if dry, water deeply; if wet, hold off and improve drainage |
| White crusty deposits on soil surface | Mineral buildup from tap water or overfertilizing | Flush soil thoroughly, switch to filtered or rainwater |
| Mold on soil surface | Poor airflow, overwatering, or low light | Reduce watering frequency, improve ventilation, scrape off visible mold |
| Tiny flies hovering around soil (fungus gnats) | Soggy soil from overwatering | Let soil dry between waterings, use yellow sticky traps |
| Sticky residue on leaves, tiny bumps | Scale insects or mealybugs | Wipe leaves with diluted rubbing alcohol on a cotton swab, isolate plant |
| Pale, washed-out leaf color | Too much direct sun or too little fertilizer | Move to bright indirect light, resume regular feeding schedule |
Fungus gnats deserve a special mention because they are incredibly common and drive beginner growers crazy. The adult flies are harmless, but their larvae eat fine roots in moist soil. The fix is simple: let the top two inches of soil dry out completely between waterings. Larvae can't survive in dry soil, and the population collapses within a couple of weeks. Yellow sticky traps catch the adults in the meantime.
If you catch root rot early (soft, brown, mushy roots when you unpot the plant), you can often save the plant. Trim all the affected roots with clean scissors, let the root ball air out for an hour, then repot into fresh dry potting mix. Hold off watering for a few days to let any remaining wound tissue callous. It feels drastic, but plants recover from root rot pruning surprisingly well.
Ongoing growth goals: pruning, repotting, and building your collection
Pruning for fuller, healthier growth
Pruning isn't just cosmetic. When you trim back a leggy stem, the plant typically sends out two new growth points from just below the cut, making the plant bushier and fuller over time. Use clean scissors or pruning shears and cut just above a leaf node (the point where a leaf meets the stem). Prune in spring or early summer when the plant is actively growing and can recover quickly. Those cuttings can go straight into water for propagation, which is a free way to multiply your collection.
Rotating plants for even growth
Plants lean toward their light source over time, which makes them look lopsided. A simple habit fixes this: rotate your pots a quarter turn every one to two weeks. It takes five seconds and keeps the plant growing symmetrically. If you notice one side getting noticeably more growth than the other, rotate more frequently until it evens out.
Repotting when roots run out of room
A plant needs repotting when roots start circling the bottom of the pot, growing out of the drainage holes, or when the plant dries out suspiciously fast after watering (roots have displaced most of the soil). Spring is the best time to repot since the plant is entering its growth period and will quickly establish in fresh medium. Choose a pot only one to two inches larger than the current one, use fresh potting mix, and water lightly after repotting. Expect a week or two of adjustment where the plant doesn't push much new growth: it's busy establishing roots in the new space.
Scaling up to a real collection
Once you've kept one or two plants thriving for a few months, scaling up is mostly about applying the same principles across more species. Propagate your existing plants through cuttings (water or soil), which gives you new plants for free. Branch out into slightly more demanding species once you've built confidence with the easy ones. Track what works in your specific home: which window performs best, which plants love your humidity levels, which species you water at the right frequency naturally. That self-knowledge is more valuable than any generic care guide.
Consider diversifying your growing methods as your collection grows. A simple kratky hydroponic setup on the kitchen counter for herbs, a terrarium on your desk for humidity-loving ferns, and a few soil-grown houseplants near the windows gives you variety without overwhelming complexity. Each method teaches you something different about how plants work, and that knowledge compounds quickly. If you want to explore specific methods in more depth, the topics of growing hanging plants indoors, propagating your own plants from scratch, and dialing in care tips for specific plant types are all natural next steps from here. If you're specifically aiming to learn how to grow hanging plants at home, use the same care basics but prioritize strong light and sturdy trailing varieties growing hanging plants indoors.
FAQ
What if my home doesn’t have enough natural light to support green plants?
Start with a plant that tolerates your light level, then copy its needs exactly. If you see slow growth, pale new leaves, or stretching toward windows, increase light before changing watering. In low light homes, ZZ plants, snake plants, and pothos usually perform better than peace lilies or ferns.
How do I know when my plant is getting too much direct sun?
Most green plants prefer bright conditions without harsh midday rays. If you get sun through a window that feels hot on your hand, move plants back a few inches or use sheer curtains to prevent leaf scorch. Increase light gradually over 1 to 2 weeks to avoid shock.
How often should I water, if I’m not sure what schedule to follow?
Watering is about the soil, not the calendar. A good fallback is to check 1 to 2 inches down each time, water thoroughly until runoff, then wait until that depth dries again. Also empty saucers or cachepots after draining so excess water cannot sit and rot roots.
Does the water temperature matter for growing green plants at home?
Use room-temperature or slightly warm water, not icy water straight from the tap. Cold water can shock roots and slow uptake, especially in winter. If you notice persistent drooping despite dry soil checks, consider water temperature and drainage holes as the first troubleshooting steps.
What pot mistakes most often cause green plants to decline?
Yes. A common mistake is choosing a pot that is too large or using decorative pots without a drainage hole. Stick to a pot with drainage, and when repotting go only 1 to 2 inches larger in diameter than the root ball to reduce the risk of soggy soil and root rot.
My plant’s leaves are turning yellow, what does it usually mean?
If leaves yellow from the bottom upward and soil stays wet, it often points to overwatering and poor drainage. If yellowing is paired with crisp edges, low humidity or underwatering may be involved. Take one look at the soil moisture at 1 to 2 inches down before you decide whether the problem is too much or too little water.
How can I tell whether my plant needs more light or more fertilizer?
If new growth is small and pale, or stems stretch toward the nearest light, that is a light deficit. If growth is lush but slow to start after a change, it can be acclimation. Move the plant closer to the light or adjust your grow light height and duration before adding fertilizer.
How do I position and set a grow light for best results?
For LED setups, use a timer and keep consistent daily hours. If the light is too high, you get stretching, if it is too low and too intense, leaves can bleach or develop crispy edges. Start around the recommended distance, then adjust based on stretching versus leaf color changes over 1 to 2 weeks.
What’s the best way to water without accidentally overwatering?
Let the soil dry to the test depth between waterings, then water until you see runoff, not just a splash on top. If you consistently miss the depth test, you can switch to self-watering planters or wick-style aids, but only with well-draining mixes and still monitor how fast the medium dries.
Can I let my green plants fully dry out between waterings?
Many plants tolerate occasional neglect, but “forgiving” does not mean “ignore it.” If a plant has been dry for too long, re-wet gradually and expect recovery to take time, sometimes weeks. For water-sensitive plants, use a moisture meter or the finger test so you do not swing between bone-dry and soaked conditions.
How do I avoid fertilizer burn or nutrient buildup?
Fertilize only during active growth, and when using liquid fertilizer, start at half strength. If you over-fertilize or fertilize during low light and winter slowdown, salts can build up and damage roots. If a plant seems fine but you have never flushed the soil, do an occasional thorough watering that runs out through the drainage holes to rinse salts.
What temperature and airflow issues are common indoors?
Most tropical green plants like steady temperatures, avoid cold drafts near windows in winter and hot blasts from vents. If leaves drop after you move the plant, the issue is often temperature swings and airflow, not watering. Keep plants away from vents and use a consistent room temperature if possible.
What’s the easiest way to propagate green plants in water without failure?
If you use water propagation for cuttings, don’t keep the jar in harsh sun, it can overheat water and reduce root quality. Change water every few days, keep the cutting in bright but indirect light, and transplant once roots are about an inch long for more reliable establishment.
How do I fix a terrarium that’s getting too wet or moldy?
Even in closed terrariums, ventilation and condensation matter. If you see constant dripping or heavy mold growth, increase airflow by reducing lid closure time (briefly) or repot with better drainage layers. If it’s too dry inside, lightly mist or add a small amount of water to the soil area and then observe condensation again.
How do I know when it’s time to repot, and what season is safest?
Repot when roots circle the pot, roots exit through drainage holes, or the plant dries out suspiciously fast after watering. Spring is best, but if you bought a plant that is rootbound and stressed, repot as soon as conditions are stable indoors. Use fresh potting mix and expect a short adjustment period with slower visible growth.
Is hydroponics worth it for beginners, and what should I start with?
For best performance, match plant type to system: leafy greens and herbs do well in kratky hydroponics, while drought-tolerant houseplants often struggle there unless you manage nutrients carefully. If you try hydroponics for beginners, start with a fast grower and use a simple schedule for checking solution level and replacing nutrient solution on time.