You can grow a plant at home successfully today, even if you've killed every plant you've ever owned. The secret is not a green thumb. It's matching the right plant to your actual conditions, choosing a setup that fits your space and schedule, and learning a handful of signals your plant gives you before things go wrong. This guide walks you through every step: picking your plant, understanding light and water, choosing between soil, water, hydroponics, or a terrarium, setting everything up from scratch, and even growing a neem plant indoors. There's also a troubleshooting section and a simple weekly maintenance plan so you can start today and keep improving.
How to Grow Plants in Home: Simple Beginner Guide

Marcus Holloway
7 Apr 2026
Pick the right plant for your space first
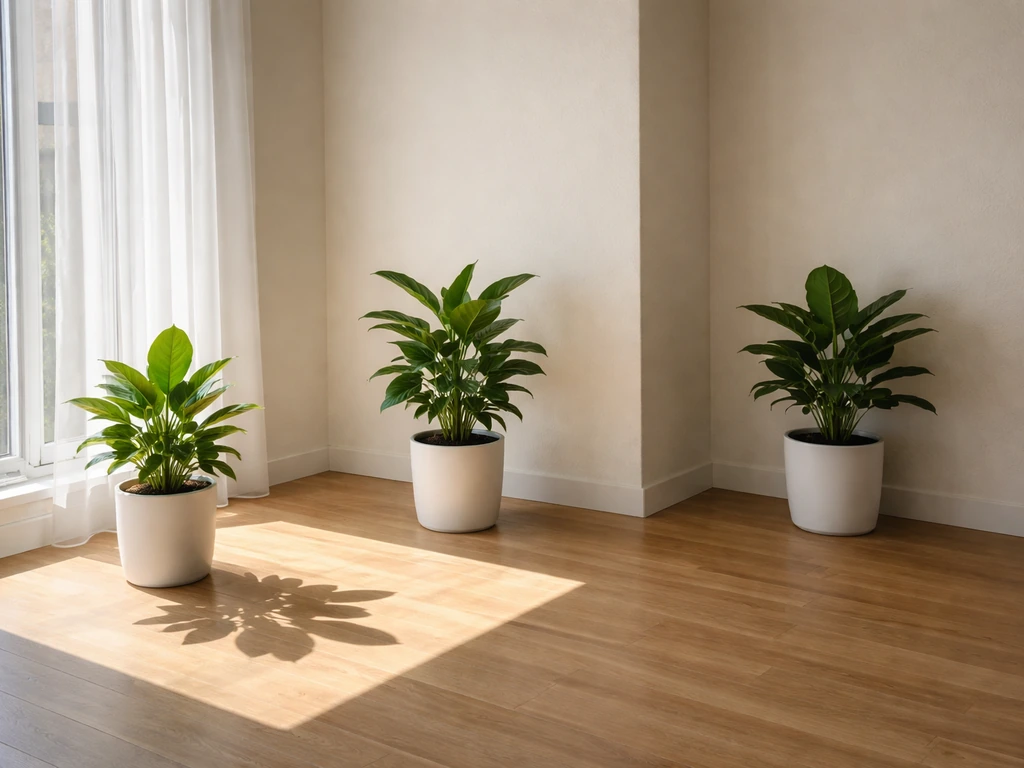
Before you buy a pot or a bag of soil, look at your windows. Which direction do they face? How many hours of direct or indirect light do you get in each room? This single factor narrows down your plant choices faster than anything else. A south-facing window in full sun can handle most tropicals. A north-facing room with dim, filtered light is a completely different situation.
A useful guideline from WSU Extension is that most indoor plants need to be within about 6 feet of a window and receive at least around 5,000 lux to grow well. Portland Nursery's light-requirement framework breaks it down simply: 'bright indirect light' means within roughly 5 feet of a window, not in direct sun. Most beginner-friendly plants like pothos, snake plants, ZZ plants, and peace lilies fall into this category. If you're planning a more specialized setup, reading through tips to grow plants at home can help you shortlist varieties that suit common indoor conditions.
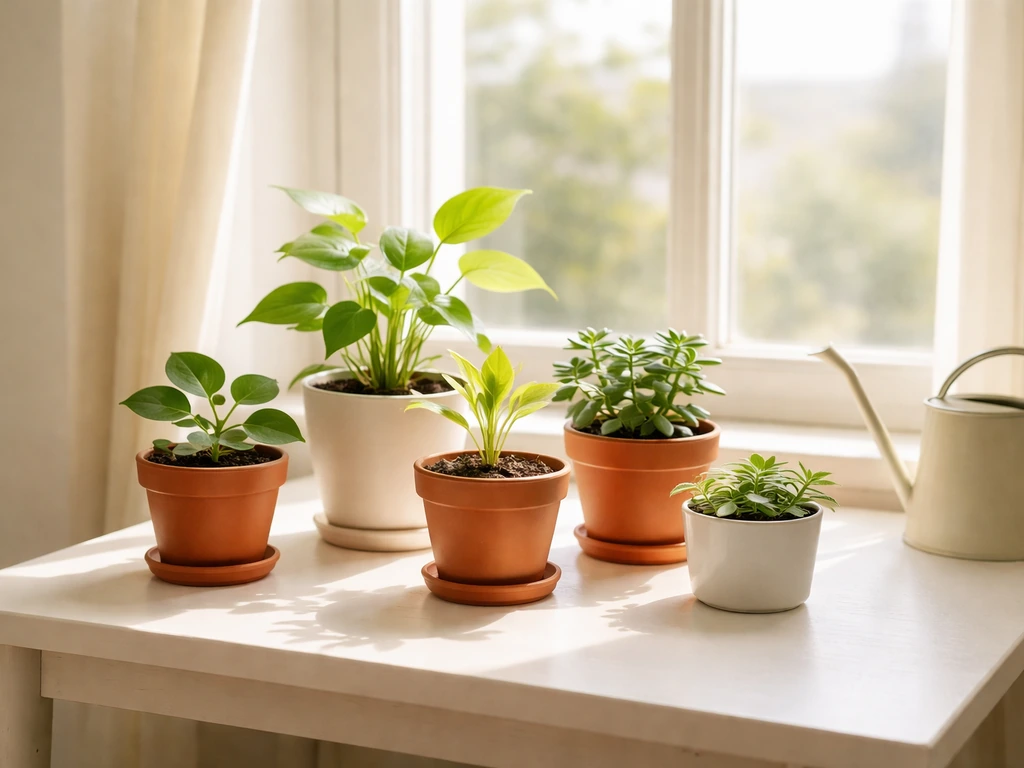
Once you know your light situation, consider your schedule. Do you travel often? Go with drought-tolerant plants like succulents or snake plants that won't punish you for missing a watering. Are you home every day and love checking in on things? Ferns, calatheas, and even herbs will reward that attention. Match the plant's demands to the care you can realistically give, not the care you hope to give.
Space matters too. A studio apartment can absolutely support a thriving indoor garden. How to grow hanging plants at home is worth exploring if you're short on floor or shelf space, since trailing plants like pothos and string of pearls use vertical space effectively. Once you've matched your plant to your light, schedule, and square footage, you're already ahead of most beginners.
Light, temperature, humidity, and watering: the four things that actually matter
Light
Light is plant food. Without enough of it, everything else you do is fighting an uphill battle. WSU Extension also points out something most beginners don't know: plants need at least 6 hours of darkness in every 24-hour cycle. That means leaving your grow light on 24/7 is not a good idea. If you're relying on natural window light, rotate your plant a quarter turn every week or two so all sides get even exposure and the plant doesn't lean toward the glass.
Temperature
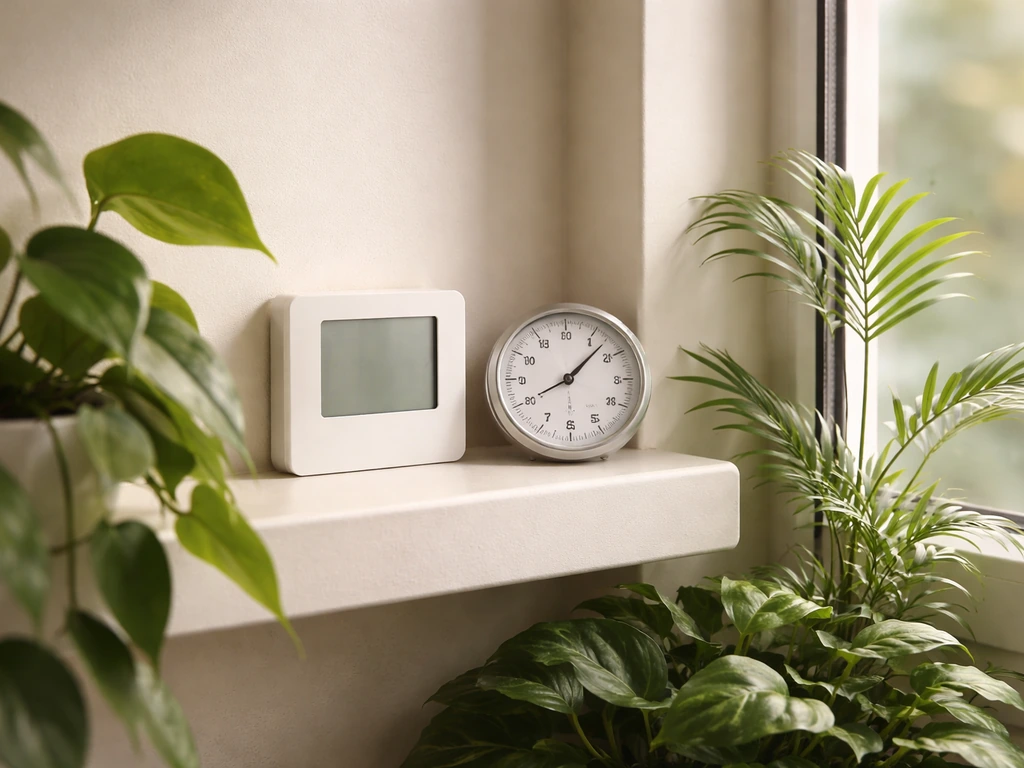
Most indoor plants are comfortable where you are comfortable. Georgia Cooperative Extension puts the sweet spot at around 70°F during the day. University of Maryland Extension adds that many flowering indoor plants do best with nighttime temperatures dropping to about 55 to 60°F, which mimics their natural environment. The problem isn't usually the average temperature in your home; it's the extremes. Cold drafts near windows in winter, hot air blasting from heating vents, or direct contact with a single-pane glass in freezing weather can stop growth, cause leaf drop, or even kill a plant. Keep plants away from those spots. Excessively low or high temperatures can cause spindly growth, foliage damage, and complete plant failure according to University of Maryland Extension.
Humidity
Most homes sit somewhere between 30% and 60% relative humidity, which Penn State Extension identifies as the acceptable indoor range. The problem is that during winter, when heating systems run constantly, indoor RH can drop well below 30%. Tropical plants hate this. Signs of low humidity include brown, crispy leaf tips, curling leaves, and increased pest problems. Simple fixes include grouping plants together (they create a microclimate), setting pots on trays filled with pebbles and water (the evaporation adds moisture around the plant), or using a small humidifier nearby. If you want a more contained solution, Penn State Extension notes that a glass or plastic cloche placed over sensitive plants can recycle humidity effectively.
Watering
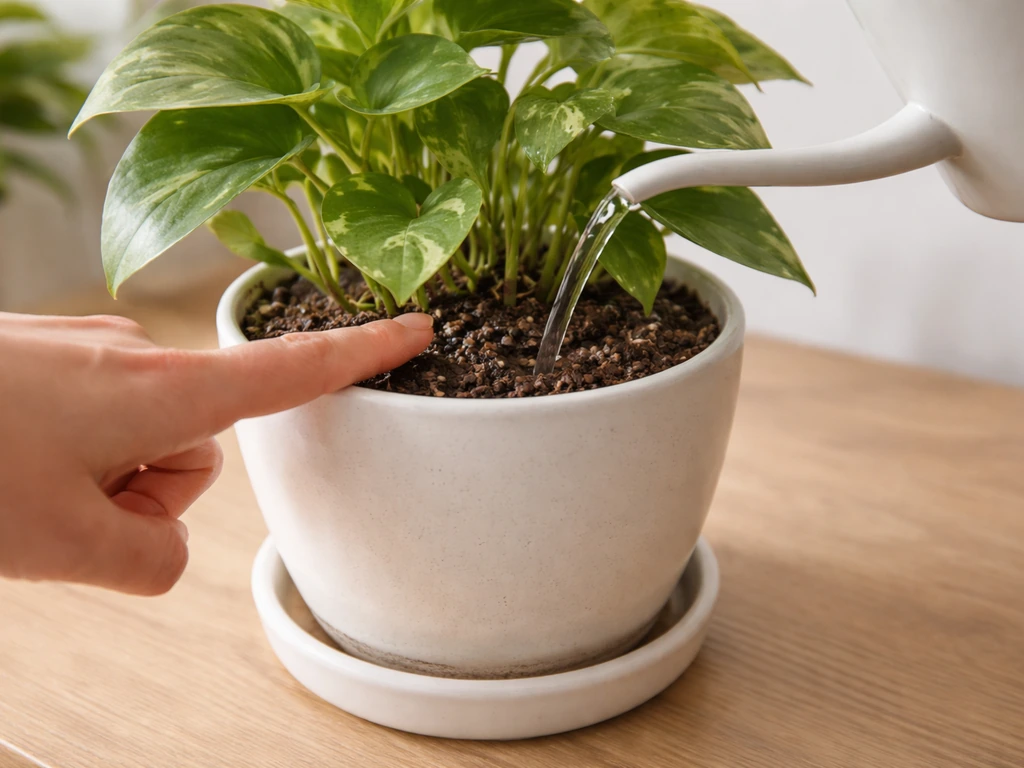
Overwatering kills more houseplants than anything else, and blank" rel="noopener noreferrer">MU Extension confirms it: soil kept too wet or too dry can destroy roots and lead to poor growth or death. The fix is simple: stop watering on a schedule and start watering based on what the soil tells you. WSU Extension recommends the finger test. Push your finger 1 to 2 inches into the soil. If it feels cool and moist, wait. If it feels dry, water thoroughly until it drains from the bottom. If you let plants sit in water or overwater, University of Minnesota Extension warns it can lead to root rot and related issues like yellowing leaves or fungus gnats blank" rel="noopener noreferrer">water thoroughly until it drains from the bottom. University of Maryland Extension reinforces this approach, noting that checking soil moisture is always more reliable than a fixed watering calendar, especially since plastic pots dry out differently than clay pots.
Soil, water, hydroponics, or terrarium: which growing method fits you
Each growing method has real trade-offs. Here's a quick comparison before diving into the details:
| Method | Best For | Difficulty | Cost to Start | Main Risk |
|---|---|---|---|---|
| Soil | Most plants, beginners | Easy | Low | Overwatering / poor drainage |
| Water propagation | Cuttings, herbs, early stages | Very easy | Very low | Root rot without water changes |
| Hydroponics | Fast growth, limited soil space | Moderate | Medium to high | Nutrient imbalance, equipment failure |
| Terrarium | High-humidity plants, small spaces | Easy to moderate | Low to medium | Overcrowding, wrong plant choice |
Soil growing
Soil is still the most forgiving and accessible method for beginners. The key is choosing the right mix. A standard potting mix works for most plants, but WSU Extension recommends adding perlite or vermiculite if drainage is a concern. These lightweight materials keep air pockets in the soil so roots can breathe, which is especially important because MU Extension notes that overly moist soil reduces oxygen availability at the root zone, leading to rot and disease.
Water propagation
Placing cuttings or certain plants directly in water is one of the easiest ways to grow your own plants at home from what you already have. Pothos, philodendrons, impatiens, and many herbs root readily in a glass of water on a bright windowsill. Change the water every few days to prevent bacterial buildup, and move cuttings to soil once roots are an inch or two long if you want long-term growth.
Hydroponics
Hydroponics skips soil entirely and delivers nutrients directly to roots through a water-based solution. It produces faster growth in many plants and works well in apartments where bringing in bags of soil feels impractical. The trade-off is that you need to monitor nutrient levels, pH, and water quality. It's an excellent choice for herbs, lettuce, and leafy greens. If you're interested in growing lush, healthy foliage this way, you might also explore how to grow green plants using soil-free methods.
Terrariums
A terrarium is a sealed or semi-sealed clear glass or plastic container filled with small plants, as MU Extension describes it. The closed environment traps humidity, making it ideal for moisture-loving plants like mosses, ferns, and miniature orchids. Oregon State University Extension makes one important point: skip the popular decorative gravel layer at the bottom of the container. That layer creates a 'perched water table' that actually encourages root rot by keeping roots sitting in pooled water. Instead, use a thin layer of horticultural charcoal, then a well-draining planting mix. If you do fertilize plants in a terrarium, MU Extension recommends using fertilizer at about one-quarter of the normal houseplant rate since the closed system doesn't flush nutrients the way a regular pot does. Oregon State also emphasizes that terrarium success depends on matching your plant selection to the actual light level where the container will sit.
Step-by-step setup: containers, drainage, soil, and planting
- Choose the right container size. WSU Extension advises repotting into a slightly larger pot that won't hold more water than the plant can use. Going too big causes soil to stay wet for too long, which leads to root rot. A pot that's 1 to 2 inches wider in diameter than the root ball is usually right.
- Make sure there are drainage holes. No drainage hole means water sits at the bottom no matter what you put in there. If you love a decorative pot without holes, use it as a sleeve and keep your plant in a plain nursery pot with drainage inside it.
- Build the right soil mix. For most houseplants, a standard potting mix with added perlite (roughly 3:1 ratio of mix to perlite) gives good drainage and aeration. For succulents and cacti, increase perlite to about half the mix. For moisture-loving tropical plants, you can keep the standard mix as-is.
- Add soil and plant. Fill the bottom third of the pot with your mix. Set the plant so the root ball sits about an inch below the pot rim. Fill in around the roots, gently pressing to remove air pockets, and leave that inch of space at the top so water doesn't overflow when you irrigate.
- Planting from seed: sow seeds at the depth specified on the packet (usually 2 to 3 times the seed's diameter), water gently, and cover loosely with plastic wrap or a dome to retain humidity until germination. Remove the cover once seedlings emerge.
- Planting from cuttings: take a 4 to 6 inch cutting just below a leaf node, remove lower leaves, and either place in water or insert directly into moist potting mix. Keep the mix barely moist and the cutting out of direct sun until roots develop (usually 2 to 4 weeks).
- Place the plant correctly. Put it within 6 feet of a window that matches its light requirements. Avoid spots directly above heat vents, below air conditioning units, or touching cold glass in winter.
How to grow a neem plant at home
Neem (Azadirachta indica) is a fast-growing tropical tree that can actually be kept as a container plant indoors or on a sunny balcony. It's a rewarding plant to grow if you give it what it needs, but it's also unforgiving about a few key things, especially seed freshness and temperature. If you want a plant with striking foliage that also has practical uses, learning how to grow green plants at home like neem in containers is a genuinely useful skill.
Seeds: freshness is everything
Neem seeds lose viability extremely fast. ADAPPT reports that germination rates decrease about one month after harvest, and MDPI research puts the viability half-life of neem seeds at around 5.35 days under controlled aging conditions. In practical terms, this means you should source seeds from a reliable supplier, confirm they're freshly harvested, and plant them immediately. Don't buy neem seeds and leave them in a drawer for a month.
Temperature for germination
Temperature is the other major germination factor. Research published in Oxford Academic found that neem seeds did not germinate at all at temperatures at or below 10°C, and maximum germination occurred at 15°C and above. At 25°C, germination took about 6 days; at 30°C, it dropped to about 4 days. Plantsinfo.in places the optimal germination range at 25 to 35°C. The USDA Forest Service notes germination typically begins 4 to 10 days after sowing under good conditions. The takeaway: keep your germination tray somewhere genuinely warm (a heat mat set to around 27 to 30°C works well) and don't expect much if your home runs cool. ADAPPT also notes that germination is negatively affected by temperatures above 45°C, so don't overdo it.
Sowing neem seeds indoors
- Remove the hard seed coat from the neem seed if possible, or soak the seed in water for 24 hours to soften it. This improves germination speed.
- Fill a small pot or seedling tray with a well-draining mix (standard potting mix with added perlite works well). Neem does not like waterlogged soil.
- Sow seeds about 1 to 2 cm deep. Neem is non-photoblastic, meaning it germinates in both light and dark conditions, so depth matters more than light exposure at this stage.
- Water gently, cover the tray with a plastic dome or wrap, and place on a heat mat at around 27 to 30°C.
- Check daily. Once sprouts appear (usually within 4 to 10 days at optimal temperature), remove the cover and move to a bright, sunny spot.
Neem light, water, and ongoing care
Neem is a full-sun tree. Indoors, give it the sunniest window you have, ideally south or west-facing, and supplement with a grow light if needed. It will tolerate some shade but will grow slowly and look leggy. Water neem deeply but allow the soil to dry out significantly between waterings. It is far more drought-tolerant than it is tolerant of wet roots. Use a well-draining sandy or loamy mix. In a container, a mix of potting soil, coarse sand, and perlite in equal parts works well. Feed with a balanced liquid fertilizer once a month during the growing season (spring through summer), and cut back or stop during winter when growth slows.
If you want to grow neem as a display plant or take it to the next level, looking into resources on how to grow show plants at home can give you ideas for training and shaping container-grown trees for appearance as well as health.
What's going wrong with your plant (and how to fix it)
Yellow leaves
Yellow leaves are the most common complaint, and overwatering is the most common cause. Tom's Guide lists yellowing leaves, mushy stems, and a sour or rotting smell from the soil as the classic overwatering trifecta. University of Illinois Extension recommends withholding water entirely until the soil dries out as the first step when overwatering is suspected. If the soil smells bad and the roots look brown and mushy when you unpot the plant, trim the damaged roots with clean scissors, let them air dry for an hour, and repot into fresh, dry mix. MU Extension explains that wet soil reduces oxygen at the root level, which is what actually triggers the disease and decay that shows up as sick leaves.
Yellow leaves can also come from too little light, too little fertilizer (especially nitrogen), or cold drafts. Check your plant's position relative to the window and the nearest vent before assuming it's a watering problem.
Leggy, stretched-out growth
If your plant is reaching toward the window, producing long stems with widely spaced leaves, it's not getting enough light. Move it closer to a window or add a grow light. This is called etiolation, and it's the plant essentially stretching to find more light. University of Maryland Extension confirms that insufficient light leads to spindly, weak growth over time.
Pests
The most common indoor pests are spider mites and mealybugs, and UC ANR's pest guides note both tend to show up on leaf undersides and in the joints where leaves meet stems, which is exactly where most people forget to look. Spider mites leave fine webbing and tiny speckled damage on leaves. Mealybugs look like small cotton tufts tucked into crevices. Catch them early by flipping leaves over when you water.
For control, wipe affected areas with a cotton swab dipped in rubbing alcohol for mealybugs. For broader infestations, neem oil spray (mixed with water and a few drops of dish soap as an emulsifier) is an effective option that UC ANR identifies as appropriate for common houseplant pests. Insecticidal soap spray works similarly. Repeat treatments every 5 to 7 days for 3 weeks to break the pest life cycle. Isolate any affected plant immediately so pests don't spread.
Slow or stalled growth
If your plant looks healthy but isn't growing, run through this checklist before panicking:
- Is it getting enough light? Most plants slow down dramatically below 5,000 lux.
- Is it root-bound? Lift the pot and check if roots are circling or escaping the drainage holes. If so, repot into a slightly larger container.
- Is it the season? Most houseplants go semi-dormant in winter and grow slowly no matter what you do. That's normal.
- Have you fertilized recently? Plants in the same pot for over a year may have depleted nutrients in the soil. A monthly liquid fertilizer during the growing season fixes this.
A simple routine to keep your plants thriving
You don't need a complicated system. Here's what actually works for maintaining healthy indoor plants without spending hours on them each week:
- Every 2 to 3 days: do the finger test on each pot. Stick your finger 1 to 2 inches into the soil. Water only if it's dry. This one habit eliminates most plant problems.
- Once a week: flip a few leaves on each plant and look for pests. Check for any yellowing, browning edges, or unusual spots. Wipe dusty leaves with a damp cloth so they can absorb light properly.
- Once a month (spring and summer): feed with a balanced liquid fertilizer diluted to half the recommended strength. Rotate pots a quarter turn so all sides get even light.
- Every 1 to 2 years: check if the plant is root-bound and repot into a slightly larger container with fresh potting mix.
- Seasonally: move plants closer to windows in winter when light angles change, and pull them back from hot glass in summer if temperatures spike.
The biggest shift in mindset is going from 'I water every Sunday' to 'I check and respond to what the plant needs.' Once that clicks, you'll stop losing plants to the most common mistakes. If you want to go deeper on any part of this process, exploring how to grow green plants with specific techniques for foliage health is a natural next step, as is branching into more specialized care for any particular plant family you fall in love with along the way.
FAQ
Can I grow a plant in a home with no direct sunlight, only indoor light?
Yes, but only if the room light is strong enough and the water is managed correctly. If you rely on a grow light, choose a timer so it provides a consistent light period with a daily dark cycle, and confirm the soil dries to your finger-test depth before watering again. Most beginners fail by leaving lights on too long, which prevents the rest period plants need and can worsen moisture problems.
How do I set a watering routine when I am not sure how fast my plants dry out?
Use a practical plan: start with a bright-indirect plant, place it within about 5 to 6 feet of a window, and set a reminder to check soil moisture 2 to 3 times per week. After two weeks, adjust based on how fast the pot dries, then lock in watering intervals only if the soil test supports it. This avoids overcorrecting based on guessing.
What is the right way to water so I do not accidentally overwater?
If you want to “use a lot of water,” you still need drainage. Water thoroughly until it flows from the bottom, then empty the saucer so roots are not sitting in a wet reservoir. A common mistake is “topping off” with small amounts, which keeps the upper layer wet while the deeper roots stay under-watered.
When should I move a cutting from water into soil for better long-term growth?
Consider your goals. For fast rooting and low mess, water propagation is fine temporarily, but roots in water can struggle after transplanting if the new mix stays too wet. When moving from water to soil, transplant once roots are about an inch or two long, use a well-draining mix, and keep the plant in brighter indirect light for a week to help it recover.
Why do my plants die even though my thermostat stays around 70°F?
Start with the plant’s “maximum survival” conditions, not the average room temperature. Avoid placing plants right against single-pane windows in winter or near heater vents in summer, because the local extremes can be far more damaging than the thermostat reading. If you see leaf drop or stalling soon after moving it, suspect draft and contact heat or cold first.
What is the best way to fix winter low humidity for indoor plants?
If you are fighting low winter humidity, grouping helps, but it is not the same as reliably raising humidity for tropicals. Use a small humidifier near the plants if leaf-tip browning or pest activity keeps increasing, and consider a cloche only for plants that tolerate being enclosed. Also watch for condensation or mold inside sealed setups, vent them if needed.
Do clay and plastic pots require different watering?
Most indoor plants do fine with pot types that let excess water drain, but your pot material changes your schedule. Plastic and glazed pots often dry more slowly than terracotta, so the same watering interval can be too much. Use the finger test every time at first, then adjust intervals to match your specific pot.
How do I know if my terrarium is too humid or too wet?
A terrarium can be too closed for some plants. If the terrarium constantly fogs, develops algae, or the soil stays wet for long periods, open it more or reduce moisture inputs and light intensity. Also remember that the “skip decorative gravel” point matters because trapped water can create a root rot zone.
Why is my neem seed not germinating, even though I planted it correctly?
Neem is forgiving about drought but strict about germination conditions. If seeds do not sprout, the biggest causes are stale seeds and cool temperatures. Keep a germination setup consistently warm (for example, with a heat mat), and do not expect quick results if your home stays near cool room temperatures.
My plant has yellow leaves, how do I tell if it is light, water, or something else?
Yellow leaves are not always watering. Check the light first if the plant is leaning or getting leggy, then consider cold draft exposure near windows, and only then treat it as a watering issue. If there is a sour or rotting smell, mushy stems, or browned roots, that points more strongly to overwatering and you may need to prune damaged roots and repot into fresh dry mix.
What is the fastest way to catch spider mites or mealybugs before they spread?
When pests are hard to spot, the solution is inspection habits. Flip leaves over during watering, check the joints where leaves meet stems, and isolate any suspect plant immediately. Early detection is what makes wiping or spot treatments work before the infestation spreads.
My plant looks healthy but is not growing, what should I troubleshoot first?
Start with one plant and one variable change at a time. If growth stops, check light distance, verify the dark period if you use grow lights, confirm soil moisture is not staying wet, and look for hidden pests on undersides. Then adjust only one factor, for example moving closer to the window or correcting drainage, and reassess in 7 to 14 days.