You can absolutely grow healthy plants at home, even if you've killed every plant you've ever owned. The secret isn't a green thumb, it's matching the right plant to the right conditions and then staying consistent with a few simple habits. This guide walks you through every part of that process, from picking your first plant to fixing problems when things go sideways.
Tips to Grow Plants at Home: A Step-by-Step Guide

Marcus Holloway
16 Apr 2026
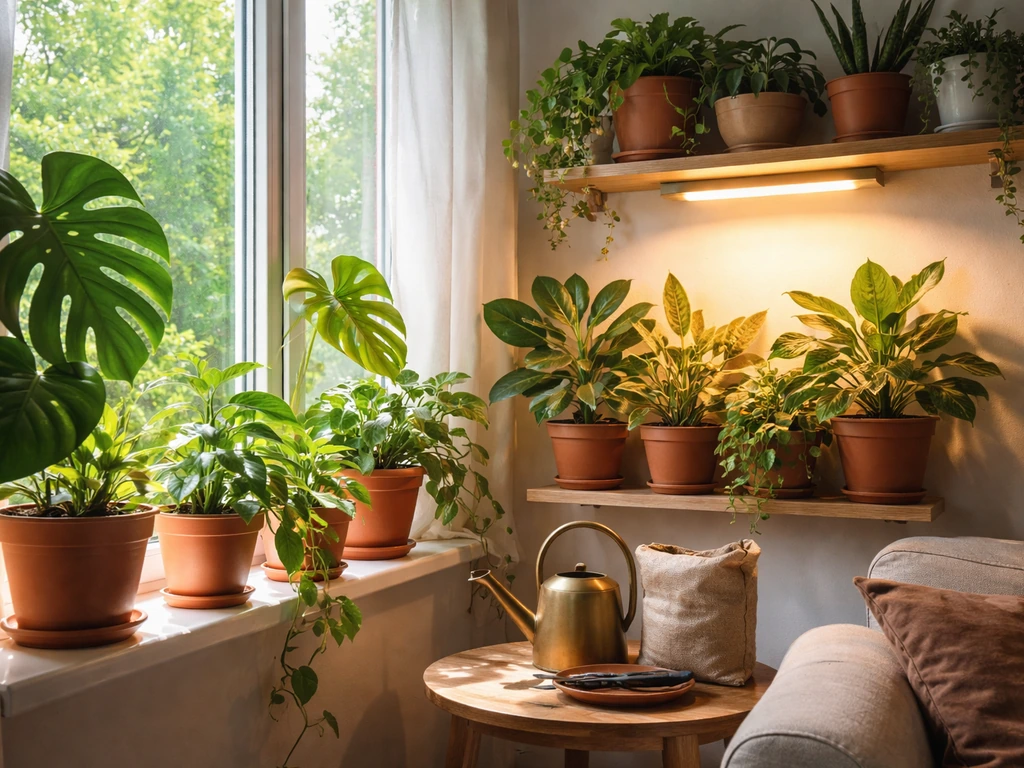
Choosing plants that actually fit your home
The fastest way to kill a plant is to bring home something your space can't support. Before you buy anything, stand in each room and notice how much natural light comes in and from which direction. North-facing windows get the least light, south-facing get the most. That single observation should drive every plant choice you make.
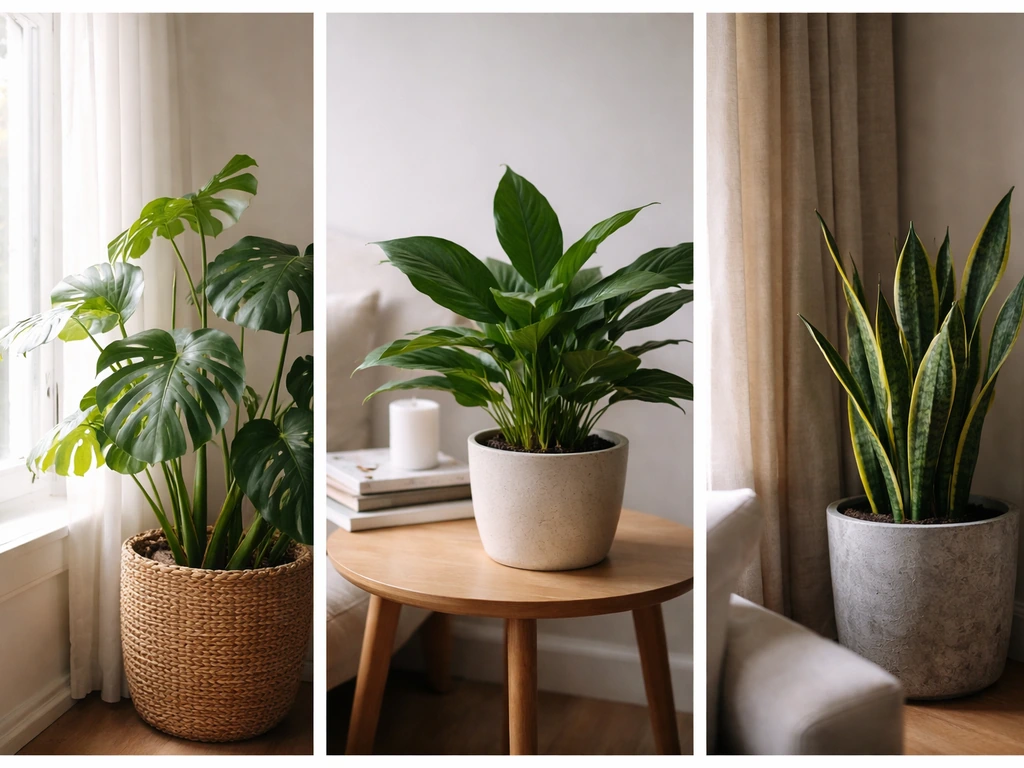
For low-light spots (north windows or rooms that mostly get indirect light), start with pothos, ZZ plants, snake plants, or heartleaf philodendron. These tolerate conditions as dim as 75 foot-candles, which is the kind of light you'd find several feet from a window in a dim room. Medium-light plants like peace lilies and spider plants do well near east-facing windows or a few feet back from a bright south window. High-light plants, including most herbs and succulents, need a south or west window or a grow light.
Space matters too. A small apartment windowsill has room for a few 4-inch pots, not a fiddle-leaf fig. If you're just starting out, a single easy plant in the right spot beats a collection of struggling ones. And if you want inspiration for what's possible once you get the basics down, it helps to grow your own plants at home with a clear plan from the start rather than improvising as you go.
| Light Level | Approx. Foot-Candles | Good Starter Plants | Typical Location |
|---|---|---|---|
| Low | 75–200 fc | Pothos, ZZ plant, snake plant, philodendron | North window, dark corners |
| Medium | 200–500 fc | Peace lily, spider plant, pothos, dracaena | East window, back of bright room |
| High | 500+ fc | Basil, succulents, cacti, most herbs | South/west window, under grow lights |
Light and location: getting this right changes everything
Light is the single most misunderstood variable for indoor growers. Most people put plants too far from windows and then wonder why they look stretched and pale. A plant 6 feet from a window can receive dramatically less light than one sitting right on the sill, even in the same room.
If you want to take the guesswork out of it, a basic light meter (or even a free lux meter app on your phone) lets you measure intensity at different spots. The University of New Hampshire Extension actually recommends using a light meter at specific distances from a fixture to dial in lighting precisely. It's a small investment that pays off quickly, especially if you're trying to grow herbs or anything that needs more consistent intensity.
For supplemental lighting, twelve hours of artificial light daily covers most indoor-grown herbs and many houseplants. Keep your fixture at a consistent distance from the plant canopy and adjust as the plant grows. One common mistake with taller plants is lighting only the top leaves, which leaves the lower growth leggy and weak. Using an adjustable fixture and angling it to reach the full plant helps a lot. If you're learning the basics of indoor setup, a solid primer on how to grow a plant in your home can help you think through placement before you buy anything.
Watering and humidity: the place most beginners go wrong
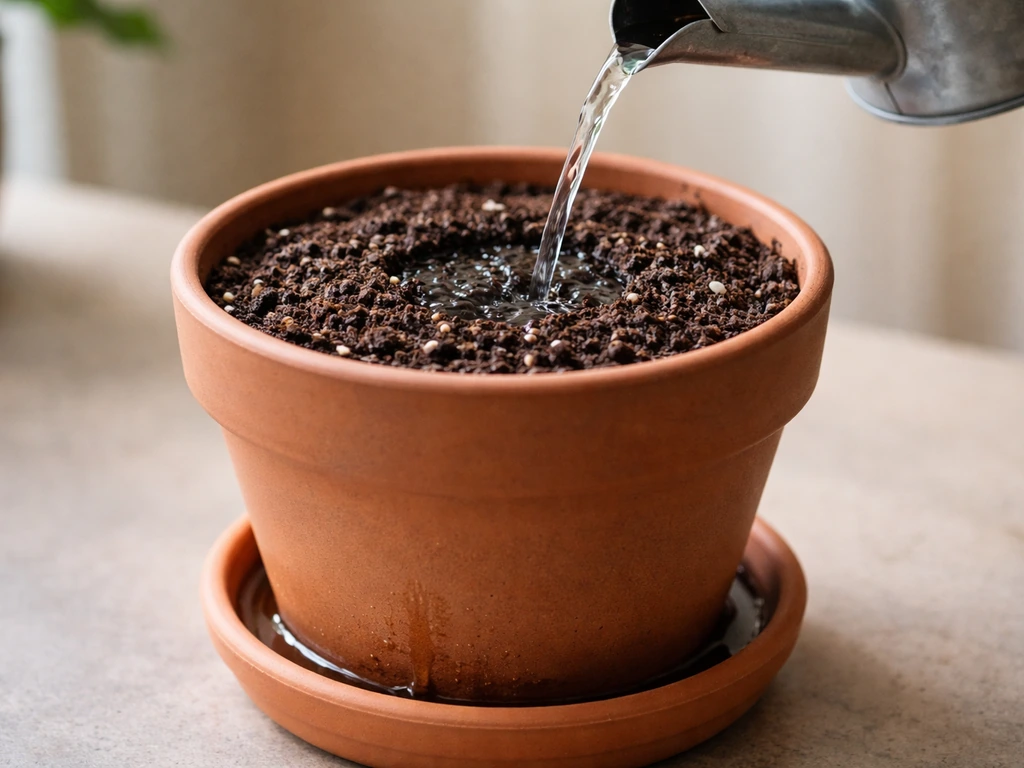
Overwatering kills more houseplants than anything else. The problem isn't usually how much water you give at once, it's watering again before the plant actually needs it. The simplest fix: push your finger into the soil up to the middle knuckle before you water. If it still feels moist, wait. If it's dry, water thoroughly until you see it draining from the bottom. That's it. That one habit will save more plants than any other tip in this article.
When you do water, go all the way. Water until air bubbles stop and liquid runs freely from drainage holes, then let the pot drain completely. Never leave a plant sitting in a saucer of standing water for more than an hour or two. Chronic wetness at the roots is the direct cause of root rot, and it also creates perfect conditions for fungus gnats.
Humidity is a secondary concern for most common houseplants, but tropicals like ferns, calatheas, and some orchids want higher humidity than a typical home provides. Grouping plants together slightly raises local humidity as they transpire. A small pebble tray with water underneath the pot (but not touching the drainage hole) adds ambient moisture without overwatering. If you're growing green plants that need consistent moisture in the air, a small humidifier near your plant shelf is the most reliable solution.
Soil setup and feeding: pots, mixes, drainage, and fertilizer
Potting mix and drainage
Never use garden soil in a pot. It compacts, drains poorly, and often carries pests or disease. A good all-purpose indoor mix is roughly 3 parts sphagnum peat, 1 part vermiculite, and 1 part perlite. This blend holds enough moisture without staying soggy, and the perlite keeps air pockets open around the roots. For succulents and cacti, increase the perlite ratio significantly. For moisture-loving tropicals, dial back the perlite slightly.
Every pot must have a drainage hole. This is non-negotiable. A pot without drainage is a bucket that slowly drowns your plant. If you love the look of a decorative pot without holes, use it as a cachepot by setting a plain nursery pot inside it and removing the inner pot to water. Also match pot size to plant size: using a pot that's much too large for the root ball means all that extra wet soil sits unused around the roots, which is a fast path to rot.
Feeding your plants
Most potting mixes have nutrients built in that last roughly 4 to 6 weeks. After that, plants in containers need regular feeding because watering gradually flushes nutrients out of the pot. A balanced liquid fertilizer (something like 10-10-10 or 20-20-20) diluted to half strength every two to four weeks during the growing season (spring through early fall) works well for most houseplants. In winter, when growth slows, you can stop feeding entirely or reduce to once a month. Yellowing leaves combined with slow growth often signal the plant is hungry, but always rule out overwatering first since both can look similar.
Soilless options at home: water growing, hydroponics, and terrariums
Not every plant needs a pot of dirt. Water propagation, hydroponics, and terrariums are all genuinely doable at home, and for some plants they're actually easier than soil. If you're curious about stepping away from traditional potting, knowing how to grow green plants at home using soilless methods opens up a lot of options, especially if you're short on space or want to avoid the mess of soil.
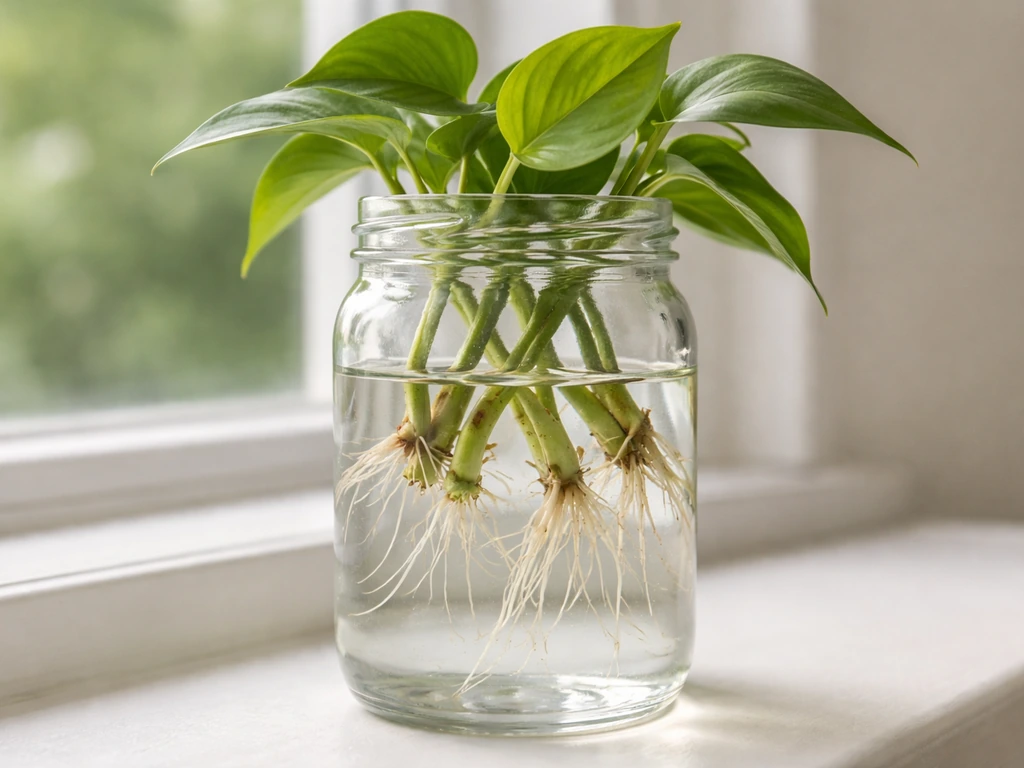
Water growing and propagation
Many plants root easily in a jar of water: pothos, philodendron, coleus, and impatiens are reliable starters. Just cut a healthy stem just below a node, strip the lower leaves, and set it in a jar of room-temperature water in bright indirect light. Change the water every few days to prevent bacterial buildup. Once roots are an inch or two long, you can move cuttings to soil or leave them growing in water long-term (just add diluted liquid fertilizer every few weeks since water has no nutrients).
Hydroponics at home
Hydroponic setups range from dead simple to pretty technical. For beginners, a wick system is the easiest entry point: a container of nutrient solution with an absorbent wick drawing moisture up into a growing medium like perlite or coco coir. No pumps, no timers. A deep water culture (DWC) system is slightly more involved (you'll need a small air pump and air stone to oxygenate the solution) but grows plants faster and works great for herbs like basil.
Perlite, used as a soilless medium in hydro setups, is highly porous for aeration and won't compact. These systems require keeping your nutrient solution at the right pH (typically 5. For home hydroponics, UNH Extension says a water pH between 5. 5 and 7.
0 is fine, with “nutrient solution” defined as water mixed with fertilizer nutrient solution at the right pH (typically 5. .
5 to 6. 5 for most plants) and refreshing it regularly.
Terrariums
A closed terrarium creates its own humidity cycle: moisture evaporates, condenses on the glass, and falls back down. This makes it nearly self-watering for moisture-loving plants like mosses and ferns. The risk is excess moisture causing rot or mold, especially if you seal it too tightly or overwater at the start.
Add a drainage layer of gravel or leca at the bottom, use a thin layer of activated charcoal above it to keep things fresh, and watch for condensation on the glass. Some condensation is normal, but if the glass is constantly dripping and foggy, remove the lid for a day or two to let things dry out and improve airflow. Keeping an open terrarium is also a valid option if you prefer low-maintenance plants like air plants or succulents.
Repotting, pruning, and propagation for steady growth
Plants tell you when they need repotting: roots circling the bottom of the pot or poking out of drainage holes, soil drying out much faster than it used to, or growth stalling despite good care. When you repot, go up only one pot size at a time (about 1 to 2 inches larger in diameter). Going too big means waterlogged soil around the roots, which causes the same problems as overwatering. Spring is the best time to repot since plants are entering their active growth phase and recover quickly.
Pruning keeps plants bushy and healthy rather than leggy. For most houseplants, simply pinching back the growing tips encourages branching. Use clean, sharp scissors to avoid tearing stems, and cut just above a leaf node. Remove any yellowing, dead, or damaged leaves as soon as you see them since they drain the plant's energy and can harbor pests.
Propagation is one of the most satisfying parts of growing plants at home, and it's essentially free. Stem cuttings in water or soil work for pothos, philodendron, herbs, and many other plants. Division works for clumping plants like peace lilies and hostas. Leaf cuttings work for succulents and snake plants. If you want to go deeper on display-worthy results, exploring how to grow show plants at home is a great next step once you're comfortable with the basics of propagation.
Troubleshooting common problems fast
Yellow leaves
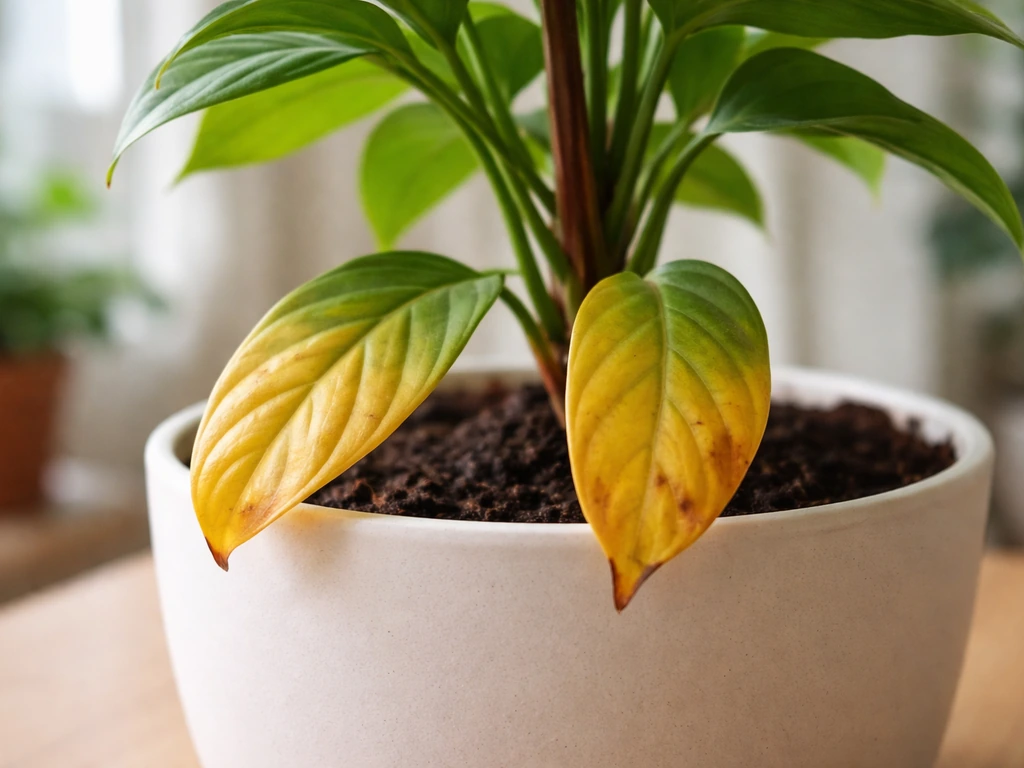
Yellow leaves are the most common plant distress signal, and they have multiple causes. If the soil is wet and the yellowing starts at the bottom, overwatering is almost certainly the culprit. Let the soil dry out completely, check drainage, and hold off on watering for longer than you think you need to. If the soil is dry and the plant is in low light, the problem is more likely nutrient deficiency or simply not enough light. Feed lightly and move the plant closer to a light source.
Leggy, stretched growth
Long, spindly stems with large gaps between leaves mean the plant is stretching toward light it isn't getting. Move it closer to a window or add a grow light. Once you fix the light, prune back the leggy sections to encourage compact, bushy regrowth. You can root those cuttings to make new plants. Understanding the fundamentals of growing plants indoors really comes down to light being the first thing to check when something looks off.
Fungus gnats and other pests
Tiny flies hovering around your pots are almost always fungus gnats, and they thrive in wet, organically rich soil. The fix is letting the top 1 to 2 inches of soil dry out completely between waterings, which breaks their life cycle since they lay eggs in moist topsoil. For an active infestation, a soil drench with BTI (Bacillus thuringiensis israelensis), which is a biological control available at most garden centers, kills larvae without harming your plant. Remove any decaying plant material from the soil surface since that's what the adults are after.
Root rot and mold
If you pull a plant out and the roots are brown, mushy, and smell bad, that's root rot. Cut off all affected roots with clean scissors, let the remaining roots air-dry for an hour, then repot in fresh, dry soil. Don't water again for several days. Mold on the soil surface is usually a sign of poor airflow and excess moisture. Remove the moldy layer, improve drainage, reduce watering frequency, and move the plant somewhere with better air circulation.
Brown tips on leaves
Crispy brown tips are typically a humidity or watering issue. If the air is dry (especially in winter with central heating running), the plant is losing moisture faster than it can absorb it. Try grouping plants together or adding a humidity tray. Brown tips can also come from fluoride or salt buildup in the soil from tap water or over-fertilizing. Flushing the pot thoroughly with water every couple of months helps clear mineral buildup.
A simple weekly routine and what to do next
The best home-growing routine is one you'll actually stick to. It doesn't need to be elaborate. A quick weekly check of each plant covers most of your bases: feel the soil, look at the leaves, check for pests, and rotate the pot a quarter turn so all sides get even light. That's really it for most weeks. If you're also growing herbs on a windowsill or patio, check soil moisture more often since small pots dry out faster, especially in warm weather. Those who want to take things further, including growing edible or display-worthy varieties, will find that learning how to grow hanging plants at home adds both visual interest and better use of vertical space in smaller homes.
Here's a practical checklist to get started today:
- Identify the light level in your chosen growing spot (north/south/east/west window, or measured with a light meter or app).
- Pick one to three plants suited to that exact light level using the table above as a starting guide.
- Source a good-quality potting mix with perlite for drainage, and make sure every pot has a drainage hole.
- Do the finger-test before every watering: if it's still moist at the middle knuckle, wait.
- Set a phone reminder to check plants once a week, rotating pots and scanning leaves for early signs of trouble.
- Add a balanced liquid fertilizer to your routine once the plant has been in its new pot for 4 to 6 weeks.
- If light is genuinely limited, price out a basic LED grow light. Twelve hours daily covers most herbs and common houseplants.
- If you want to try a soilless method, start with a water-propagation jar for a pothos or philodendron cutting before investing in a full hydro setup.
- Repot only when roots are clearly outgrowing the current container, and go up just one size at a time.
- Treat any pest or rot issue as soon as you notice it. Early intervention is much easier than a full rescue.
Growing plants at home is genuinely learnable, and the early mistakes (overwatering, wrong light, wrong pot size) are the same ones everyone makes. Once you know what to look for, you catch problems early and fix them before they become fatal. Start with one forgiving plant in the best-lit spot you have, follow the finger-test rule, and build from there. The confidence that comes from keeping one plant thriving will make the next five easier.
FAQ
Should I use cold tap water or room-temperature water when I’m trying to grow plants at home?
Most indoor plants are safest with water that matches room temperature. If you use cold tap water, it can slow root uptake and stress the plant, especially in winter. If your tap water runs very hard, consider using filtered or let water sit out for a day before watering to reduce chlorine and temperature shock.
What should I do if my plant is drooping, but I think I’m already watering correctly?
If your plant is drooping but the soil still feels wet, do not water again. Check for root problems first, including drainage hole blockage and soggy soil, and look for signs like brown mushy roots or a musty smell after repotting. Droop can happen from both underwatering and root rot, so confirm by feel and, if needed, a quick root check.
How do I know I’m giving enough light if I can’t measure lux or I keep moving my plant around?
The “right” amount of light depends on how close the plant sits to the brightest part of the window. Use the lux meter or a phone lux app to compare spots, then keep a consistent distance rather than moving the plant daily. If you rotate, do it once a week (about a quarter turn) so the plant acclimates gradually.
Why do my plants still die if my pots have drainage holes?
A pot that drains but never fully dries between waterings often still causes problems. Even for “easy” plants, aim for a clear dry-down period appropriate to that plant’s needs, then water thoroughly. If you find yourself watering on a schedule, switch to the finger-test habit instead of the calendar.
How can I tell whether yellow leaves are from overwatering, lack of light, or not enough fertilizer?
Yellowing can mean multiple things, so use a quick pattern check. Bottom yellowing with wet soil points to overwatering, while widespread yellowing with dry soil can point to thirst or fertilizer imbalance. Slow growth plus lighter green color more often suggests low light or low nutrients, so move to brighter light before assuming a heavy feeding is needed.
What should I do if my plant looks worse right after repotting?
If you repot and the plant suddenly looks worse, it may be recovering from root disturbance or sitting in a pot that is too large. Go only one size up, use fresh airy mix, and avoid fertilizing for at least a few weeks after repotting because many plants use stored energy while roots reestablish.
Does the type of pot material (plastic vs terracotta) change how often I should water?
Terracotta and ceramic dry faster than plastic. If you switch pot materials, you must adjust your watering frequency, because “water when the top inch is dry” can become inaccurate. Relearn the soil dry time with the finger-test for the first couple of weeks after changing pots.
How can I prevent fungus gnats if they keep coming back after I fix my watering?
Fungus gnat larvae can survive in damp media even if the top looks dry-ish. Let the top 1 to 2 inches dry thoroughly between waterings, remove decaying plant matter from the surface, and consider bottom watering only when you need to, to keep eggs from being laid in persistently moist topsoil. Sticky traps help you monitor adults.
Do humidifiers really work, and how do I use one without overcomplicating things?
A humidifier helps most when it runs near your plant shelf and when you maintain a stable setting. If you can’t measure humidity, watch for consistency: plants that improve within 1 to 2 weeks often indicate low humidity was the driver. Avoid placing plants directly against cold drafts or hot vents, since that can counteract humidity benefits.
What’s the fastest way to troubleshoot a new plant problem when multiple causes could be involved?
For fast adjustments, start with light and watering consistency. For pests, isolate the plant, then check the whole plant (undersides of leaves, leaf joints, and new growth). For nutrient issues, use half-strength feeding rather than doubling fertilizer, and always rule out overwatering first because both can look similar on leaves.