Growing houseplants indoors comes down to matching five things: light, water, soil, food, and environment. Get those five reasonably right for your specific plant, and it will grow. Get them wrong, and even a tough plant will struggle. The good news is that most houseplant problems have simple, fixable causes, and you don't need a green thumb or a fancy setup to keep plants healthy. You just need to understand what each plant actually wants, which is a lot less mysterious than it sounds.
How to Grow Houseplants Indoors: Step-by-Step Guide

Marcus Holloway
3 Apr 2026
Start with the right indoor plant basics
The single best thing a beginner can do is pick plants that match their actual home conditions, not plants they wish they could grow. If your apartment gets weak winter light and dry air from forced-air heating, starting with a sun-loving tropical that craves humidity is going to be frustrating. Start with plants that meet you where you are.
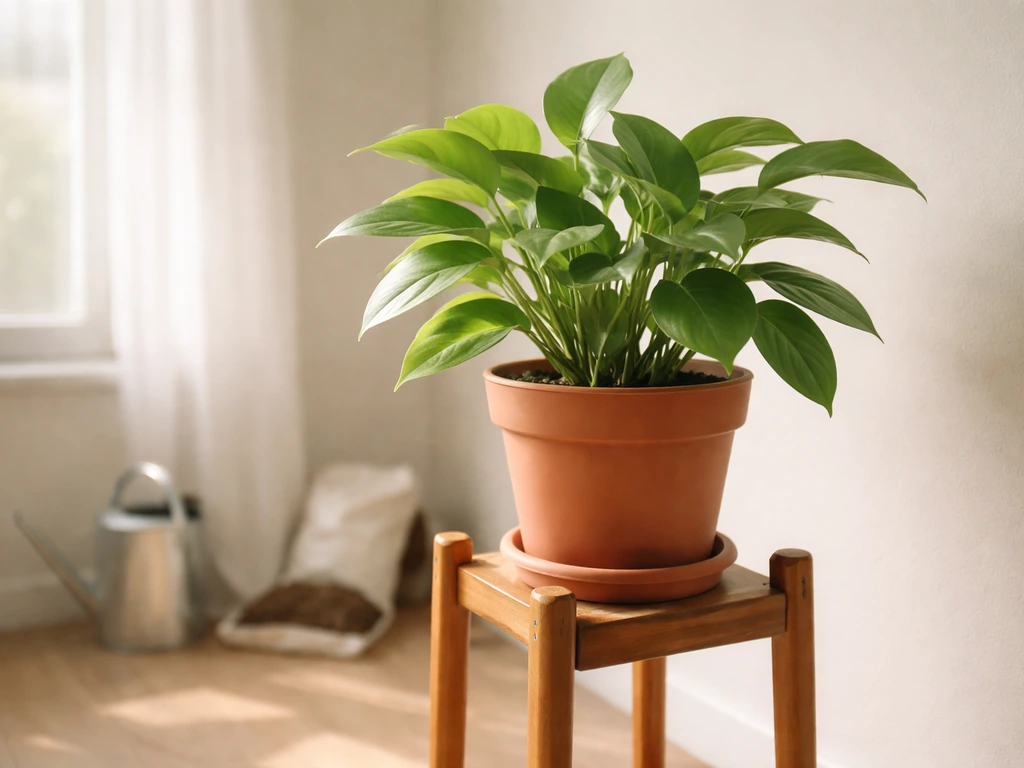
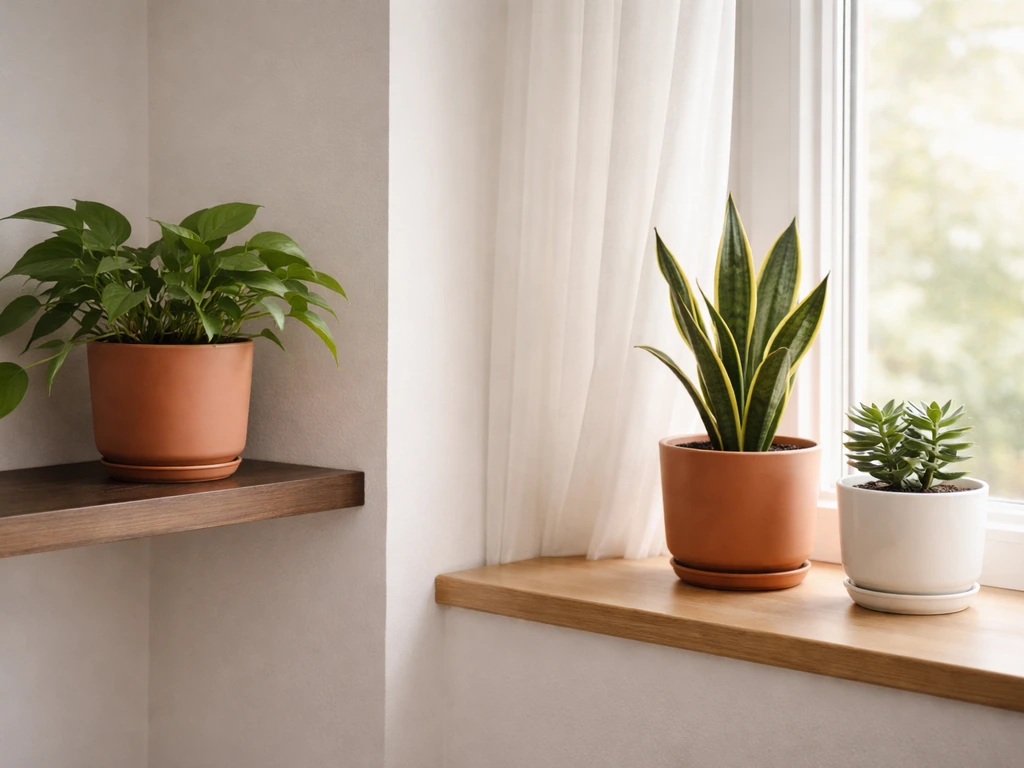
For most beginners, a short list of forgiving plants works better than a wide collection of demanding ones. Spider plant is a classic starting point: it prefers bright but indirect light, likes to stay evenly moist, and appreciates higher humidity in summer, but it handles neglect better than most. Snake plant (Dracaena trifasciata) is another excellent choice because it tolerates low light and needs minimal watering, making it nearly indestructible for people with inconsistent routines. Pothos, peace lily, and ZZ plant round out a solid beginner lineup that can handle the variable conditions most homes throw at them.
One thing worth knowing upfront: when you bring a plant home and move it into lower light or lower humidity than it was used to at the nursery, it may drop leaves or yellow. This is not a failure on your part. University of Missouri Extension specifically notes that new plants moved into low-light, low-humidity homes often yellow as they adjust. Give them a few weeks to acclimate before assuming something is wrong. If you want to dive deeper into what makes plants thrive once they're inside, understanding how indoor plants live and grow is a solid next step for building that foundation.
Choose the best light setup inside your home
Light is the most important variable in your home, and it's the one most beginners underestimate. Indoor light is much weaker than outdoor light, even near a bright window. Illinois Extension explains that light intensity is measured in foot-candles (the brightness one foot away from a single candle), and most indoor spaces fall far below what plants experience outside. A south-facing window in full sun might hit 5,000 foot-candles at peak; a spot five feet back from that same window might drop to a few hundred.
West Virginia University Extension lists filtered light ranges for common houseplants, with spider plant thriving anywhere from 100 to 500 foot-candles. That's a wide range, which is why it's so adaptable. Low-light plants like snake plant can manage at the lower end of that spectrum, which is why Penn State Extension highlights them as strong options for dim spaces. Light duration matters too: the number of hours your plant gets light in a 24-hour period affects how well it can photosynthesize, so a spot that gets good light for only two or three hours a day isn't going to cut it for most plants.
For placement, the practical rule is: south-facing windows give the most light year-round, east and west windows give moderate light, and north-facing windows give the least. Many houseplants thrive in indirect light just back from a south or east window, where they get brightness without harsh direct sun scorching their leaves.
If your home doesn't have great natural light, grow lights are a genuinely useful option and not just a gimmick. University of Missouri Extension notes that LED plant lights emit specific wavelengths, typically red and blue, that plants use for photosynthesis. The key is positioning: distance and placement affect intensity, so follow the manufacturer's guidance and keep the light close enough to actually reach the plants with useful intensity. A grow light placed too far away is barely better than ambient room light.
Potting mix, containers, and watering routines
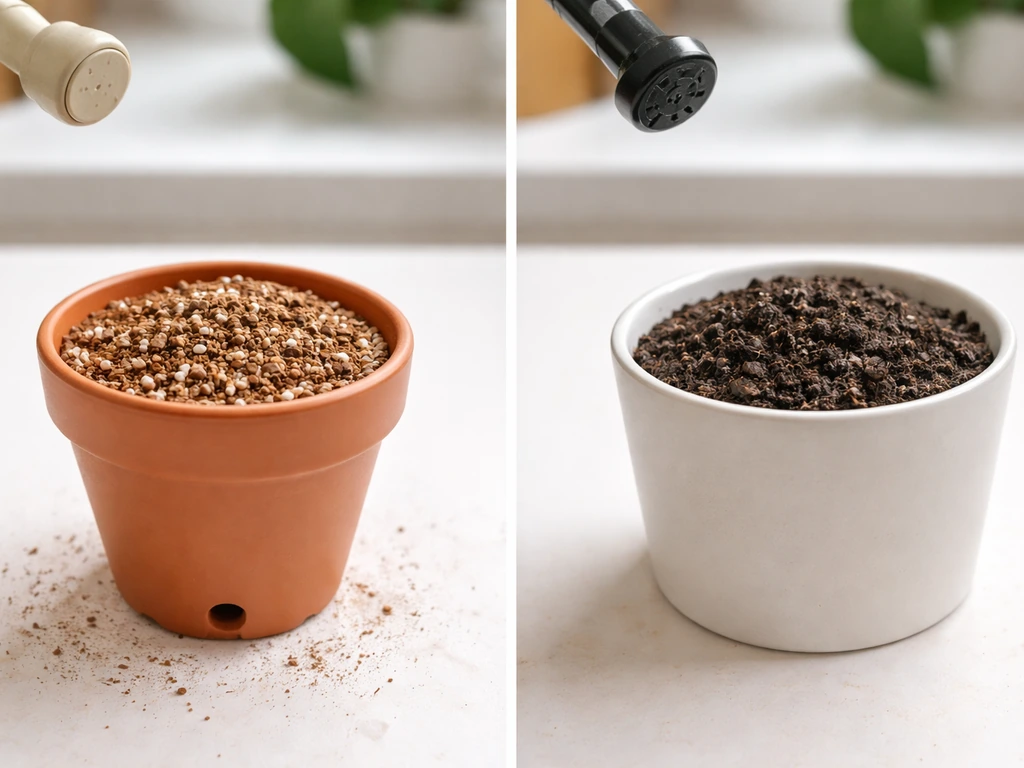
Never use garden soil for houseplants. It compacts in containers, drains poorly, and carries pathogens. Penn State Extension is clear that good potting media for indoor plants is typically soilless: a blend of peat moss plus perlite and/or vermiculite, sometimes with compost or organic fertilizer added. Perlite specifically provides drainage and aeration, which keeps roots from sitting in oxygen-poor, waterlogged conditions that lead to rot. A quality bagged potting mix from any garden center will do the job for most houseplants.
For containers, the most important feature is a drainage hole. Without one, excess water collects at the bottom and eventually suffocates the roots. Pot size matters too: going too large too fast keeps soil wet too long because the plant roots can't absorb the water before it stagnates. A pot one to two inches larger in diameter than the root ball is the standard upgrade when repotting.
Watering is where most beginners go wrong, and the fix is simpler than you might think. Missouri Extension puts it plainly: never water any plant unless it actually needs it. Factors like pot size, light levels, temperature, and humidity all affect how fast the soil dries out, so watering on a fixed schedule (every Tuesday, say) is less reliable than checking the soil. For most houseplants, stick your finger an inch or two into the soil: if it feels dry at that depth, water thoroughly. If it still feels moist, wait. Missouri Extension also warns that standing water in saucers invites root problems, so empty saucers after watering.
Montana State University Extension recommends bottom watering for some houseplants to avoid stem rots, where you set the pot in a shallow tray of water and let the soil wick it up from the bottom. This works well for plants like African violets that don't like water on their leaves or stems. For most other plants, top watering works fine as long as you water thoroughly and let the excess drain.
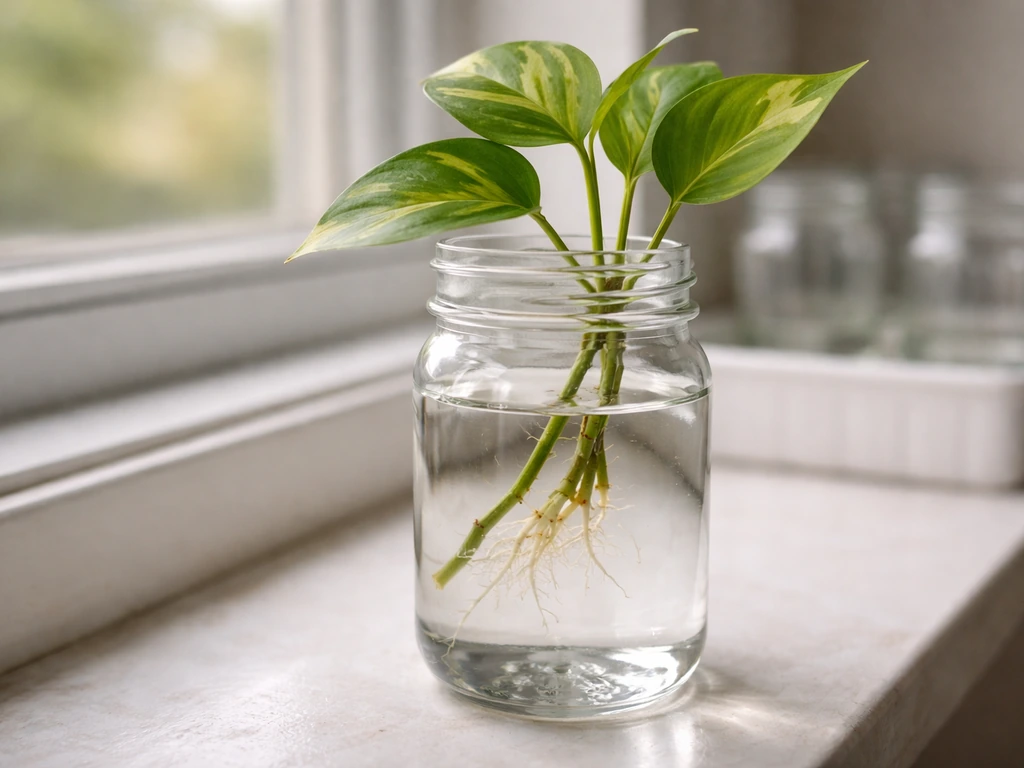
It's also worth knowing that soil isn't your only option. If you're curious about experimenting, plants can also be grown in water or in hydroponic setups, which completely sidestep the overwatering problem by managing moisture differently. Those approaches require a different mindset, but they're real options if you want to branch out from traditional potting mix.
Feeding and ongoing care for healthy growth
Fertilizer is plant food, not a magic fix. Houseplants in containers eventually exhaust the nutrients in their potting mix, so feeding replaces what gets used up. University of Maryland Extension recommends monthly applications of diluted liquid fertilizer during summer to keep most plants healthy, and notes that slow-release pellet fertilizers release nutrients over about three to four months, which is a lower-maintenance option. Commercially available indoor plant fertilizers work well when mixed per label directions.
In winter, pull back on fertilizer significantly. Illinois Extension explains that during short winter days, many houseplants experience a rest period and need very little or no additional fertilizer. Feeding plants heavily when they're not actively growing, especially in dim winter light, can damage them because the nutrients accumulate rather than get used. If you want to dig into the full picture of keeping plants thriving through every season, the guide on how to grow healthy plants indoors covers feeding and care in more depth.
Salt buildup is a fertilizer side effect most people don't know to watch for. University of Idaho Extension notes it shows up as a crusty residue on the soil surface or around the rim of the pot. It happens when fertilizer salts accumulate over time. The fix is to flush the soil thoroughly with plain water every few months, letting water run through and drain out completely, which carries the salt buildup away.
Humidity, temperature, airflow, and seasonal adjustments
Most houseplants prosper in the 65 to 75 degrees Fahrenheit range, which aligns nicely with typical home temperatures according to Oklahoma State University Extension. The trouble is that most homes are on the drier side of what plants prefer. OSU Extension gives a target relative humidity of around 50 to 60 percent for houseplants, but Illinois Extension warns that during winter, many homes drop below 30 percent humidity, which is rough on tropical houseplants.
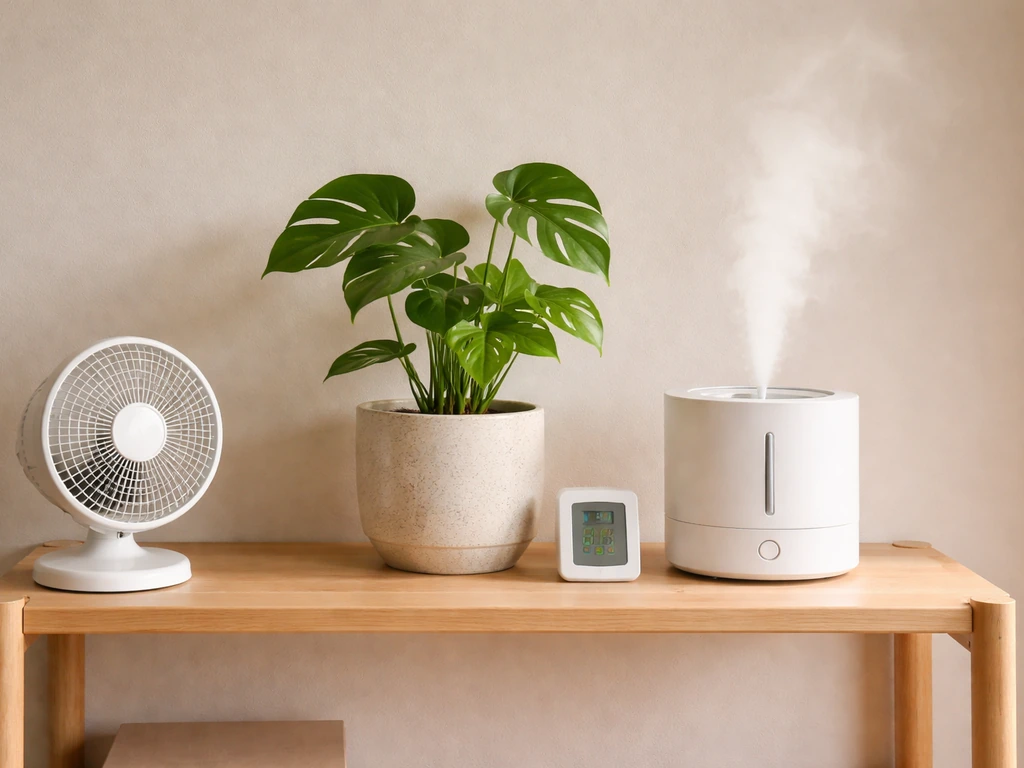
Misting is the most commonly suggested fix, but Penn State Extension points out that misting only temporarily raises humidity until the water evaporates, which usually takes minutes. A small humidifier near your plants is a far more effective and stable solution if you're dealing with chronically dry air. Grouping plants together also helps because they release moisture through their leaves, creating a slightly more humid microclimate around each other.
Temperature extremes cause real damage. University of Maryland Extension notes that excessively low or high temperatures can stop growth, cause spindly appearance, damage foliage, or trigger leaf drop. Keep plants away from cold drafts near windows in winter and away from hot, dry blasts from heating vents or radiators. Illinois Extension specifically flags those extreme hot and cold air bursts as a hazard. Many flowering houseplants also benefit from cooler nights, about 10 to 15 degrees Fahrenheit lower than daytime temperatures, which supports recovery and helps with color and flowering quality according to University of Maryland Extension.
Airflow is the often-forgotten piece. Stagnant air encourages fungal problems and makes it easier for pests to establish. A gentle fan running on low a few hours a day keeps air moving without stressing plants, and it helps soil dry at a more consistent rate too. Seasonally, be ready to adjust your watering frequency as conditions change: plants dry out faster in summer heat and slower in winter's dim, cool conditions. If you're interested in plants that do double duty by also cleaning your air, learning how to grow air purifying plants is a natural extension of everything covered here.
Common indoor problems and quick fixes
Most houseplant problems fall into a short list of categories: watering issues, light issues, pest outbreaks, and environmental stress. Once you know what to look for, diagnosing and fixing them gets much faster.
Yellow leaves
Yellow leaves are the most common distress signal, and they have multiple causes. Overwatering is the most frequent culprit: if the soil stays wet for days and the lower leaves yellow and go mushy, you're overwatering. Underwatering tends to cause crispy yellowing rather than soft yellowing. Low light and the natural acclimation process after a move can also trigger yellowing, as Missouri Extension notes. Check the soil moisture, the light level, and how recently the plant was moved before jumping to conclusions.
Pests
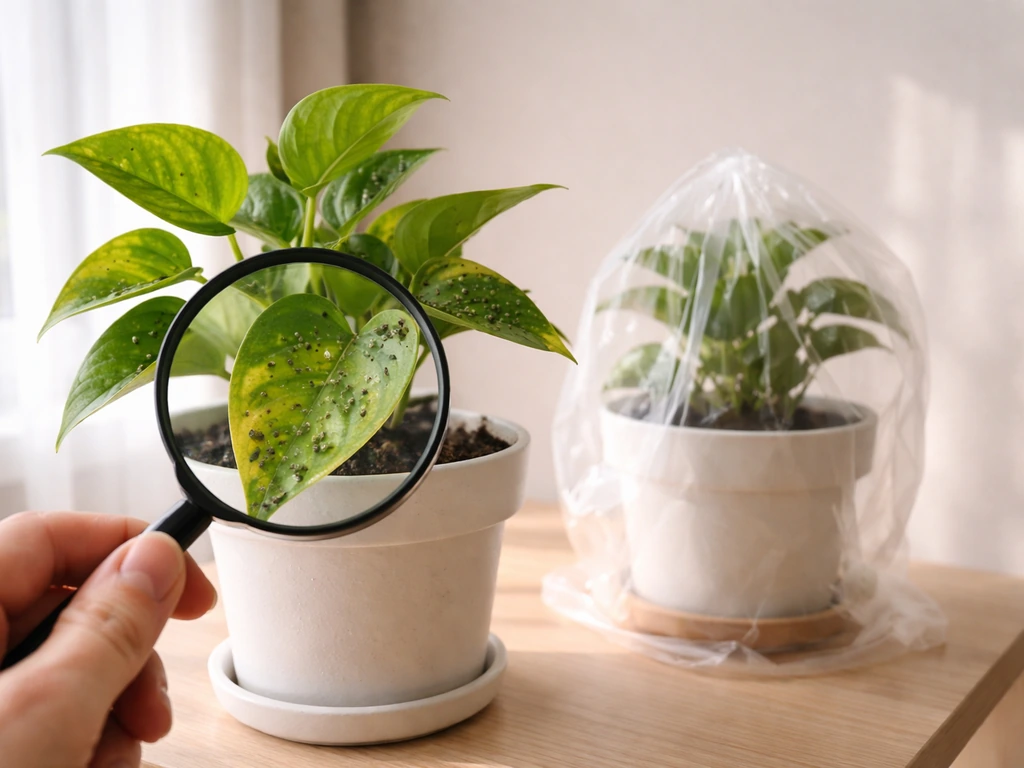
Indoor plant pests are common and manageable if caught early. The key is inspection and quarantine. Colorado State University Extension recommends quarantining any new plant for a couple of weeks before placing it near your other plants, so you can catch hitchhiking pests before they spread. University of Alaska Fairbanks Extension describes sticky honeydew and sooty mold on leaves as clear indicators of a pest outbreak, noting that mealybugs and soft scales are common honeydew producers. Spider mites thrive in hot, dry, low-humidity conditions, which is why keeping humidity up protects against them.
For treatment, Missouri Extension recommends least-toxic first steps: quarantine the affected plant immediately, apply insecticidal soap, or hose tough plants down to knock off mites and webbing. Yellow sticky traps, as Colorado State notes, are useful for catching flying pests like fungus gnats and whiteflies. University of Minnesota Extension also covers plant oils and insecticidal soap as effective controls for spider mites and scales. Avoid jumping straight to harsh chemical pesticides indoors: insecticidal soap and neem oil handle most common infestations with far less risk to you, your family, and your other plants.
Root rot
Root rot is caused by consistently soggy soil and is the leading reason houseplants die. Signs include wilting despite wet soil, black or brown mushy roots when you unpot the plant, and a sour smell from the soil. The fix starts with better drainage (drainage holes, well-aerated potting mix with perlite) and less frequent watering. If you catch it early enough, unpotting the plant, trimming the rotted roots, letting them air briefly, and repotting into fresh dry mix can save the plant. For a more focused walkthrough of the full indoor growing workflow, the article on how to grow plants in your house covers setup from scratch in helpful detail.
Quick troubleshooting reference
| Symptom | Likely Cause | Quick Fix |
|---|---|---|
| Soft yellow lower leaves | Overwatering / root rot | Check soil moisture; let soil dry out; improve drainage |
| Crispy brown leaf edges | Underwatering or low humidity | Water more consistently; raise humidity near plant |
| Pale, washed-out leaves | Too much direct sun | Move back from window or add sheer curtain |
| Leggy, stretched growth | Not enough light | Move closer to window or add grow light |
| Sticky residue on leaves | Pest infestation (mealybugs, scales, aphids) | Quarantine plant; apply insecticidal soap |
| White crust on soil surface | Salt buildup from fertilizer | Flush soil thoroughly with plain water |
| Leaf drop after moving | Acclimation stress | Stable placement, consistent watering; wait 2–4 weeks |
Simple growth milestones and how to scale up your houseplant collection
Once your first plants are stable and putting out new leaves, you're ready to think about growing your collection intentionally rather than just adding random plants. A good milestone to watch for is consistent new growth: fresh leaves appearing regularly means the plant is genuinely healthy, not just surviving. That's your green light to start expanding.
Propagation is the most budget-friendly way to grow your collection. University of Maine Extension explains that cuttings and slips are among the most common methods for houseplants, and many popular varieties like snake plant and pothos propagate easily this way. University of Nevada, Reno Extension advises starting cuttings in small pots once a good root system has developed, then repotting into a larger container after the plant has several leaves. Penn State Extension adds an important warning: don't use garden soil or straight compost for propagating cuttings, as pathogens and poor aeration reduce success. A clean, soilless mix keeps things simple and safe.
When you repot any plant into a larger container, the goal is to give roots room to grow without drowning them in excess soil. Going up one pot size at a time is the standard approach. If you want to maximize what you can grow from a compact plant, the guide on how to grow small plants with big buds offers techniques for getting more out of limited space.
As your collection grows, it's also worth thinking about which plants need the most attention and grouping them strategically. High-humidity plants go together near a humidifier. Plants with similar watering needs go on the same shelf so you can check them in a single pass. This kind of intentional organization makes ongoing care faster and reduces the chance of plants getting neglected. For targeted advice on keeping your expanding collection in top shape, the article on how to help houseplants grow covers practical strategies worth bookmarking as a reference.
The bottom line is that growing houseplants successfully is mostly about observation and adjustment. Check your plants regularly, learn to read what they're telling you through their leaves and growth patterns, and tweak one variable at a time when something looks off. You don't need to get everything perfect from day one. Most plants are more forgiving than people expect, and every plant you grow, including the ones you accidentally kill, teaches you something that makes the next one easier.
FAQ
Can I rotate my houseplants to keep them growing evenly?
Yes, but do it intentionally. If you rotate plants, change the angle a little at a time (for example, once every 1 to 2 weeks), otherwise you can trigger leaf drop. Also remember that rotating does not fix low light, it just balances growth toward the brighter side.
How do I tell the difference between normal adjustment and a real problem?
Look for “normal growing” signs instead of leaf count. New growth plus firm stems, intact leaf color, and roots filling the pot are better indicators than an occasional older leaf loss. If growth stalls for several weeks, check light first, then watering habits.
What should I do if I keep seeing fertilizer salt buildup?
If you find a fertilizer crust on the rim, flush sooner rather than waiting for a scheduled flush. Use enough plain water to fully drain through the bottom, then empty the saucer. Repeat if you notice the residue returns quickly, it can mean the mix is staying wet too long or you are overfeeding.
Does misting actually help houseplants with low humidity?
Avoid “misting as a cure” for dry air issues. For plants that need more humidity, use a humidifier or a pebble tray with water, keep the pot above the water line, and prevent condensation on windows. Misting can increase surface wetness, which may worsen fungal issues.
My plant’s leaves are yellowing, but I’m not overwatering. What else could it be?
If leaves keep yellowing even after you adjust watering, check drainage and root health. Without a drainage hole, or with a pot that stays wet for days, yellowing often persists because the roots cannot breathe. A repot into a well-aerated soilless mix is sometimes the real fix.
How do I know if my pot is too big?
Most houseplants prefer a tighter, “moisture-control” pot size. If water seems to take forever to dry, downsize laterally at the next repot or remove excess soil and use a pot only 1 to 2 inches wider than the root ball. Large pots lead to stagnant soil even if you water correctly.
How can I build a reliable watering routine without guessing?
Don’t guess with a calendar. Use a simple check method: feel the soil 1 to 2 inches down and water only when it is dry at that depth. For thick-leaved plants like ZZ and snake plant, wait longer, they tolerate drier cycles better than many tropicals.
Is bottom watering safe for all houseplants?
For bottom watering, don’t leave pots sitting in water for hours. Let the soil wick up just until the top feels evenly moist, then remove the pot and drain completely. Overdoing it can still lead to root problems because excess water eventually soaks and cools the mix.
How often should I inspect for pests and when should I treat?
Treat pests as a routine, not a one-time event. Inspect new leaves weekly, check the undersides, and quarantine anything new for about 2 weeks. If you use insecticidal soap, cover all plant surfaces and repeat as directed, because eggs and newly hatched pests can survive the first treatment.
What’s the best way to move a plant to a new light level?
Use the plant’s needs to choose where it goes. Low light usually fails slowly, so it helps to start in the brightest spot you have, then move back gradually if the plant sun-stresses. If you see crisping or bleaching, move it away from direct sun, and wait for new leaves to normalize.
When should I repot, and when should I wait?
If you see roots growing out of the drainage hole, the plant dries unusually fast, or growth stops despite good care, those are repotting cues. If the plant is stressed from root rot or an active pest issue, pause repotting until you stabilize it, otherwise you can set the plant back further.
What are the most common mistakes when propagating cuttings?
For propagation, start with a clean, sterile cutting tool and a soilless rooting mix. Keep the mix lightly moist, not wet, and avoid sealing cuttings in airtight conditions where they can rot. Bright indirect light helps rooting, direct sun can cook cuttings before they establish roots.