Growing a plant successfully comes down to seven core steps: pick the right plant for your conditions, set up your light and environment, prepare your growing medium and containers, plant correctly (seeds or transplants), build a consistent care routine, catch and fix problems early, and then harvest or scale up. That's the whole process. 5 steps on how to grow plants.
Can You Give the Steps to Grow Plants Successfully
Marcus Holloway
26 May 2026
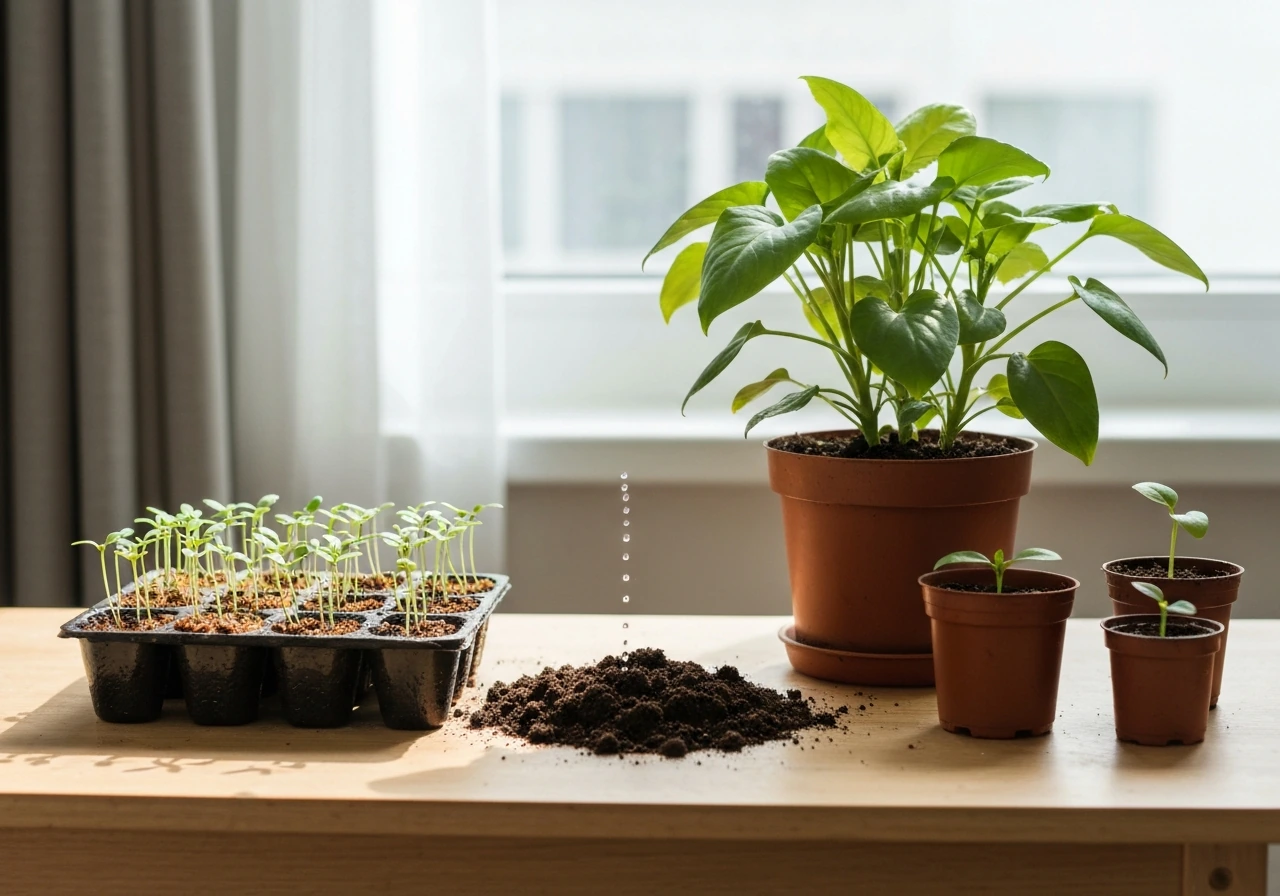
If you want a quick roadmap, follow the 4 steps to grow a plant: choose the right plant, set up your space, prepare your medium, and care for it as it starts growing. Everything else is just detail layered on top of those steps, and this guide walks you through each one in plain language so you can get started today, whether you're working with soil, water, a hydroponic setup, or a sealed terrarium.
Step 1: Choose the right plant and learn what it actually needs
The single biggest reason beginner plants die is a mismatch between the plant's needs and the conditions the grower can actually provide. Before you buy anything, honestly assess your space: How much natural light do you get? Can you keep the temperature stable? Do you have dry apartment air or naturally humid conditions? Then pick a plant that fits those answers, not the other way around.
University of Minnesota Extension makes this point clearly: plants that are struggling with wrong humidity, light, or temperature literally cannot fight off pests and disease. A healthy plant in the right conditions resists problems almost automatically. A stressed plant in the wrong conditions is a magnet for every issue in the book.
Good beginner plants for indoor growing include pothos, snake plants, and ZZ plants for low light, or basil, cherry tomatoes, and lettuce for bright windowsills or grow lights. For hydroponics, leafy greens like lettuce and spinach are ideal first crops because their nutrient needs are simple and they grow fast. For terrariums, look for dwarf, slow-growing plants that tolerate high humidity and low to medium light, like ferns, mosses, and small fittonias.
Once you've chosen your plant, look up three numbers: its ideal light level (low, medium, bright indirect, or full sun), its preferred temperature range, and whether it likes to dry out between waterings or stay consistently moist. Write these down. They will guide every decision you make from here.
Step 2: Set up your growing space (light, temperature, and humidity)
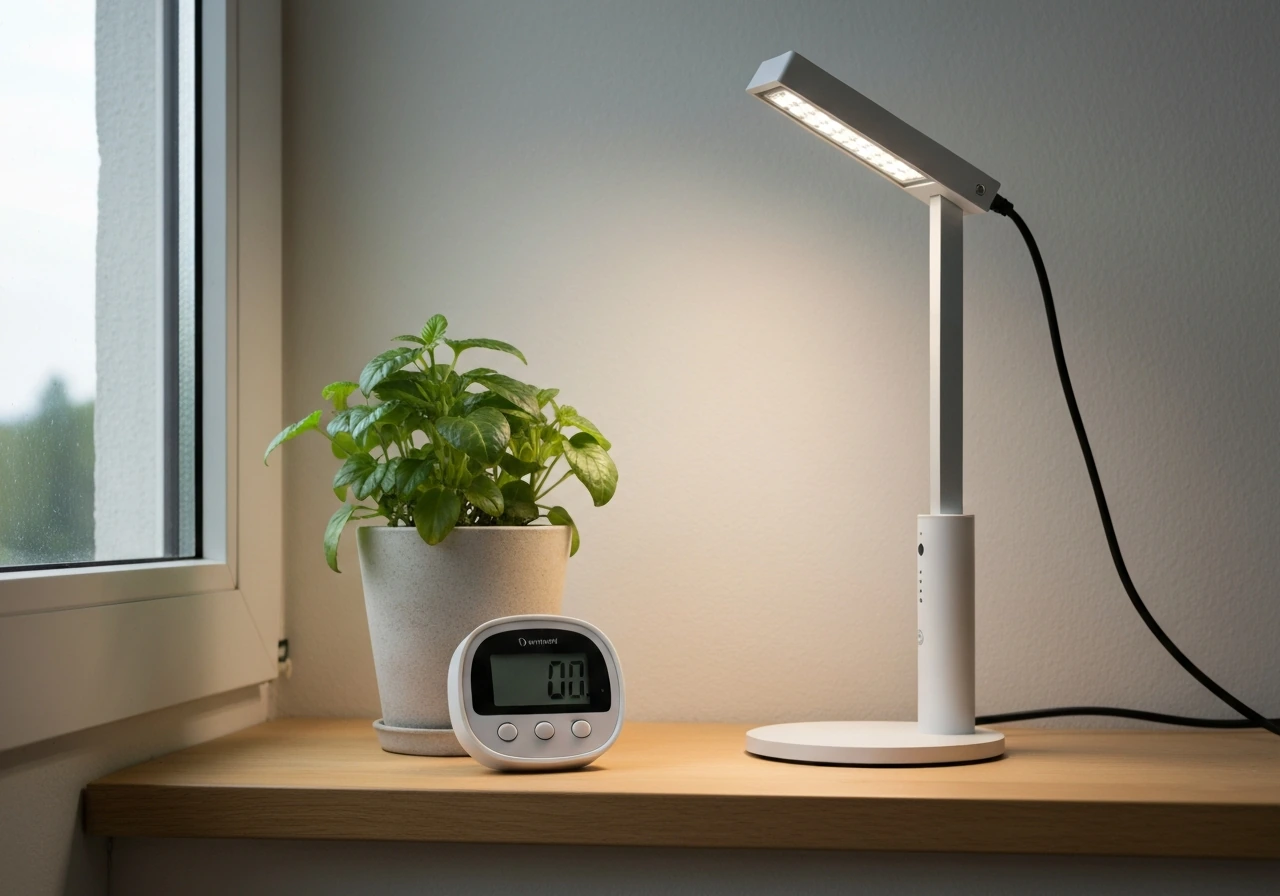
Light is the engine of plant growth, and it's the factor most beginners underestimate indoors. A south-facing window in the Northern Hemisphere gives the most light, north-facing the least. East and west windows provide moderate light with lower heat. If your natural light is limited, a basic LED grow light placed 6 to 12 inches above seedlings or small plants will make a dramatic difference and costs very little to run.
Temperature matters more than most beginners realize. Most common houseplants and vegetables prefer 65 to 75 degrees Fahrenheit during the day. Cold drafts from windows in winter and heat from radiators can both stress plants. Keep plants away from exterior walls in cold climates and away from heating vents that blast dry air.
Humidity is the invisible factor. Most homes run at 30 to 50 percent relative humidity, which is fine for most plants but too dry for tropical houseplants and terrarium species that prefer 60 to 80 percent. For plants that want higher humidity, you can group them together (they humidify each other), place a tray of water with pebbles beneath the pot, or run a small humidifier nearby. Open terrariums lose moisture to the surrounding air and need more frequent watering than closed setups, which hold their own humid microclimate.
Step 3: Prepare your growing medium and containers
Your choice of growing medium is one of the most consequential decisions you'll make, and it changes almost everything downstream: how you water, how you feed, and what problems to watch for. Here's how the four main approaches compare.
| Growing Medium | Best For | Key Advantage | Main Challenge | Drainage Requirement |
|---|---|---|---|---|
| Potting soil (containers) | Beginners, most houseplants, vegetables | Forgiving, widely available, familiar | Overwatering is easy; soil can compact | Drainage holes essential |
| Garden beds (in-ground soil) | Vegetables, perennials, large-scale growing | Naturally buffered, large root volume | Less control over moisture and nutrients | Natural drainage via soil profile |
| Water/cuttings (propagation) | Multiplying existing plants, houseplant cuttings | No soil needed, easy to monitor roots | Roots adapted to water may struggle in soil | N/A; container must be kept clean |
| Deep water culture hydroponics | Leafy greens, herbs, fast-growing crops | Faster growth, precise nutrient control | Requires aeration, pH/EC monitoring | Aerated reservoir, no soil drainage |
| Closed terrarium | Humidity-loving ferns, mosses, tropicals | Self-sustaining humidity, low maintenance | No drainage; overwatering causes rot | Gravel layer helps but has limits |
Soil containers: the non-negotiable drainage rule
Always use a container with drainage holes when growing in soil. This is not optional. Without drainage, excess water sits at the bottom of the pot, roots suffocate, and root rot sets in fast. UMN Extension is emphatic on this point: containers must have drainage holes so excess water can escape. Use a quality potting mix, not garden soil, especially for seeds. Garden soil can introduce damping-off pathogens like Pythium or Phytophthora, which kill seedlings at the soil line.
Hydroponics setup basics
For a simple deep water culture (DWC) hydroponic system, you need a reservoir, a net pot for the plant, an air pump with an airstone, and a hydroponic nutrient solution. Before you mix anything, test your source water. UMN Extension and Oklahoma State both recommend knowing your baseline pH and electrical conductivity (EC) before adding nutrients, because your starting water quality determines everything else. For leafy greens, target an EC of 1.2 to 2.0 mS/cm. Keep pH between 5.5 and 6.5 for most crops. pH meters and EC meters run roughly $20 to $500 depending on quality; a basic combo meter around $30 to $50 works fine for beginners.
Terrarium setup: the drainage layer debate
Terrariums present a genuine challenge because most have no drainage holes. The traditional advice is to add a 2-inch layer of gravel or perlite at the bottom to create a reservoir space for excess water. Iowa State Extension recommends this approach. However, Oklahoma State Extension cautions that this layer can actually hinder water movement away from roots rather than helping, and [Missouri Extension warns that heavy watering can create standing water in the gravel that encourages root disease.
](https://extension. missouri. edu/publications/g6520) The practical takeaway: use the gravel layer, but water very conservatively. In a closed terrarium, you may only need to add water once every few weeks, or whenever condensation disappears entirely.
When assembling, rinse all materials and let them air dry before adding plants.
Step 4: Planting, sowing seeds, and early care
Starting from seed
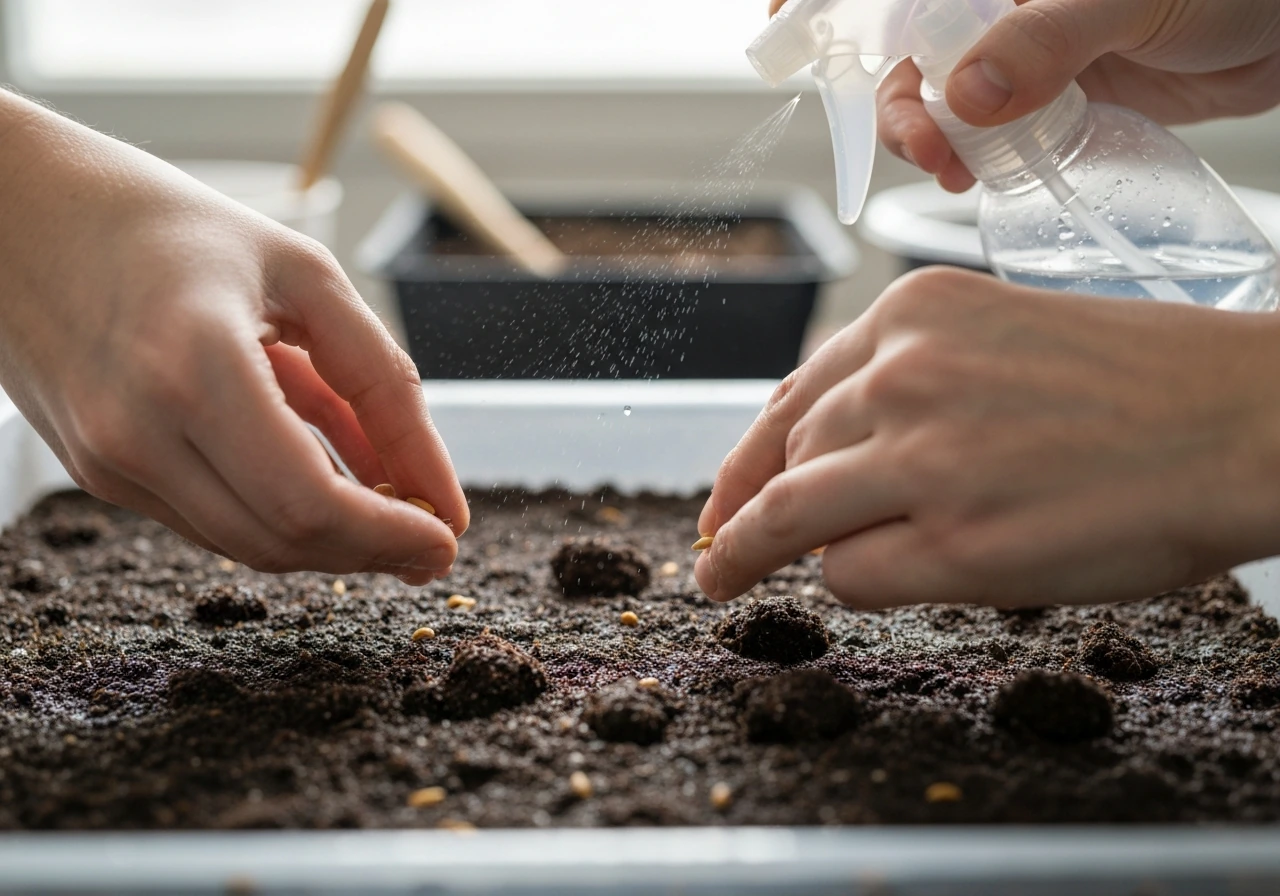
Fill your seed-starting container with a sterile seed-starting mix, not regular potting soil. Moisten the mix before filling so it's damp but not soaking. A simple rule for planting depth when you're unsure: plant seeds about twice as deep as their width. So a seed that's 1/4 inch wide gets planted 1/2 inch deep. Tiny seeds like basil get barely covered; large seeds like beans go an inch or more down.
After sowing, water gently with a spray bottle rather than pouring from a watering can, which can wash seeds out of position or compact the surface. Keep the mix consistently moist but never waterlogged. UMN Extension recommends using clean water in the 68 to 77 degrees Fahrenheit range for watering young seedlings; cold water can shock roots and slow germination. Cover the tray with a clear dome or plastic wrap to hold humidity until seeds germinate, then remove the cover once you see sprouts to prevent damping-off fungal disease.
Transplanting seedlings and established plants
Transplant seedlings into larger containers once they have their first set of true leaves (the second pair to emerge, which look like the adult plant). Handle them by the leaves, not the stem, since a damaged leaf is recoverable but a crushed stem often isn't. Plant at the same depth as the seedling was growing, except for tomatoes, which can be buried deeper because they form roots along their buried stems.
After transplanting, water thoroughly until water flows freely from the drainage holes. This settles the soil around the roots and eliminates air pockets. Then let the top inch of soil dry before watering again. The first two weeks after transplanting are a stress period; keep the plant out of direct harsh sun and give it time to establish.
Cuttings in water
For water propagation, take a 4 to 6 inch cutting just below a node (the bump on the stem where a leaf attaches), remove the lower leaves so no foliage sits in the water, and place in a clean jar of room-temperature water in bright indirect light. Change the water every few days to prevent bacterial growth. Once roots are 1 to 2 inches long, you can pot the cutting into soil or transition it to a hydroponic setup. Be patient: roots adapted to water may struggle a bit when moved to soil, so keep the soil moist for the first week to ease the transition.
Step 5: Building your ongoing care routine
Watering the right way
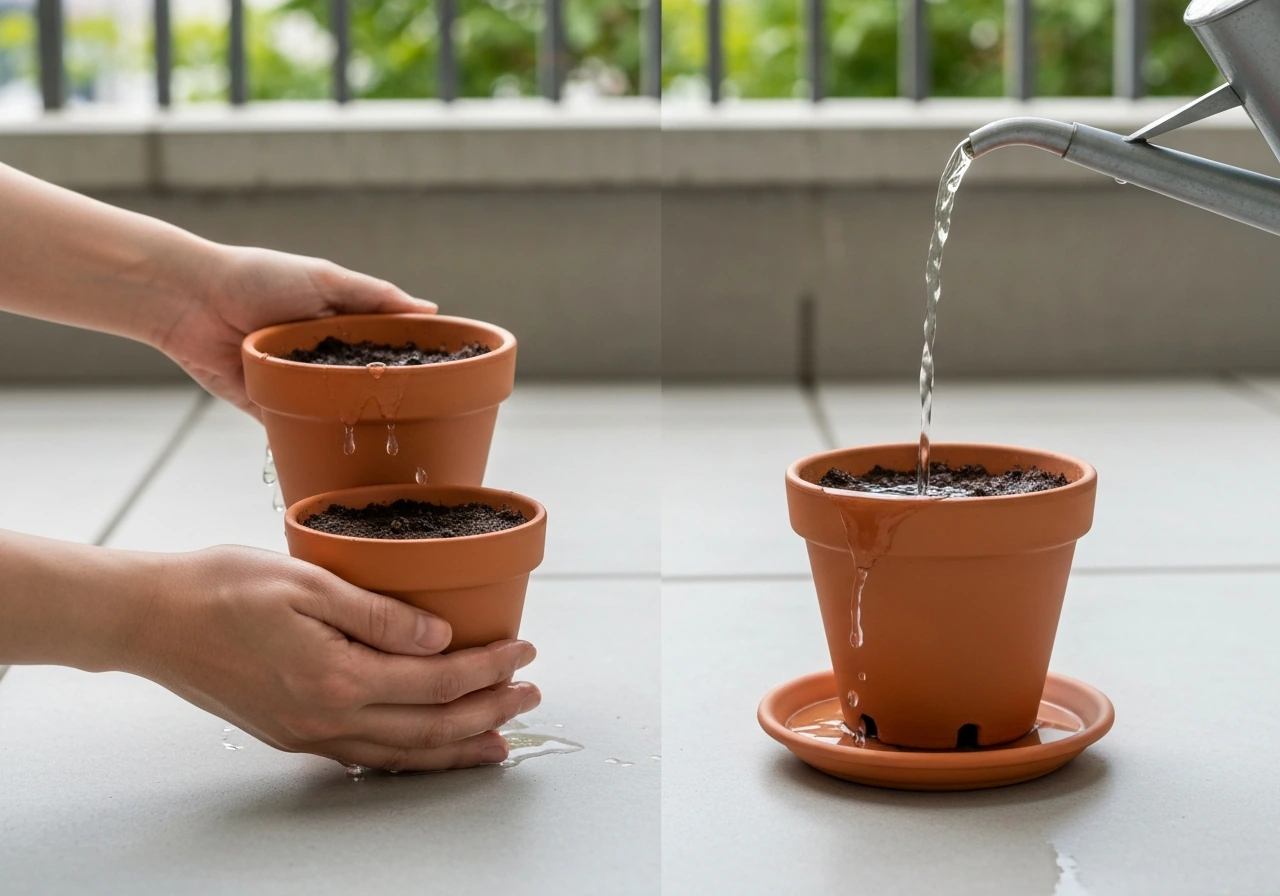
The most reliable watering method for container plants is the lift test: pick up the pot. If it feels light, water thoroughly until it drains from the bottom. If it feels heavy, wait. This works because water is heavy and a dry mix is noticeably lighter. UMN Extension recommends this approach because it accounts for plant size, pot size, and seasonal variation without needing a schedule. For containers, water until it flows from the drainage holes, which ensures the entire root zone gets moisture, not just the top inch.
Feeding and fertilizing
Container plants need regular feeding because watering gradually leaches nutrients out of the mix. A practical approach recommended by UMN Extension is to apply a diluted fertilizer at half strength every two to three waterings rather than a full dose once a month. This keeps a gentle, consistent nutrient level without salt buildup that can burn roots. For flowering and fruiting plants like tomatoes and peppers, switch to a fertilizer higher in phosphorus and potassium relative to nitrogen once flowers appear. For flowering plants, those same setup choices and careful watering routines are what help buds form and keep blooming. High nitrogen at that stage pushes leafy growth at the expense of fruit.
In hydroponics, feeding is built into every watering because your nutrient solution is your water. Monitor EC and pH every few days. As plants consume nutrients, EC drops; top up with fresh nutrient solution. If pH drifts outside the 5.5 to 6.5 range, plants can't absorb nutrients even if they're present in the water. Missouri Extension warns that out-of-range pH can make some nutrients toxic while others become unavailable. Adjust with pH up or pH down solutions available at any hydroponic supply store.
Pruning and support
Pruning isn't just cosmetic. Removing dead or yellowing leaves improves airflow and reduces disease pressure. Pinching back the growing tips of herbs like basil delays flowering and keeps production going longer. For vining plants like tomatoes, cucumbers, and some houseplants, provide a stake, trellis, or support clip early, before the stem gets heavy enough to flop and crack. Train stems gently while they're flexible.
Step 6: Troubleshooting the most common problems
Almost every plant problem traces back to one of a few root causes: too much water, too little water, wrong light, wrong temperature, or a nutrient issue. Learning to read your plant's symptoms saves a lot of guesswork.
| Symptom | Most Likely Cause | What to Do |
|---|---|---|
| Wilting with wet soil | Root rot from overwatering | Check roots (brown, mushy = rot); repot into fresh dry mix, trim rotten roots, reduce watering frequency |
| Wilting with dry soil | Underwatering or heat stress | Water thoroughly, move away from heat sources, check soil moisture more frequently |
| Yellow leaves (lower, older) | Nitrogen deficiency or natural aging | Feed with balanced fertilizer; remove yellow leaves cleanly |
| Yellow leaves (all over, fast) | Overwatering, root rot, or pH lockout | Check soil moisture and drainage; in hydro, check and correct pH |
| White powdery coating on leaves | Powdery mildew (fungal) | Improve airflow, reduce humidity around leaves, apply diluted neem oil or baking soda spray |
| Gray fuzzy mold on soil or stems | Botrytis or damping-off fungus | Remove affected material, improve ventilation, reduce surface moisture |
| Seedlings collapsing at soil line | Damping-off (Pythium/Phytophthora) | Use sterile seed mix, avoid overwatering, ensure airflow; start over with fresh sterile medium |
| Tiny flies around soil | Fungus gnats from overwatering | Let soil dry out more between waterings; use sticky traps; apply beneficial nematodes |
| Sticky residue, distorted new growth | Aphids or scale insects | Check undersides of leaves; wipe off with damp cloth or spray insecticidal soap; isolate the plant |
Prevention is far easier than treatment. Matching your plant to its correct conditions, using clean water, starting with sterile growing media, and not overwatering eliminates the vast majority of these problems before they start. UMN Extension notes that plants in the right conditions resist pests naturally because they're not already stressed.
Step 7: Harvesting, repotting, and scaling up
Knowing when and how to harvest
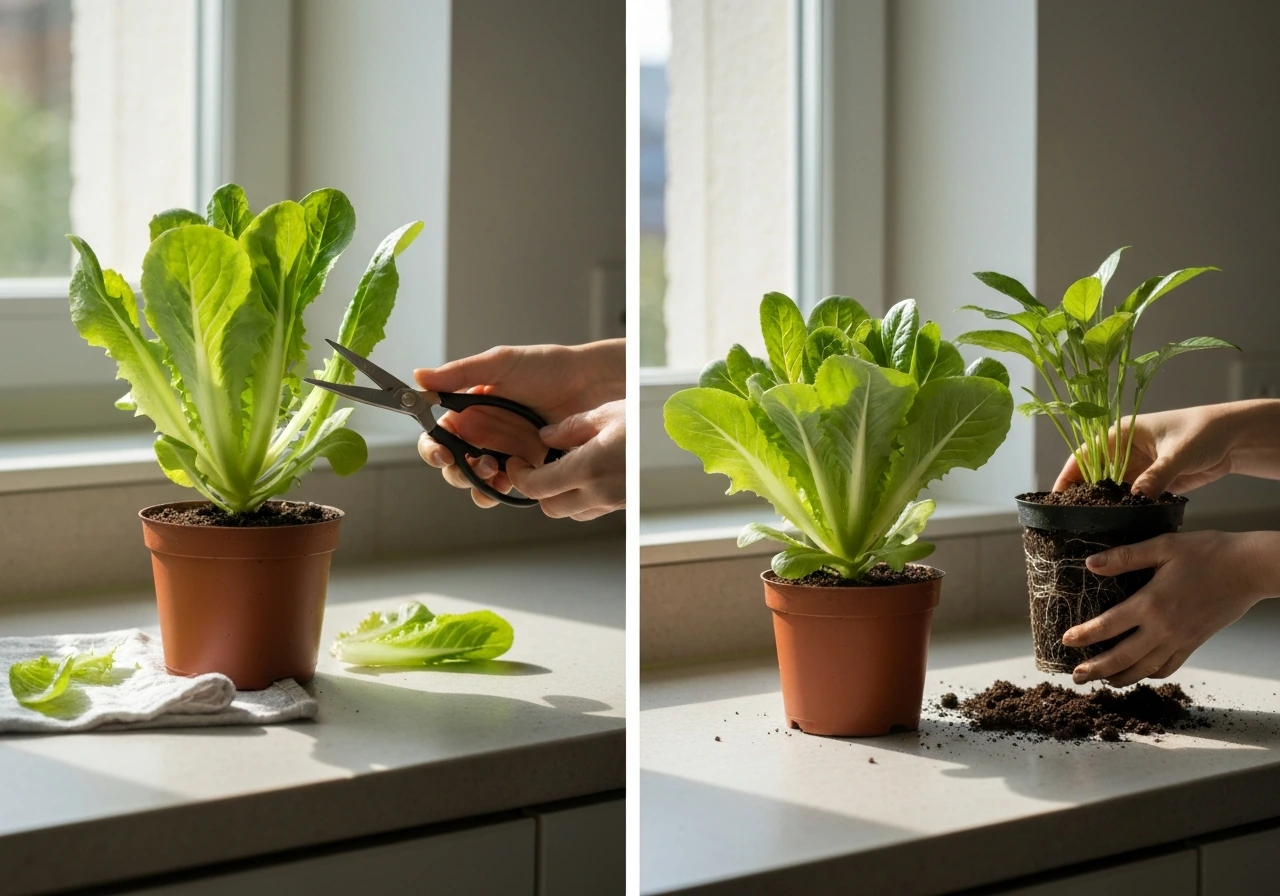
For herbs, harvest by cutting stems just above a leaf node, never more than one-third of the plant at a time, and it will keep producing. For leafy greens like lettuce, cut outer leaves first and let the center keep growing (cut-and-come-again method). For fruiting vegetables, harvest when the fruit reaches the color and size described for that variety; leaving fruit on the plant too long diverts energy away from new production. For houseplants, there's no harvest, but repotting serves a similar reset function.
When and how to repot
Repot when roots start circling the bottom of the pot, growing out of drainage holes, or when growth slows despite good care. Move up only one pot size at a time (typically 1 to 2 inches wider in diameter). Going too large too fast means extra soil stays wet longer because the plant's roots can't absorb all the moisture, which leads right back to root rot. The best time to repot is early spring, just as active growth begins, but you can repot at any time if the plant is genuinely rootbound or in distress.
Scaling up without starting over
The most efficient way to scale up is through propagation rather than buying new plants. Take cuttings from your healthiest specimens, root them in water or a propagation medium, and pot them up. One healthy pothos can produce dozens of new plants within a season. For seed-grown crops, save seeds from open-pollinated (non-hybrid) varieties and you have an essentially self-sustaining supply. For hydroponics, scaling up usually means adding more net pots to a larger reservoir or building a second identical system rather than making your first system more complex.
The most important thing as you scale is to keep records: what you planted, when, what you fed it, and what problems appeared. If you document what works and what fails, your gardening documentation of how to grow plants becomes a reliable reference for faster improvements each season keep records. Even a simple notebook entry per plant gives you a feedback loop that makes every future round easier. Growing plants is a skill, and like any skill, it compounds. The second season is always better than the first.
FAQ
How do I choose the right plant if my light is inconsistent (some days cloudy, some days sunny)?
Pick a plant based on your worst week of light, not your best day, then add a grow light if your low-light days last more than a few days. If you use a grow light, use a timer and keep the light schedule steady, because frequent light level swings can cause slow growth or leaf drop even when the light seems “usually fine.”
What’s the easiest way to tell whether my plant needs more water or less water?
Use two checks together: the lift test (pot weight) plus finger depth (top 1 to 2 inches). If the mix is still cool and damp several inches down, it’s usually overwatering or poor drainage. If it’s dry and light near the top and the pot feels light, water thoroughly until it drains, then wait to recheck in 1 to 2 days.
When should I fertilize, and how do I avoid overfeeding?
Wait until the plant shows active growth (new leaves or steady flowering) before starting a regular feeding routine. For beginners, use diluted fertilizer and increase only if the plant keeps growing, if leaves are pale after stable light is provided, or if the mix dries quickly. Avoid fertilizing during transplant shock or when temperature and light are too low, because nutrients won’t be used efficiently and can accumulate.
Can I use tap water for seedlings and hydroponics?
Often yes for seedlings, but for hydroponics you should test source water for baseline pH and EC before adding nutrients, since your starting water quality controls nutrient availability. If your tap water is very hard or chlorinated, let it sit uncovered 24 hours for seedlings, but for hydro you will generally still want to adjust with pH control and nutrient mixing based on measured readings.
What should I do if my seeds don’t germinate even though the soil is moist?
First, check temperature (germination slows dramatically outside the plant’s preferred range) and confirm you didn’t plant too deep. Also ensure you’re not keeping the surface soggy, which can cause damping-off. If you used a cover dome, remove it once sprouts appear, otherwise you can encourage fungal issues and weak, stretched seedlings.
Should I prune or pinch herbs like basil right away?
Pinch after the plant has enough stems and leaf mass to recover, usually once it’s established and producing new growth. If you pinch too early or remove too much at once, you can delay the plant’s ability to regrow. For shaping, remove only the top growth points and keep at least two healthy leaf sets below each pinch.
How can I prevent root rot when using a potting mix with drainage holes?
Use the right pot size for the plant, water thoroughly, then allow the top portion of the mix to dry before watering again. Overpotting is a common trap, because extra mix stays wet while roots cannot reach it. Also avoid letting a saucer hold runoff for long periods, since constant contact with excess water recreates a “no drainage” condition.
In terrariums, do plants need a drainage layer every time?
Not always. Many terrariums are intentionally low-maintenance and kept conservatively watered, so the key is careful watering rather than adding lots of drainage material. If you include a gravel layer, water very sparingly and rely on condensation cycles and plant appearance to guide watering frequency, because heavy watering can still create standing moisture where roots struggle.
Why are my leaves yellowing, and how do I know if it’s light, water, or nutrients?
Look for patterns. Yellowing with drooping often points to excess water, while yellowing with crisp, dry edges can indicate underwatering. If lower leaves yellow first, it can be a light or nutrient issue depending on whether new growth is healthy. Confirm with your watering consistency and your measured light conditions before adding fertilizer, since correcting conditions can resolve the symptom without feeding.
When is it actually better to propagate than to buy another plant?
Propagate when you can identify a healthy, vigorous source plant, and when you want genetic and care consistency (same cultivar, same growth habits). It’s also the best route to “scale up” indoors, because cuttings and divisions let you multiply without changing your system setup, especially for hydroponics where expanding net pots is simpler than redesigning everything.