Beautiful plants are not the result of a green thumb you either have or you don't. They are the result of matching the right plant to the right conditions and then following a consistent, simple routine. If you have killed plants before, that is not a personality flaw. It almost always comes down to one of four fixable things: wrong light, wrong watering, wrong medium, or a mismatch between the plant and the space. Fix those, and beautiful, lush plants follow naturally. This guide walks you through every step, from picking your first plant to diagnosing problems before they become disasters.
How to Grow Beautiful Plants: A Practical Beginner Guide

Marcus Holloway
15 Apr 2026
Pick plants that match your space and style
The single best thing you can do before buying a plant is assess your actual conditions rather than just picking what looks pretty at the nursery. Ask yourself three questions: How much light does my space realistically get? How often am I actually home to water? And do I want low-maintenance greenery or something that rewards more hands-on attention? Honest answers to those questions narrow the field fast.
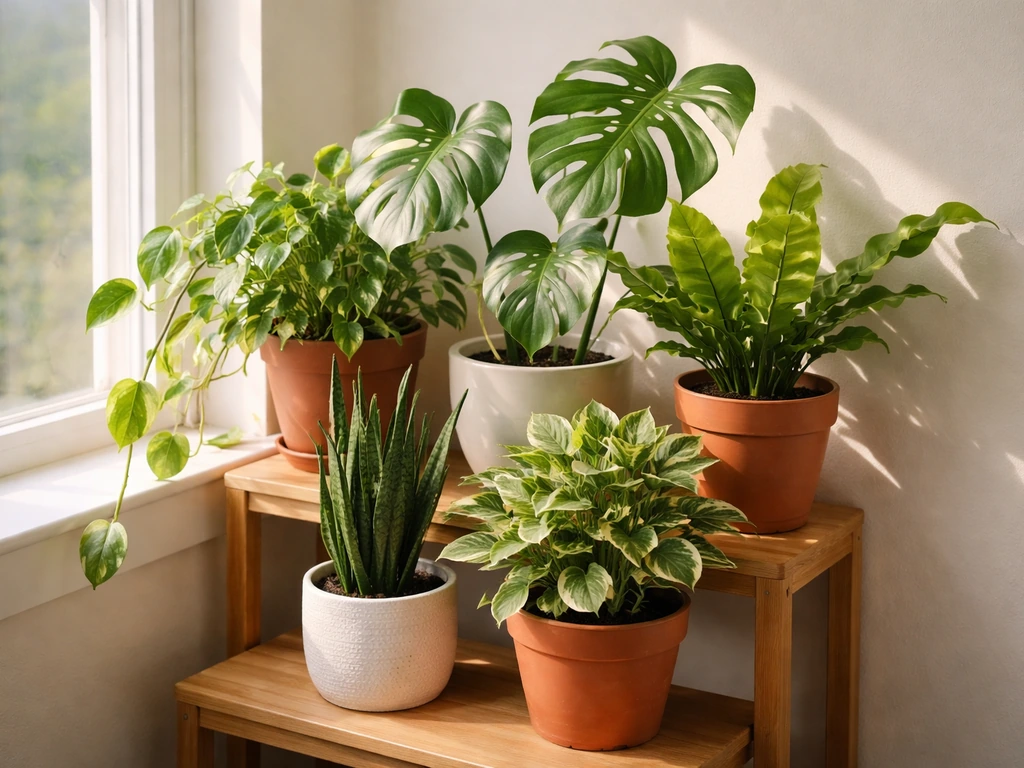
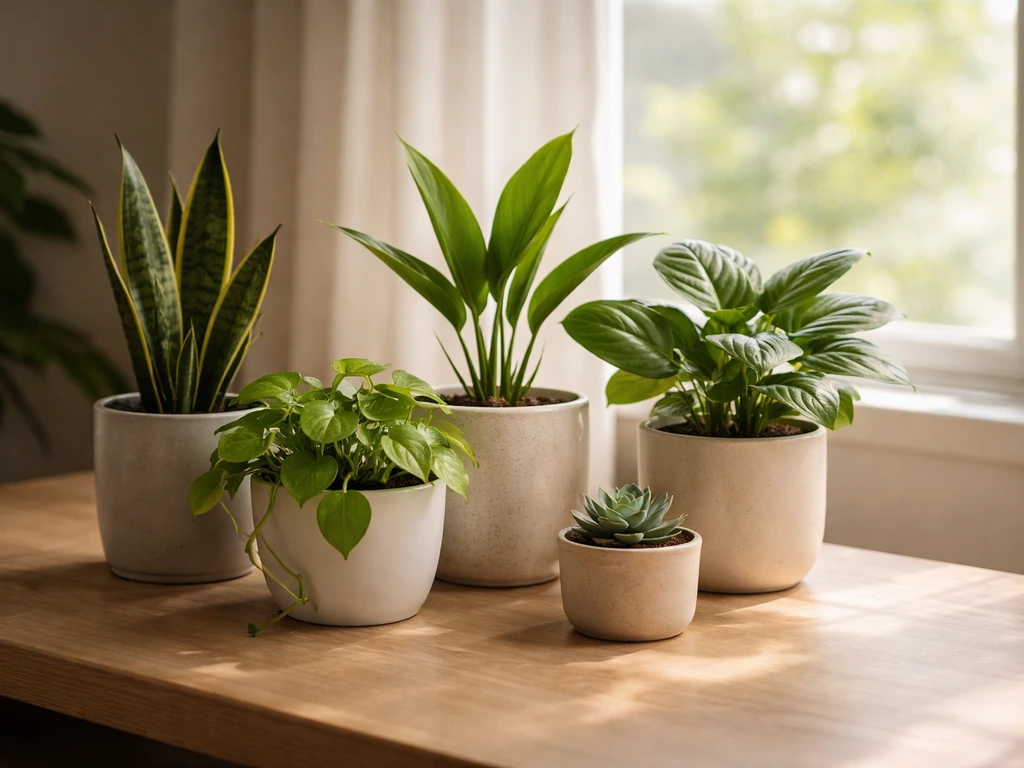
For low-light spaces (north-facing windows, darker corners), snake plants, pothos, and philodendrons are genuinely forgiving choices. For medium-light spots (east or west windows), monsteras, rubber plants, and spider plants do well. If you have a bright south-facing window, that is where succulents, cacti, and most flowering plants will thrive. If you want something with a bit of personality and interactive appeal, growing a sensitive plant is a fun way to learn how responsive plants can be when their conditions are right.
Beginners often try to grow high-maintenance or specialty plants too early, then blame themselves when they struggle. Start with one or two plants that match your real conditions and build confidence from there. Peace lilies, for instance, adapt to low light but need medium light to produce flowers. Spider plants thrive in indirect light and practically grow themselves. Matching the plant to the window is the first real act of good plant care.
Set up the right light (and placement) for beauty
Light is the engine of plant growth. Everything else, water, nutrients, soil, is support. Without enough light, a plant cannot photosynthesize efficiently, and no amount of fertilizer will fix that. The problem indoors is that light levels vary enormously by window direction, season, and how far back from the window a plant is placed. A plant sitting 6 feet from a window can receive a fraction of the light a plant right at the glass gets.
Window direction matters more than most people realize. South-facing windows deliver the most light year-round and can produce direct sun on the windowsill at certain times depending on the sun angle and season. East and west windows offer moderate indirect or brief direct light. North windows are the dimmest. If your space has no access to natural light at all, supplement with a grow light and aim for 16 to 18 hours of artificial light per day to compensate.
One simple habit that makes a noticeable difference: rotate your plants regularly. If only one side faces the light source, that side grows faster and stronger, causing the whole plant to lean or look lopsided. Rotating a quarter turn every week or two keeps growth even and the plant looking full. It takes five seconds and it works.
Watering and humidity: simple schedules that prevent common problems
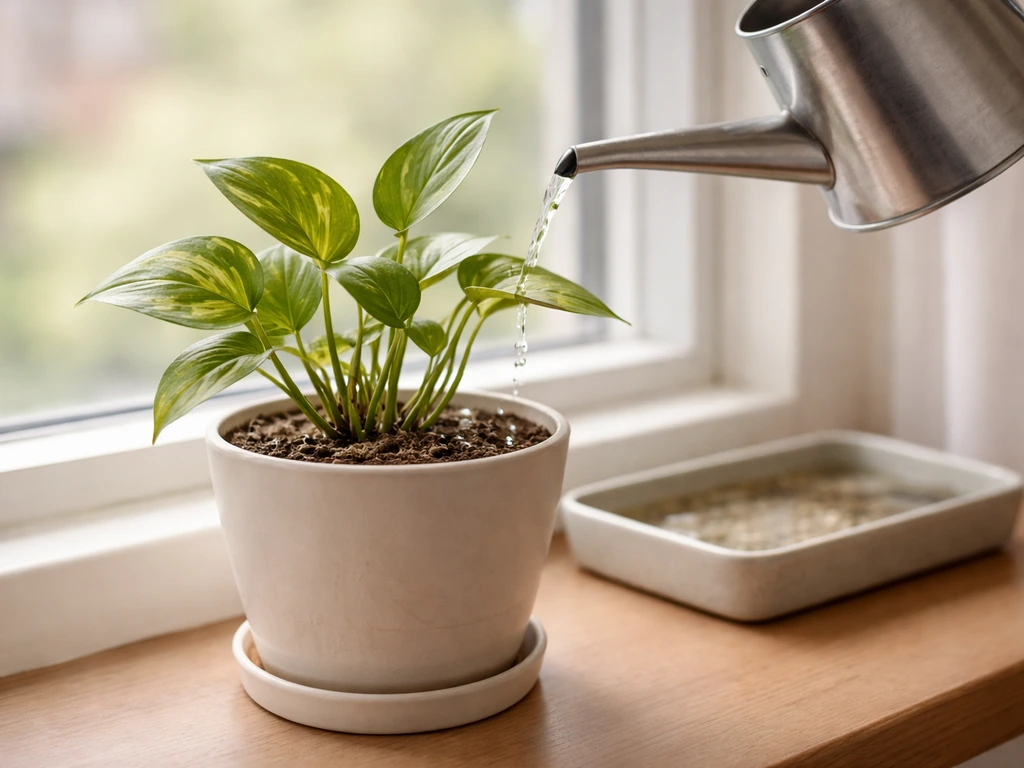
Overwatering is the most common reason houseplants die, and it does not just mean watering too often. It means watering before the plant actually needs it. The fix is straightforward: before you water, push your finger about 2 cm into the top of the soil. If it feels moist, leave it. If it feels dry at that depth, go ahead and water. That one habit replaces any fixed schedule and keeps you from drowning roots.
The other side of the problem is underwatering, which is less common but still happens. Signs include dry, crispy leaf edges, soil pulling away from the sides of the pot, and a plant that wilts even right after watering (a sign the soil has become hydrophobic and is repelling water rather than absorbing it). If that happens, set the pot in a basin of water for 30 minutes so the soil can rehydrate from the bottom up.
In winter, most houseplants slow their growth and need less water. A cool room can mean a plant sits comfortably for a week or two between waterings without any problem. Reduce watering frequency in cooler months and watch the plant rather than the calendar. UConn Extension also advises evaluating watering needs rather than following a strict calendar watch the plant rather than the calendar. One more tip: avoid leaving wet foliage on plants overnight, especially in cool temperatures. Wet leaves sitting in the dark are an open invitation to fungal disease.
Humidity is the overlooked partner to watering. Many tropical houseplants (think ferns, calatheas, orchids) evolved in humid environments and struggle in dry heated or air-conditioned rooms. A simple humidity tray (a shallow tray of water with pebbles, with the pot sitting on top but not in the water) or a small room humidifier near your plant area solves most humidity issues without a major investment.
Soil/medium choices and how to feed for strong growth
The medium your plant grows in does two jobs: it holds moisture and nutrients close to the roots, and it lets excess water drain so roots can also breathe. Standard potting mix works well for most houseplants, but it is not a one-size-fits-all solution. Succulents and cacti need a grittier, faster-draining mix (add perlite or coarse sand at roughly a 1:1 ratio with potting soil). Aroids like monsteras and pothos appreciate a chunkier mix with orchid bark mixed in for aeration. Ferns and moisture-loving plants can use a peat-based or coco coir mix that retains more water.
The key principle is drainage. A beautiful plant cannot come from a pot with waterlogged roots, no matter how well you water. Always use pots with drainage holes and never let a plant sit in a saucer full of standing water for more than an hour or two. Overwatering or letting houseplants sit in water can cause root rot and problems like fungus gnats, so use a well-drained pot with at least one large drainage hole in the bottom. If a decorative pot has no hole, use it as a cachepot (place a plain nursery pot inside it) so you can easily pull the plant out to drain it.
Feeding is where a lot of growers get either lazy or overzealous. Plants need nutrients (mainly nitrogen, phosphorus, and potassium, plus trace minerals) to build leaves, roots, and flowers. A balanced liquid fertilizer applied every two to four weeks during the active growing season (spring through early fall) is enough for most houseplants. In winter, when light levels drop and growth slows, pull back to once a month at most. Fertilizing heavily in low light just causes salt buildup in the soil without benefiting the plant. Understanding how to grow healthy plants fundamentally comes down to matching the feeding rate to the actual growth rate.
Fertilizing, repotting, and maintenance routines
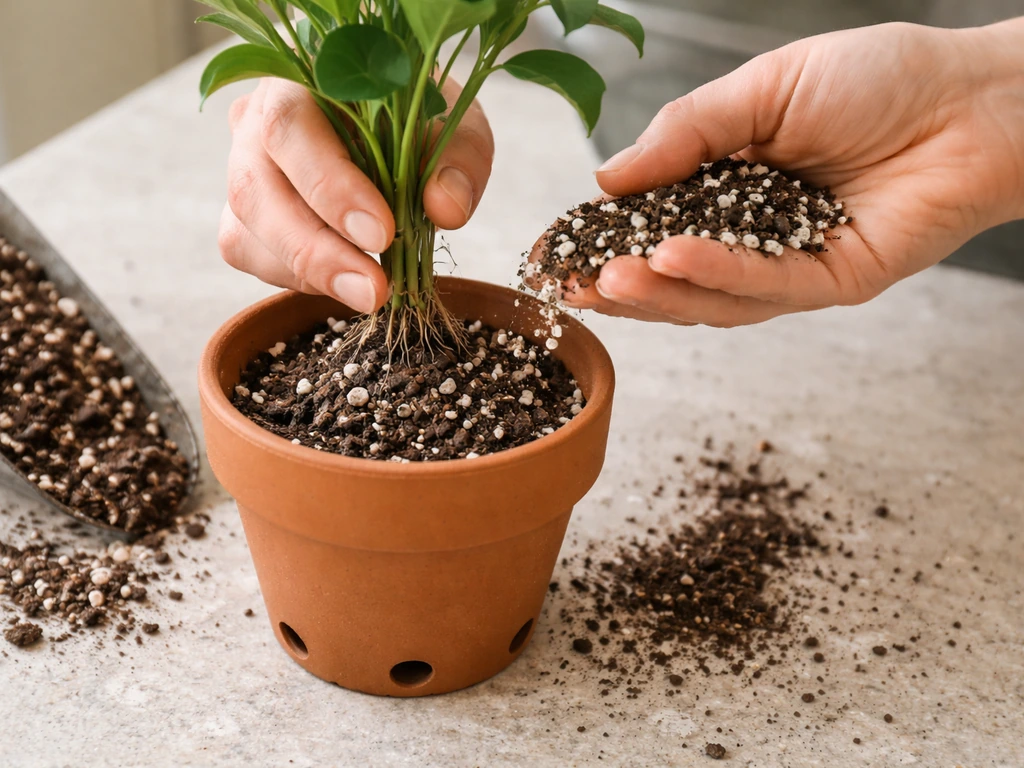
Repotting is something beginners often put off too long. The signs that a plant needs a new home are fairly obvious once you know what to look for: the plant dries out unusually fast after watering, the roots are visibly circling the bottom of the pot or poking out of drainage holes, and growth has stalled despite decent light and regular feeding. When those signs appear, it is time to repot.
Spring is the ideal time because plants are entering their active growth phase and will recover quickly. When choosing a new pot, go only about 1 to 2 inches larger in diameter than the current one. A pot that is too large holds excess moisture around the roots and can cause rot, which is the opposite of what you want. If a plant has become severely pot-bound and you want to keep it in the same container, trim off up to about a quarter of the outermost roots and refresh the compost before putting it back.
Grooming is underrated as a beauty practice. Pinching off the top inch or less of new stem growth just above a node encourages the plant to branch outward rather than just growing tall and spindly. Removing dead or yellowing leaves keeps the plant looking clean and also removes potential disease entry points. Keep leaves dust-free too: a thin layer of dust blocks light absorption. Wipe leaves gently with a damp cloth or rinse them with lukewarm water every few weeks.
For anyone who has been looking for ways to encourage plants to grow faster and more vigorously, the combination of correct fertilizing timing, timely repotting, and consistent grooming is more effective than any single product or trick.
How to grow beautifully in different systems
Soil is the most familiar growing medium, but it is far from the only option for beautiful plants. Each system has trade-offs, and knowing which one suits your space and lifestyle makes a real difference.
Traditional soil
Soil is forgiving, familiar, and works for the widest range of plants. The main risk is overwatering. Use a well-draining potting mix matched to your plant type, add perlite if drainage is slow, and always use pots with holes. This is the right starting system for beginners.
Water propagation and semi-hydro
Many popular houseplants (pothos, philodendrons, tradescantia, monsteras) root and even grow long-term in water or in a semi-hydro setup using LECA (lightweight expanded clay aggregate). Water growing is low-mess and visually striking. The key is keeping the water clean: change it weekly, keep the container out of direct sun to prevent algae, and add a diluted liquid fertilizer to prevent nutrient deficiency. Semi-hydro in LECA offers more root aeration and is worth trying once you are comfortable with basic soil growing.
Hydroponics
In a hydroponic system, roots are suspended in or regularly bathed in a nutrient solution and supported by an inert medium like rockwool or clay pebbles rather than soil. Plants grown hydroponically often grow faster because nutrients are delivered directly and efficiently to the root zone. Managing pH and nutrient concentration (EC) is the main skill to develop. Monitor your reservoir regularly, and change the water and rinse the system when pH drifts or the solution becomes cloudy. This approach is particularly rewarding for growers who want to learn how to grow plants properly at a more technical level.
Terrariums
A terrarium is essentially a controlled microclimate inside glass, ideal for humidity-loving plants like mosses, ferns, nerve plants, and small tropical species. The most important rule: never use garden soil in a terrarium. It is too dense, drains poorly, and lacks the aeration roots need. Use a commercial mix based on peat or coco coir combined with perlite, vermiculite, or orchid bark. Layer the bottom with a drainage medium (gravel or LECA), then a layer of activated charcoal, then your growing mix. Watch condensation closely. If heavy droplets are forming on the glass and not clearing, the humidity is too high. Leave the lid off for a while or wipe condensation away to let moisture escape before sealing again.
| System | Best for | Main skill needed | Biggest risk |
|---|---|---|---|
| Soil | Beginners, most houseplants | Watering judgment | Overwatering |
| Water/Semi-hydro (LECA) | Aroids, vining plants | Water changes and nutrients | Algae, nutrient deficiency |
| Hydroponics | Fast growth, herbs, leafy plants | pH and EC management | Nutrient imbalance, root disease |
| Terrarium | Humidity-loving miniature plants | Moisture and condensation control | Rot from excess humidity |
Troubleshooting: diagnosing leaf, growth, and pest issues early
Most plant problems announce themselves visually before they become serious. Learning to read the signs early means you can course-correct in days rather than weeks. The most common culprits are improper watering, insufficient light, low humidity, over-fertilizing, root disease, and pests. Here is how to tell them apart.
Yellow leaves
Yellowing is the most common complaint and the most ambiguous symptom. If lower leaves are yellowing and dropping gradually, the likely cause is overwatering, underwatering, insufficient light, or lack of fertilizer. If leaves throughout the plant look yellow-green, check for excess light, overwatering, or underwatering. If yellowing appears between the veins while the veins themselves stay green, that pattern points to an iron deficiency (often linked to pH that is too high) or a magnesium deficiency (linked to pH that is too low). If older leaves yellow first and the pattern spreads upward, nitrogen deficiency is the likely culprit. Bright yellowing at leaf tips and terminals while the leaf base and midrib stay green is a classic magnesium deficiency pattern.
Leggy or lopsided growth
Stems that stretch toward a light source and become long and spindly are etiolating, which is the plant's way of reaching for more light. Move the plant closer to a window or add a grow light. If the plant is lopsided (full on one side, thin on the other) you have not been rotating it regularly enough. Start rotating now and the plant will even out within a few weeks.
Wilting and drooping
Wilting has four common causes: too little water, too much water (root rot), too much fertilizer, or salt buildup in the soil. Check the soil moisture first. If it is bone dry, water thoroughly. If it is soggy and has been for days, you likely have root rot. Let it dry out, check the roots (brown and mushy means rot), and repot into fresh well-draining mix if needed.
Common pests
Spider mites leave tiny stippling marks on leaves and thin webbing under leaves in dry conditions. Treat with insecticidal soap or horticultural oil (including neem oil), and repeat applications since mites can resurge after a single treatment. Fungus gnats look like tiny flies hovering around the soil and lay eggs in moist topsoil. Their larvae damage roots. A soil drench with Bacillus thuringiensis var. israelensis (Bt-i) targets the larvae effectively. Powdery mildew shows as a white powdery coating on leaf surfaces and is a fungal infection. Treat it at the very first sign: if left alone, it inhibits photosynthesis and leads to yellowing, curling, and stunted growth. Improve airflow around affected plants as a first step.
If you are still figuring out why a specific plant is struggling despite trying the steps above, it helps to revisit the basics in a structured way. The guide on how to get plants to grow when they have stalled covers root, light, and nutrient troubleshooting in more depth.
A simple weekly plan and next steps to keep plants thriving
Consistency beats intensity every time with plants. You do not need to spend hours on plant care each week. A brief, structured check-in is enough to catch problems early and keep everything looking its best. Here is a practical weekly rhythm you can actually stick to.
- Check soil moisture on all plants (push a finger 2 cm in) and water only those that are dry at that depth.
- Rotate each plant a quarter turn so all sides get even light exposure.
- Scan leaves top and bottom for pests, spots, or discoloration. Catch issues when they are small.
- Remove any dead, yellowing, or damaged leaves to keep plants clean and disease-free.
- Wipe dusty leaves with a damp cloth to keep light absorption at its best.
- Check that no plant is sitting in standing water in its saucer.
- For hydroponic or water-grown plants: check pH, top up the reservoir if the level has dropped, and swap out the full solution if it has been more than a week or looks cloudy.
Monthly add-ons: fertilize during the growing season (spring through early fall), check for pot-bound signs (rapid drying, roots at drainage holes, stalled growth), and wipe down pots and trays to prevent pest harborage.
Seasonal add-ons: repot in spring if needed, adjust watering frequency as seasons shift, and consider moving plants closer to windows in winter when light levels drop.
Your next steps checklist to get started today:
- Assess your light: stand at each window at midday and note whether it gets direct sun, bright indirect, or shade. Match a plant to that condition.
- Pick one or two beginner-appropriate plants that fit your actual space and lifestyle (not just what looks nice at the store).
- Get the right medium: standard potting mix with added perlite for most plants, a gritty cactus mix for succulents, or a peat/coco coir mix for moisture lovers.
- Set a soil-check habit rather than a fixed watering schedule. Water based on what the soil tells you.
- Start a simple fertilizing routine from spring through early fall; cut back in winter.
- Do a five-minute visual check weekly. Catch yellowing, pests, and growth problems early.
- Plan your first repot for spring if your plant shows pot-bound symptoms.
If you want to go deeper on specific plants or grow something with a bit more meaning attached to it, exploring how to grow lucky plants is a nice way to add personality to your space while practicing good care habits. And once you have the basics locked in and want to understand the full picture of keeping a thriving indoor garden, the complete breakdown of how to grow a happy plant covers the emotional and environmental side of what makes plants look their best long-term.
Beautiful plants are not magic. They are just plants whose basic needs are being met consistently. Get the light right, water based on what the soil tells you, feed at the right pace, and check in weekly. Do that, and lush, healthy, gorgeous plants are genuinely within reach, no matter how many you have killed before.
FAQ
How can I tell whether my home has low, medium, or bright light without buying a light meter?
If you cannot measure light, use a simple proxy: stand where the plant would sit for 10 minutes. If it is bright enough for comfortable reading without turning on a lamp, it is usually medium light. If you read only with extra light or it feels dim, treat it as low light and choose forgiving plants.
What is the safest way to increase light for a plant that is currently growing slowly?
Start by moving it only a little and give it time. For example, shift plants a few feet closer to the window for 3 to 7 days, then reassess. Sudden full-sun moves can scorch leaves, especially on plants that were previously kept back from the glass.
How often should I rotate my plants, and does a tall plant need different rotation timing?
A quarter turn weekly or every other week is usually enough. If your plant is tall, rotate more frequently because the top canopy can reach the light faster than the lower leaves, making the plant look lopsided even if the pot is rotated occasionally.
If overwatering is the main issue, what should I use instead of a calendar schedule to know when to water?
Do not rely on the pot’s weight right away if the soil mix is very gritty or very peat-heavy, since different mixes dry at different speeds. Instead, always use the finger test at about 2 cm depth, then note how long it takes your plant to go from moist to dry so you can estimate future timing.
My plant’s soil stays wet for a long time, but I’m watering less. What should I troubleshoot first?
If the soil stays wet longer than expected, the issue is often drainage or root health, not your watering frequency. Check that the pot has drainage holes, consider moving up to a faster-draining mix (perlite or orchid bark depending on plant type), and remove any trapped water in the outer decorative pot.
When should I bottom-water, and when is it a bad idea?
Bottom watering works well only when you are dealing with dry, hydrophobic soil. If the soil is wet inside or you suspect root rot, bottom watering can worsen it. Use bottom watering only after confirming the depth of soil is actually dry.
How do I prevent fertilizer salt buildup if I fertilize regularly?
Over time, fertilizer salts can build up, even if you feed at the correct rate. Once every month or two during the growing season, water thoroughly until a good amount drains out, then discard runoff. This “flush” helps reset the salt level.
Is root trimming ever worth it, and what are the risks if I do it?
If a plant is pot-bound, repotting usually gives the best long-term results, but trimming roots should be used carefully. Do it only for a plant that has outgrown its pot, and after trimming, refresh soil and keep the plant out of harsh direct sun for a week to reduce stress.
My plant looks pale. Should I increase fertilizer, even if light is limited?
Do not increase fertilizer when a plant is in low light. When light is limited, growth slows and plants need less nutrient input. If you suspect yellowing from lack of light, improve light first, then resume feeding at a reduced rate until growth picks up.
How can I tell whether my humidity tray is actually helping, and what placement mistakes ruin it?
Humidity needs vary by plant, but a common mismatch is using a humidity tray for tropicals while placing them in direct airflow from heaters or AC vents. Keep plants away from vents, and aim for consistent humidity rather than occasional misting.
What’s the best routine for preventing pests from coming back after treatment?
For pests, the fastest win is early detection and repeat treatments. If you only treat once, spider mites often return. Also inspect under leaves and along stems, and isolate new plants for a couple of weeks to prevent spreading.
What should I change in my care routine when powdery mildew appears?
If powdery mildew shows up, remove heavily affected leaves first and increase airflow immediately. Avoid watering late in the day, since damp foliage overnight makes the problem persist even if you treat with soap or mildew control.
For water or semi-hydro setups, what maintenance steps matter most beyond changing the water?
In water-based systems like LECA or hydroponics, the biggest non-obvious factor is reservoir stability. Keep algae down by reducing light exposure, and make a habit of checking and recording pH and nutrient levels so you can spot drift before plants show deficiency.
How do I know if my terrarium humidity is too high, and what should I do immediately?
Terrariums can trap moisture, so do not over-seal. If condensation is constant and heavy droplets never clear, it is too wet. Give brief venting time or wipe the glass, then re-seal once condensation reduces to light fogging.